
Makeup
How to Make a Harmonica: 10 Steps
Aug
If you have ever looked at a harmonica and thought, “That tiny box can make all that noise?” welcome to the club. A real harmonica is a clever little machine packed with reeds, plates, airflow, and enough musical personality to start a blues solo in a parking lot. But here is the good news: you can make a homemade harmonica-style instrument with simple supplies, a little patience, and a willingness to accept that your first note may sound like a mosquito with opinions.
This project is fun, cheap, and surprisingly educational. It teaches the basics of sound, vibration, pitch, and airflow while giving you a playable DIY instrument you can actually experiment with. Just to keep things honest, though: this is not a concert-grade blues harp. It is a homemade craft stick harmonica that creates a buzzy, harmonica-like sound. A true harmonica uses metal reeds mounted on reed plates, attached to a comb, and protected by cover plates. Your version is simpler, friendlier, and much less likely to require a repair bench.
Still, for a kitchen-table project, this one punches way above its weight. You get music, science, and bragging rights. Not bad for rubber bands and a straw.
What You’re Really Making
Before jumping into the steps, it helps to know what this project is. You are making a homemade wind instrument that uses a vibrating rubber band to create sound. Airflow sets the rubber band in motion, and the space between the straw pieces changes how that vibration behaves. Move the spacers, and the pitch changes. Blow harder, and the sound changes. Suddenly you are not just crafting. You are experimenting with acoustics.
That is also why this project is so popular in STEM activities and music classrooms. It is simple enough for beginners, but it still demonstrates real musical ideas: vibration creates sound, shorter vibrating lengths raise pitch, and tighter materials tend to vibrate faster.
Materials You’ll Need
- 2 large craft sticks or tongue depressors
- 1 wide rubber band
- 2 small rubber bands
- 1 plastic straw
- Scissors
- Ruler
- Optional: a thin strip of paper or wax paper for extra buzz
- Optional: markers, stickers, or paint for decoration
That is the full shopping list. No soldering iron, no tuning hammer, no mysterious workshop drawer labeled “reeds.” A minor miracle.
How to Make a Harmonica: 10 Steps
Step 1: Choose Strong, Straight Materials
Start with two sturdy craft sticks that are roughly the same size. Flimsy sticks bend too easily, which can mess up the airflow and make your instrument sound weak. Pick a wide rubber band that stretches easily but still has some tension. If it is too loose, the sound may be dull. If it is too tight, it may be fussy or refuse to cooperate like a cat being introduced to a bath.
Step 2: Cut the Straw into Small Spacer Pieces
Take your straw and cut it into four pieces, each about 1 to 1.5 inches long. These pieces act as spacers. They help create the small air channels and vibrating sections that make the instrument work. Try to keep them fairly even. This is not brain surgery, but symmetry helps.
Step 3: Stretch the Wide Rubber Band Over One Craft Stick
Place one craft stick flat on the table. Stretch the wide rubber band lengthwise over the stick so it runs from one end to the other. This rubber band is the star of the show. It will be the part that vibrates and produces the sound, so make sure it lies flat rather than twisted.
Step 4: Add the First Spacer Under the Rubber Band
Place one straw piece under the wide rubber band near one end of the craft stick, about two inches in from the edge. Set it perpendicular to the stick, not lengthwise. This creates a raised point and helps define the section of rubber band that can vibrate.
Step 5: Add the Remaining Spacers in the Right Pattern
Now place a second straw piece on top of the rubber band just to the right of the first one. Then go to the other side of the stick and place a third straw piece under the rubber band near the other end. Put the fourth piece on top of the rubber band just to the right of that third piece.
This under-over pattern matters. It creates the air gap and changes how the band moves when you blow through the instrument. If you skip the pattern and just toss the pieces in wherever they land, the result may be less “musical instrument” and more “very confused sandwich.”
Step 6: Put the Second Craft Stick on Top
Place the second craft stick on top of the first one to create a sandwich. The straw pieces should stay trapped between the sticks. The wide rubber band should still run through the center section. At this point, your instrument finally starts to look like something intentional instead of a desk accident.
Step 7: Secure Both Ends with Small Rubber Bands
Wrap one small rubber band around one end of the stick sandwich, about half an inch from the edge. Repeat on the other end with the second small rubber band. The ends should be pinched together firmly, but the middle should still have a small space created by the straw pieces. That space is important because it allows the instrument to breathe and the rubber band to vibrate.
Step 8: Blow Through the Middle to Test the Sound
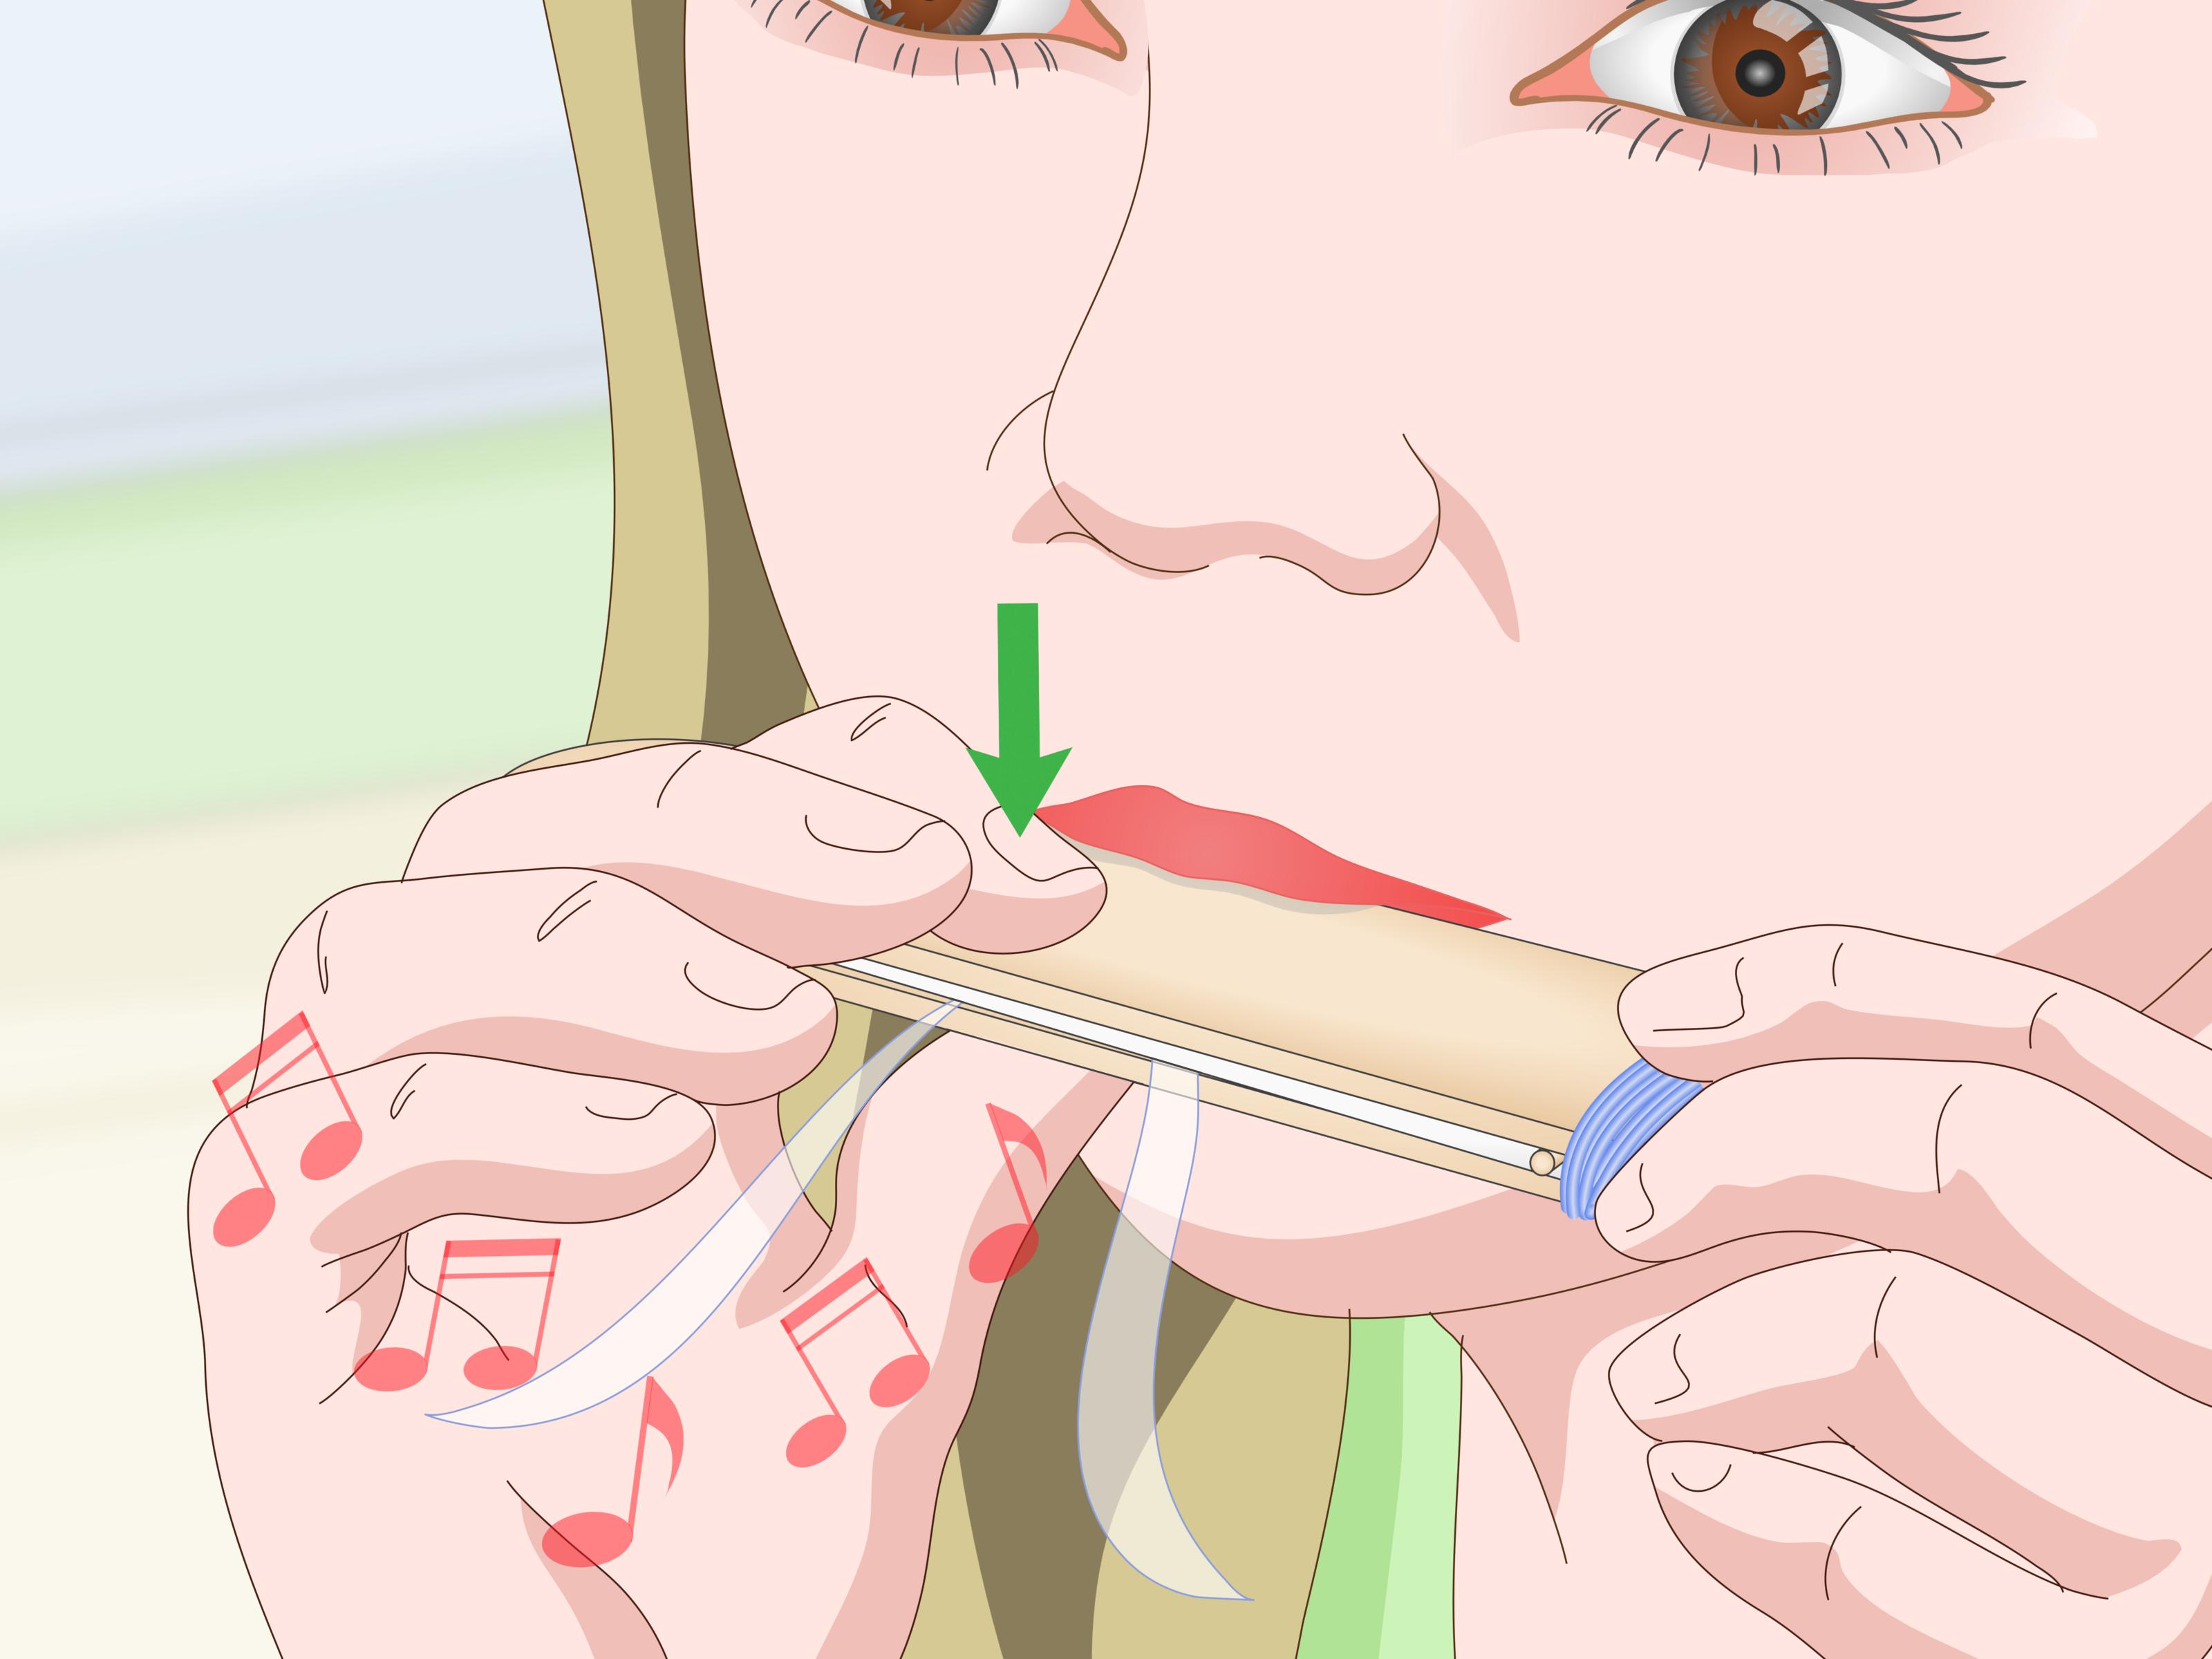
Hold the instrument to your mouth like a harmonica and blow through the middle section, not into the straws themselves. If everything is lined up correctly, you should get a buzzy tone. It may not sound like a polished stage instrument on the first try, but that is normal. Shift your mouth slightly, blow softer, then harder, and try different angles. Homemade instruments usually have a “sweet spot,” and finding it is part of the fun.
Step 9: Adjust the Pitch by Moving the Spacers
This is where the project becomes more than a craft. Gently slide the straw pieces closer together or farther apart. When the vibrating section of the rubber band becomes shorter, the pitch gets higher. When the vibrating section is longer, the pitch gets lower. If you want to turn this into a science experiment, test several spacer positions and compare the sounds. Suddenly your kitchen table has become a tiny acoustic lab.
Step 10: Customize, Reinforce, and Play
Once the instrument works, decorate it if you want. Add colors, names, or a wildly overconfident band logo. Then practice making short bursts of sound, long tones, and simple rhythmic patterns. You can even try adding a thin strip of paper between the sticks for a slightly different buzz. That will not transform it into a professional harmonica, but it can change the texture of the sound in an interesting way.
Why This Homemade Harmonica Works
The science is the best part, especially because it sounds fancier than it feels while you are holding two popsicle sticks. When you blow into the instrument, the rubber band vibrates. That vibration pushes air around, and your ears interpret those vibrations as sound. In other words, the instrument is not “making music” through magic. It is moving stuff very quickly and convincing your brain to enjoy it.
Pitch depends on how fast the rubber band vibrates. A shorter vibrating section tends to move faster, which creates a higher pitch. A longer section moves more slowly, which creates a lower pitch. Tension matters too. A tighter band usually produces a higher pitch than a looser one. That is why small adjustments to the spacers can make a noticeable difference.
Air also matters. Sound needs a source of vibration, a medium to travel through, and something to receive it. In this case, the rubber band is the source, the air is the medium, and your ears are the very patient judges.
How a Real Harmonica Is Different
A homemade craft stick harmonica is a fantastic teaching tool, but a real harmonica is much more complex. Most common diatonic harmonicas have ten holes and twenty reeds. Inside, metal reeds are mounted on reed plates, which attach to a comb and are covered by metal cover plates. One reed plate handles blow notes, and the other handles draw notes.
That is why a factory-made harmonica can play with far more control, power, and consistency than a homemade version. Airtight assembly matters. Reed response matters. Reed alignment matters. Even tiny changes in the reed gap can affect how easily a note sounds. So if you were secretly hoping to build a concert-ready blues harmonica from two sticks and a snack straw, I admire your optimism. But no. This project is the front porch of harmonica design, not the master workshop.
Common Mistakes to Avoid
The instrument makes no sound
Check that the wide rubber band is flat and not twisted. Make sure the straw pieces are creating a small open space between the sticks. Also be sure you are blowing through the middle area, not straight into a straw piece.
The sound is weak or ugly
First, accept that “ugly” is part of the journey. Then adjust the spacer positions and experiment with airflow. Sometimes just moving your mouth slightly makes a huge difference.
The rubber band slips around
Use a slightly wider band or a less glossy craft stick. You can also rebuild the instrument more tightly so the band stays in place.
The pitch does not change much
Move the spacer pieces more dramatically. If the vibrating section changes only a little, the pitch change may be subtle. Bigger movement usually makes the effect clearer.
It breaks quickly
That usually means the materials were too flimsy or the rubber bands were overstretched. Homemade instruments are charming, but they are not immortal.
Can You Make It Sound Better?
Yes, within reason. Start by building it neatly. Straight sticks, even straw pieces, and balanced tension all help. Try different rubber bands to compare tone and responsiveness. Some bands sound brighter, others softer. You can also test paper or wax paper inserts for a different buzz, though that changes the instrument’s character a bit.
If you want to go a step further, make three or four versions with different spacer distances and compare them. That is where this project gets genuinely useful. Instead of randomly assembling a noisemaker, you start understanding design choices. The instrument becomes a lesson in cause and effect.
What Making a Homemade Harmonica Feels Like in Real Life
Here is the experience nobody tells you about: making a homemade harmonica is equal parts craft project, science experiment, and comedy sketch. The first few minutes usually feel very confident. You line up the sticks, cut the straw, stretch the rubber band, and think, “Wow, I am basically an instrument maker now.” Then you blow into it for the first time and produce a sound that resembles a bee filing a complaint. That is normal. In fact, it is almost a tradition.
The real fun starts when you begin tweaking it. You slide one spacer a little to the left and suddenly the tone jumps. You blow softer and it whispers. You blow harder and it gets louder, raspier, and a little dramatic. You realize pretty quickly that the project rewards curiosity more than perfection. That is why kids love it, teachers use it, and adults secretly enjoy it even while pretending they are only “helping.”
One of the best parts of this project is how fast it teaches patience. If the sound is bad, you cannot glare at the instrument and expect it to improve out of fear. You have to adjust something. Maybe the rubber band is too loose. Maybe the spacer is crooked. Maybe you are blowing at the wrong angle. Small changes matter, and that makes the experience satisfying. The moment you finally hit that strong, buzzy tone feels weirdly triumphant for something made from materials that cost less than a fancy coffee.
It is also a surprisingly social project. If several people make their own versions, the room turns into a tiny research lab with opinions. One person swears the thicker rubber band sounds better. Another insists the straw pieces need to be closer together. Someone inevitably decorates theirs like it is about to headline a world tour. Nobody is entirely wrong, which is part of the charm. Homemade instruments invite experimenting, comparing, and laughing at the results.
There is also something memorable about the physical feel of the instrument. You can sense the vibration through the sticks. You can hear the difference when the band is tighter. You can feel how airflow changes the sound. That hands-on feedback is what makes this project stick in your brain. You are not just reading about pitch or resonance. You are physically causing it, hearing it, and correcting it in real time.
And then there is the moment you compare it with a real harmonica. That is when the project becomes even more interesting. You understand why real instruments need better materials, precision parts, airtight construction, and careful tuning. Your homemade harmonica may not play the blues like a pro, but it teaches you why the real thing can. That is a valuable experience. It turns a simple craft into a doorway to music, engineering, and design.
So yes, the experience is a little messy. It can be noisy. It may involve rebuilding the instrument once or twice. But it also gives you that rare combination of fun and understanding. You make something with your hands, it actually works, and you walk away knowing more than when you started. That is a pretty great trade for two sticks and a rubber band.
Final Thoughts
If you want a fun, low-cost DIY music project, this homemade harmonica is hard to beat. It is easy enough for beginners, clever enough for a classroom, and interesting enough for anyone who likes knowing how things work. You get a playable instrument, a hands-on lesson in sound, and a better appreciation for the engineering inside a real harmonica.
Most importantly, you do not need perfection to enjoy it. You just need curiosity, a few household supplies, and the willingness to embrace the occasional ridiculous buzz. Make one, experiment with it, rebuild it if needed, and see how far you can push the design. That is how good makers learn: one weird sound at a time.
SEO Tags

