
Body Care
How to Use Dry Ice in a Cooler: Easy Step-by-Step Guide
Jul
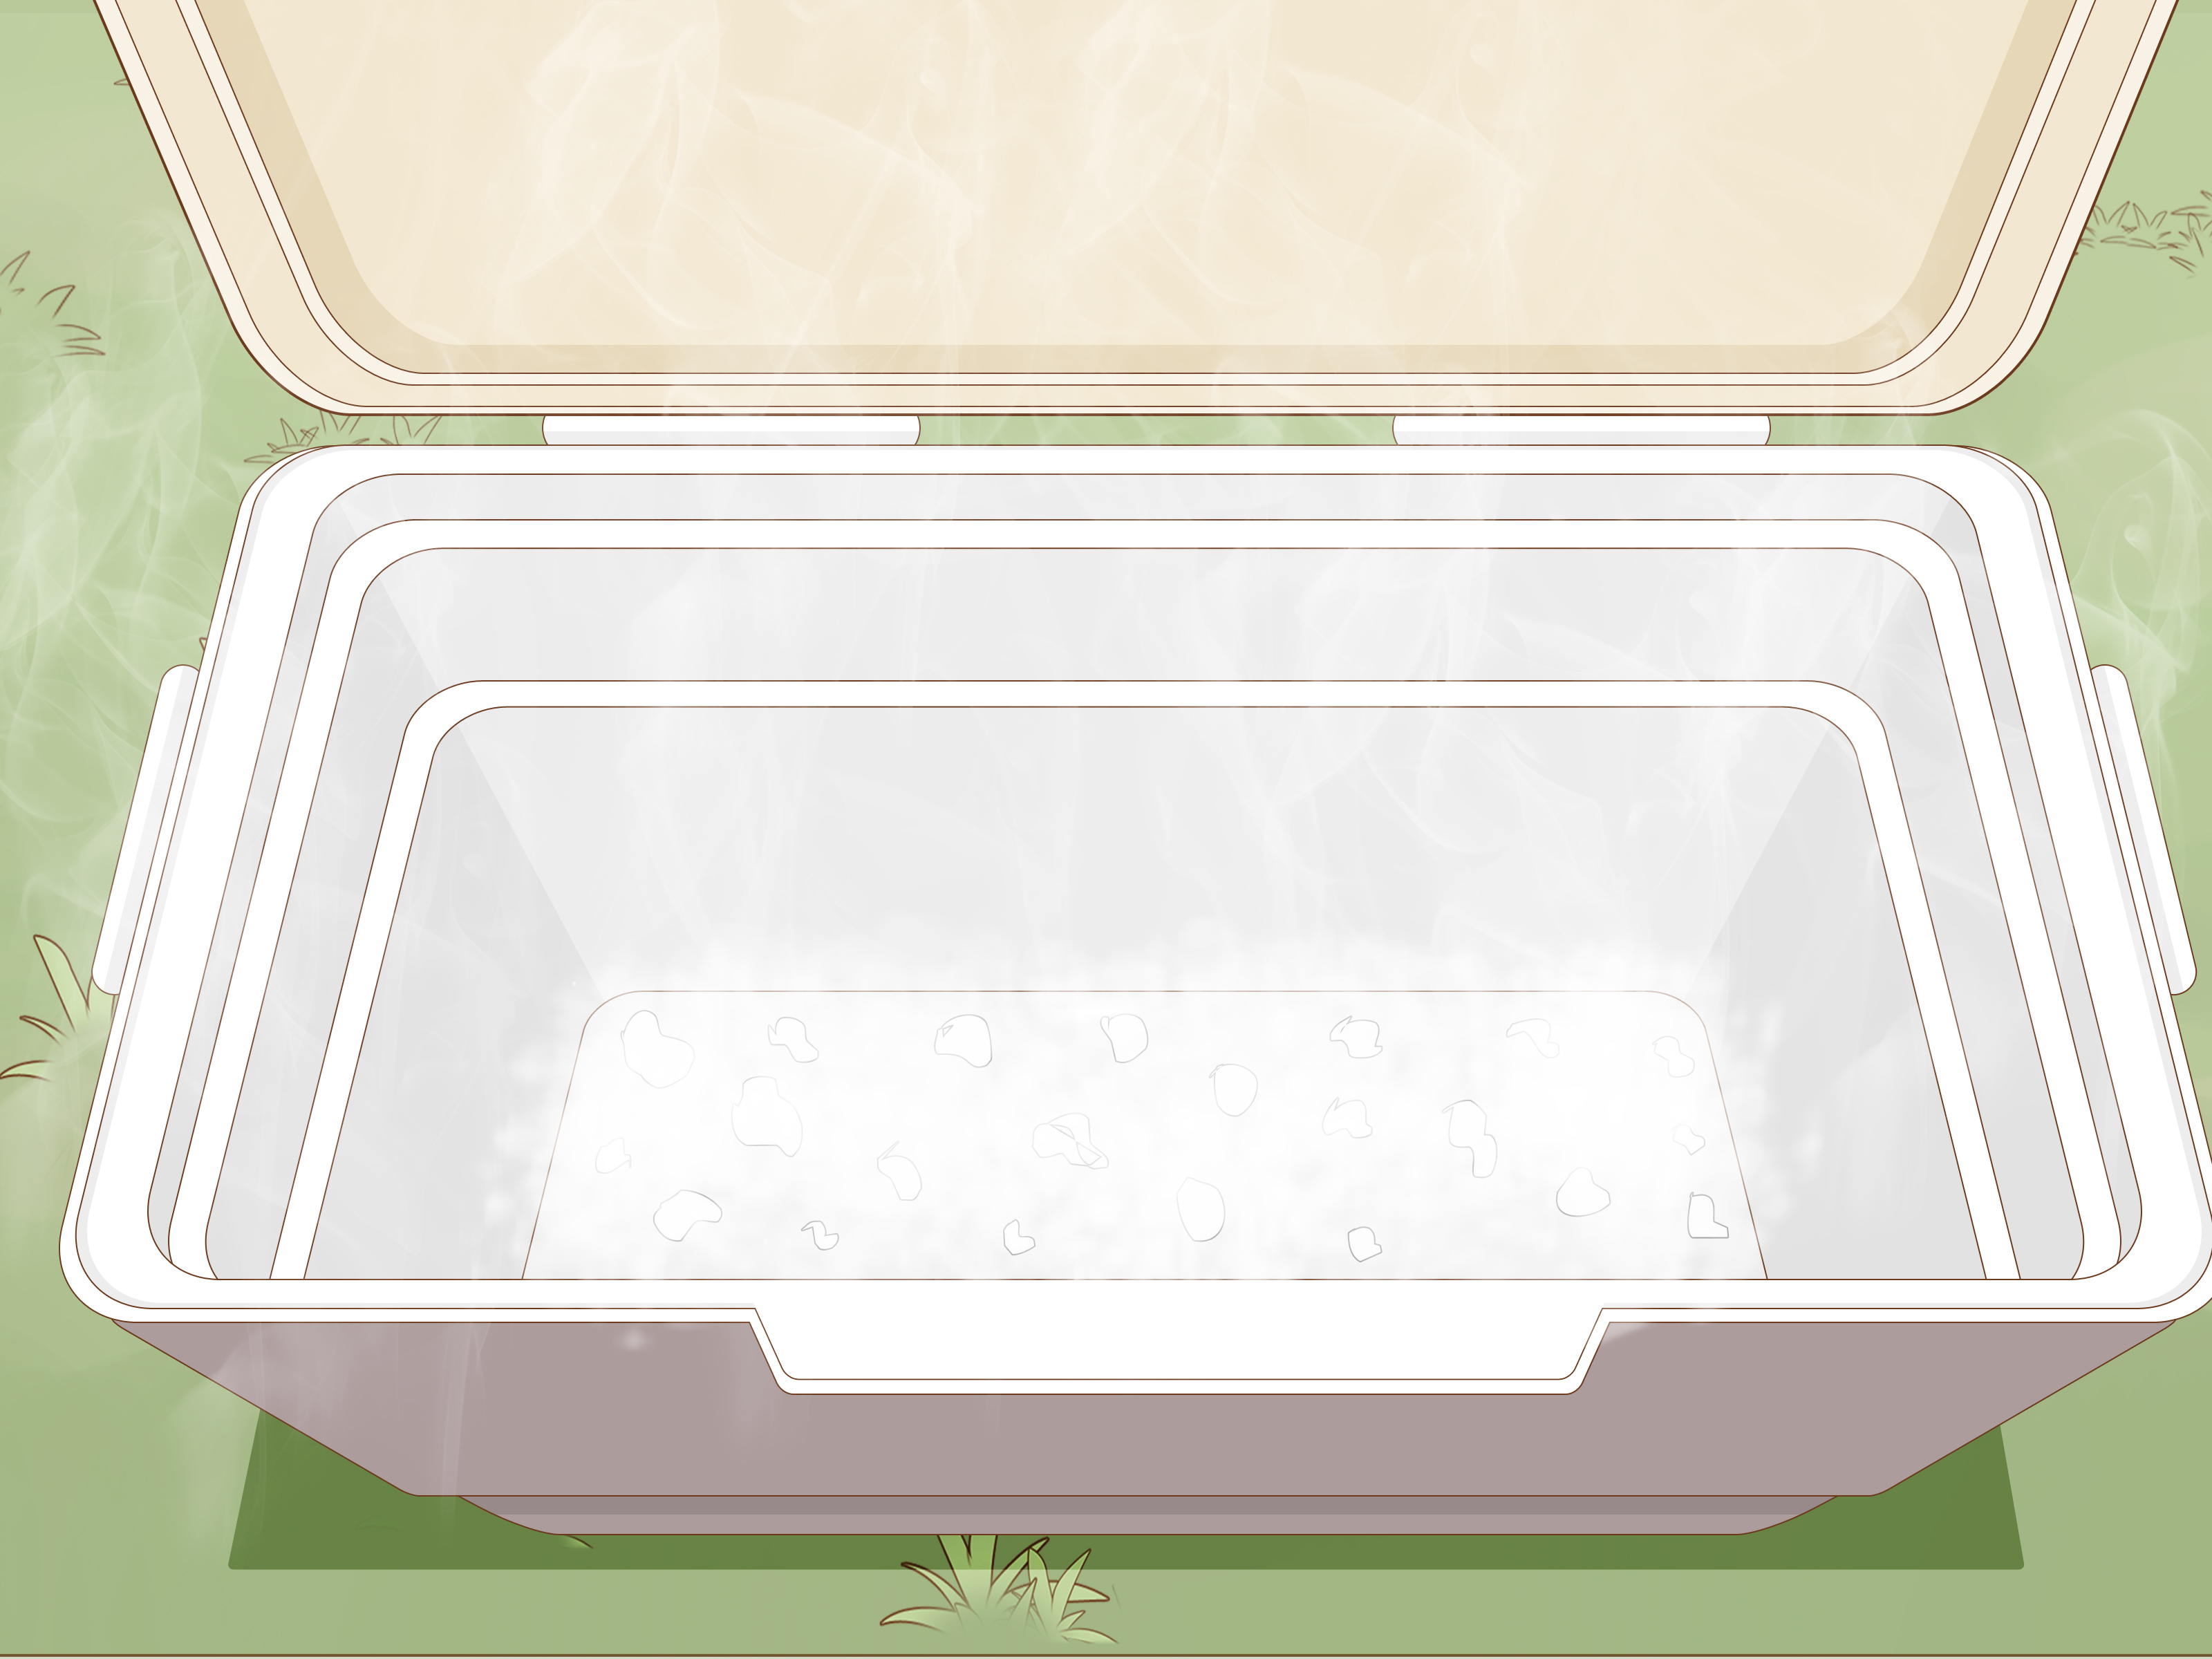
Dry ice can turn an ordinary cooler into a portable deep freezenates the puddle of melted water that usually waits at the bottom of a cooler like an unpleasant little surprise.
However, dry ice is not simply “extra-cold ice.” It is solid carbon dioxide, it sits at approximately -109°F, and it changes directly from a solid into carbon dioxide gas through a process called sublimation. That makes it extremely effective for cooling, but it also means you must handle it carefully, allow gas to escape, and use it only in well-ventilated environments. de explains how to use dry ice in a cooler safely, how much you may need, where to place it, and how to avoid freezing everything from your lettuce to your favorite carbonated drink.
What Is Dry Ice, and Why Is It So Effective?
Regular ice is frozen water. As it warms, it melts and leaves water behind. Dry ice is frozen carbon dioxide. Instead of melting into a liquid, it sublimates directly into gas.
Dry ice is much colder than water ice, which freezes at 32°F. Because dry ice is about -109°F, it can keep properly packed foods completely frozen rather than merely refrigerated. It is especially useful for camping trips, hunting and fishing trips, emergency food storage, road travel, frozen-food transportation, and outdoor events.
Its main advantages include:
- It can maintain freezing temperatures for extended periods.
- It does not produce meltwater.
- It can help ordinary water ice remain frozen longer.
- Blocks are compact and relatively easy to arrange in a hard cooler.
The trade-off is that dry ice can damage unsuitable coolers, freeze foods that were supposed to remain merely chilled, and create a dangerous buildup of carbon dioxide gas when used without adequate ventilation.
What You Need Before Packing the Cooler
Gathering everything before you open the dry ice package reduces handling time and prevents you from wandering around the kitchen wearing giant insulated gloves while looking for yesterday’s newspaper.
Essential supplies
- A hard-sided, dry-ice-compatible cooler
- Insulated or cryogenic gloves
- Metal tongs for moving smaller pieces
- Safety glasses if you will break or chip the dry ice
- Newspaper, cardboard, or clean towels for insulation
- Frozen or thoroughly pre-chilled food
- A cooler thermometer
- Empty cardboard or crumpled paper for filling open space
Dry ice can cause severe cold burns or frostbite after brief skin contact. OSHA and CDC guidance recommends insulated hand protection and avoiding direct contact with the skin and eyes. Eye protection is particularly important when dry ice is being chipped because brittle pieces may fly unexpectedly.
Choose the Right Cooler
Use a sturdy hard-sided cooler whose manufacturer specifically permits dry ice. Some premium rotomolded coolers and heavy-duty camping coolers are designed to tolerate extreme cold while still allowing carbon dioxide gas to escape.
Avoid using dry ice in a soft-sided cooler unless its manufacturer clearly approves it. Extreme temperatures may weaken liners, adhesives, seams, or flexible materials. Pelican recommends hard coolers for dry ice, while YETI identifies specific hard-cooler models as compatible and advises against using dry ice in its soft coolers. ortantly, the cooler must not become airtight. Dry ice continually produces gas as it warms. If that gas cannot escape, pressure may build until the lid, latch, or container fails.
How Much Dry Ice Do You Need?
The correct amount depends on the cooler size, insulation quality, outdoor temperature, food temperature, number of lid openings, and whether you need food chilled or completely frozen.
In a typical insulated cooler, approximately 5 to 10 pounds of dry ice may sublimate during a 24-hour period. Blocks usually last longer than small pellets because they expose less surface area to warmer air. A common starting point for a medium camping cooler is about 10 pounds per day, but hot weather, a partly empty cooler, or frequent opening can substantially increase consumption. ort overnight trip, 5 to 10 pounds may be sufficient in a well-insulated cooler. For a two- or three-day trip, you may need 15 to 30 pounds. Treat these numbers as planning estimates rather than guarantees, and consult the cooler manufacturer or dry ice supplier for recommendations based on your exact setup.
Buy dry ice as close to departure time as possible. It begins disappearing immediately, even when stored correctly, so purchasing it several days early is an impressive way to spend money on something that vanishes before the trip starts.
How to Use Dry Ice in a Cooler Step by Step
Step 1: Decide Whether You Want Food Frozen or Chilled
Placement depends on your goal. If you want meat, frozen meals, or ice cream to remain completely frozen, the dry ice should generally be placed above the food. Cold air moves downward, allowing the freezing effect to spread through the cooler.
If you want foods merely refrigerated, place the wrapped dry ice near the bottom and add a thick insulating barrier above it. You can then place regular ice, frozen gel packs, or chilled food on top. Texas A&M and cooler manufacturers recommend separating dry ice from food with cardboard, newspaper, or another insulating material. : Pre-Chill the Cooler
A warm cooler immediately consumes cooling power. Several hours before packing, place frozen water bottles, regular ice, or reusable freezer packs inside the cooler. Keep it in an air-conditioned room, basement, or shaded location rather than leaving it in a hot garage.
Discard the sacrificial ice or meltwater immediately before packing. Beginning with cold interior walls can significantly improve ice retention because the dry ice does not have to cool the cooler before it starts protecting the food. : Freeze or Pre-Chill the Contents
Dry ice performs best when it maintains an existing temperature rather than cooling warm groceries from scratch. Freeze meat, meals, and water bottles solid before packing them. Refrigerate produce, condiments, and drinks overnight.
Place foods in sturdy, watertight containers or sealed freezer bags. This prevents leaks, contains odors, and protects food from accidental direct contact with dry ice.
Step 4: Put On Protective Equipment
Work in a well-ventilated location, preferably outdoors. Put on insulated gloves before touching the dry ice. Use tongs for small pieces and safety glasses if a block must be divided.
Do not hold dry ice with bare hands, even for “just a second.” The cold can damage skin rapidly. Ordinary thin food-service gloves are not adequate insulation.
Step 5: Wrap the Dry Ice
Wrap each block in several layers of newspaper, a paper grocery bag, cardboard, or a clean towel. Wrapping provides a protective barrier, slows sublimation, and reduces the likelihood of freezer damage to food or the cooler interior.
Do not wrap the block in an airtight plastic container. The goal is insulation, not sealing. Carbon dioxide gas must still be able to escape.
Step 6: Build the Correct Layers
For frozen storage, place the frozen food tightly together at the bottom and middle of the cooler. Cover the food with cardboard or folded newspaper, then place the wrapped dry ice on top.
For refrigerated storage, place the wrapped dry ice at the bottom. Add a substantial cardboard barrier, followed by regular block ice, gel packs, or frozen bottles. Place chilled food above that layer.
Keep delicate produce, eggs, dairy products, canned drinks, and glass containers well separated from the dry ice. Anything positioned too close may freeze solid, crack, burst, or suffer texture damage.
Step 7: Eliminate Empty Space
Empty air space increases heat transfer and allows the cooler contents to shift. Pack food closely and use crumpled newspaper, clean cardboard, or folded towels to fill unused areas.
A full cooler generally maintains temperature better than a half-empty one. If you do not have enough food to fill the cooler, frozen water bottles can occupy extra space while providing additional cooling.
Step 8: Close the Cooler Without Making It Airtight
Close the lid according to the manufacturer’s instructions, but do not tape, strap, clamp, or modify the cooler in a way that prevents gas from venting. Never place dry ice in a screw-top jar, sealed bucket, glass container, or airtight box.
CDC guidance warns that pressure buildup in sealed containers can cause rupture or explosion. A properly selected cooler should retain cold while still permitting carbon dioxide gas to escape. : Transport It With Continuous Ventilation
Place the cooler in a pickup bed, trailer, roof cargo carrier, or other area separated from passengers whenever possible. If it must ride inside a vehicle, keep windows open, maintain fresh-air ventilation, and minimize travel time.
Never leave dry ice inside a parked car. Carbon dioxide is colorless and may accumulate without an obvious warning smell. The EPA advises against transporting dry ice inside a closed vehicle, while occupational safety reports document fatal carbon dioxide exposure in passenger compartments. 0: Keep the Cooler Shaded and Closed
At your destination, place the cooler in the shade and open it only when necessary. Every opening replaces cold interior air with warm outdoor air.
A useful approach is to keep frozen food in the dry ice cooler and beverages in a second cooler. The drink cooler will be opened repeatedly, while the frozen-food cooler can remain closed. USDA camping guidance similarly recommends separate coolers for frequently accessed drinks and more temperature-sensitive foods.
How to Monitor Food Temperature
Place a cooler thermometer where it can be read without rearranging the entire contents. Refrigerated perishable food should remain at 40°F or below. Frozen food should remain frozen, ideally around 0°F.
Do not judge safety only by touching the package. A container may feel cool even after spending too long at an unsafe temperature. USDA guidance recommends using appliance or food thermometers and notes that frozen food may generally be refrozen when it still contains ice crystals or remains at 40°F or below. questionable perishable food rather than conducting a smell test. Dangerous bacteria do not always send a written invitation before arriving.
Common Dry Ice Cooler Mistakes
Sealing the Cooler Completely
This is the most serious mistake. Dry ice continuously turns into gas, so the container must vent. Never assume that a stronger latch makes the setup safer.
Using Bare Hands
A kitchen towel held loosely around a block is not a reliable substitute for insulated gloves. Use proper protection and metal tongs.
Placing Food Directly Against Dry Ice
Direct contact can cause freezer damage, alter texture, and make packaging brittle. Always install an insulating layer.
Using Too Much Dry Ice for Drinks
Dry ice is excellent at freezing things, including things you did not want frozen. Cans and bottles near the block may become dangerously overpressurized as their contents freeze and expand.
Starting With Warm Food
Warm food shortens dry ice life and can delay safe cooling. Freeze or refrigerate everything before packing.
Leaving Large Air Gaps
Open space accelerates warming. Fill gaps with frozen bottles, paper, or other safe insulating material.
Using the Cooler in a Tent or Small Room
Do not store a dry ice cooler in a tent, sleeping area, small cabin, closet, or poorly ventilated room. Sublimating carbon dioxide can displace breathable air, especially in low or confined areas. NIH and OSHA safety information emphasizes ventilated storage and the asphyxiation risk of accumulated carbon dioxide.
Can You Combine Dry Ice With Regular Ice?
Yes. Combining the two can provide both deep-freezing power and longer-lasting conventional ice. Dry ice can help keep water ice frozen, while the regular ice provides a less extreme cooling zone for foods and beverages.
For a mixed setup, place wrapped dry ice at the bottom, cover it with cardboard, and add block ice or frozen water bottles above it. Arrange refrigerated food near the upper layers. Alternatively, place frozen food at the bottom, regular ice around it, and wrapped dry ice on top when the goal is maximum freezing.
Do not pour water onto dry ice inside the cooler. Water dramatically accelerates sublimation, creating more carbon dioxide gas and using up the dry ice faster.
How to Dispose of Leftover Dry Ice
Leave unused dry ice in a well-ventilated outdoor area where children and pets cannot reach it. Keep it in an open or properly vented insulated container and allow it to disappear naturally.
Do not place dry ice in a sink, toilet, garbage disposal, sealed trash can, or ordinary household freezer. Extreme cold may damage plumbing and surfaces, while an enclosed container may develop pressure. Texas A&M recommends allowing leftover dry ice to sublimate outdoors with adequate ventilation.
Practical Experiences: What Makes a Dry Ice Cooler Work Better
The difference between a successful dry ice cooler and a disappointing one often has less to do with expensive equipment and more to do with planning. A common first-time mistake is buying dry ice the day before a trip, leaving it in a partly empty cooler, and discovering the next morning that a noticeable portion has already vanished. Buying it shortly before departure and filling open space can preserve much more cooling capacity.
Consider a three-day camping trip with a 45-quart hard cooler. The menu includes frozen hamburger patties, steaks, breakfast sausage, frozen chili, butter, cheese, vegetables, and drinks. Putting everything into one dry ice cooler seems convenient, but it creates a temperature-management problem. The meat should remain frozen, while tomatoes, lettuce, eggs, and canned drinks should not.
A better arrangement uses two coolers. The first is the freezer cooler. Frozen meat and prepared meals are packed tightly at the bottom. A cardboard sheet covers the food, and wrapped dry ice blocks rest on top. Empty corners are filled with crumpled paper. This cooler remains closed until frozen food is needed.
The second cooler holds drinks, eggs, produce, cheese, and other refrigerated items with regular block ice or frozen water bottles. Campers may open that cooler dozens of times without releasing the deep cold protecting the meat. The arrangement also prevents the classic surprise of finding lettuce that has become a green sheet of stained glass.
Block dry ice is usually easier to manage on longer trips because it tends to last longer than small pellets. Pellets provide rapid cooling and fit around irregular packages, but their greater exposed surface area generally causes faster sublimation. When only pellets are available, wrapping them in several layers of paper and grouping them together can reduce unnecessary exposure.
Another practical lesson is to organize meals by day. Food intended for the final day goes deepest in the cooler, while the first meal remains near the top or in an accessible side area. This prevents a lengthy treasure hunt every time dinner is prepared. Labeling freezer bags with the meal and date also helps, especially when every frozen package begins to resemble an unidentified brick.
Shade makes a meaningful difference. A cooler sitting on black pavement in direct afternoon sun absorbs heat from every direction. Placing it beneath a picnic table, reflective cover, tree, or ventilated vehicle shelter reduces the burden on both dry ice and regular ice. The cooler should not be wrapped so completely that its required ventilation is obstructed.
Transportation deserves just as much planning as packing. Carrying the cooler in the passenger cabin with all windows closed is unsafe. A truck bed or separated cargo area is preferable. When separation is impossible, maintaining strong fresh-air ventilation and avoiding unnecessary stops reduces the chance of carbon dioxide accumulation.
Finally, avoid estimating cooler performance solely from how much dry ice remains. Use a thermometer. Weather, cooler quality, food quantity, and opening frequency can make two apparently identical setups behave very differently. A $10 thermometer often provides more useful information than an elaborate debate about whether the block “looks big enough.”
Final Thoughts
Learning how to use dry ice in a cooler is mainly about controlling three things: temperature, contact, and ventilation. Start with a compatible hard cooler, pre-chill the contents, wrap the dry ice, separate it from food, fill empty spaces, and allow carbon dioxide gas to escape.
For frozen items, place wrapped dry ice above the food. For chilled items, keep it near the bottom beneath a substantial insulating barrier. Monitor the temperature, minimize lid openings, and transport the cooler where fresh air can circulate.
Handled correctly, dry ice can keep food frozen for days without creating a watery mess. Handled carelessly, it can freeze your lunch, damage the cooler, or create a serious safety hazard. Respect the science, wear the gloves, and let the cooler do the cold work.

