
Hair Care
How to Replace a Light Bulb in a Ceiling Fan: 4 Easy Methods
Jul
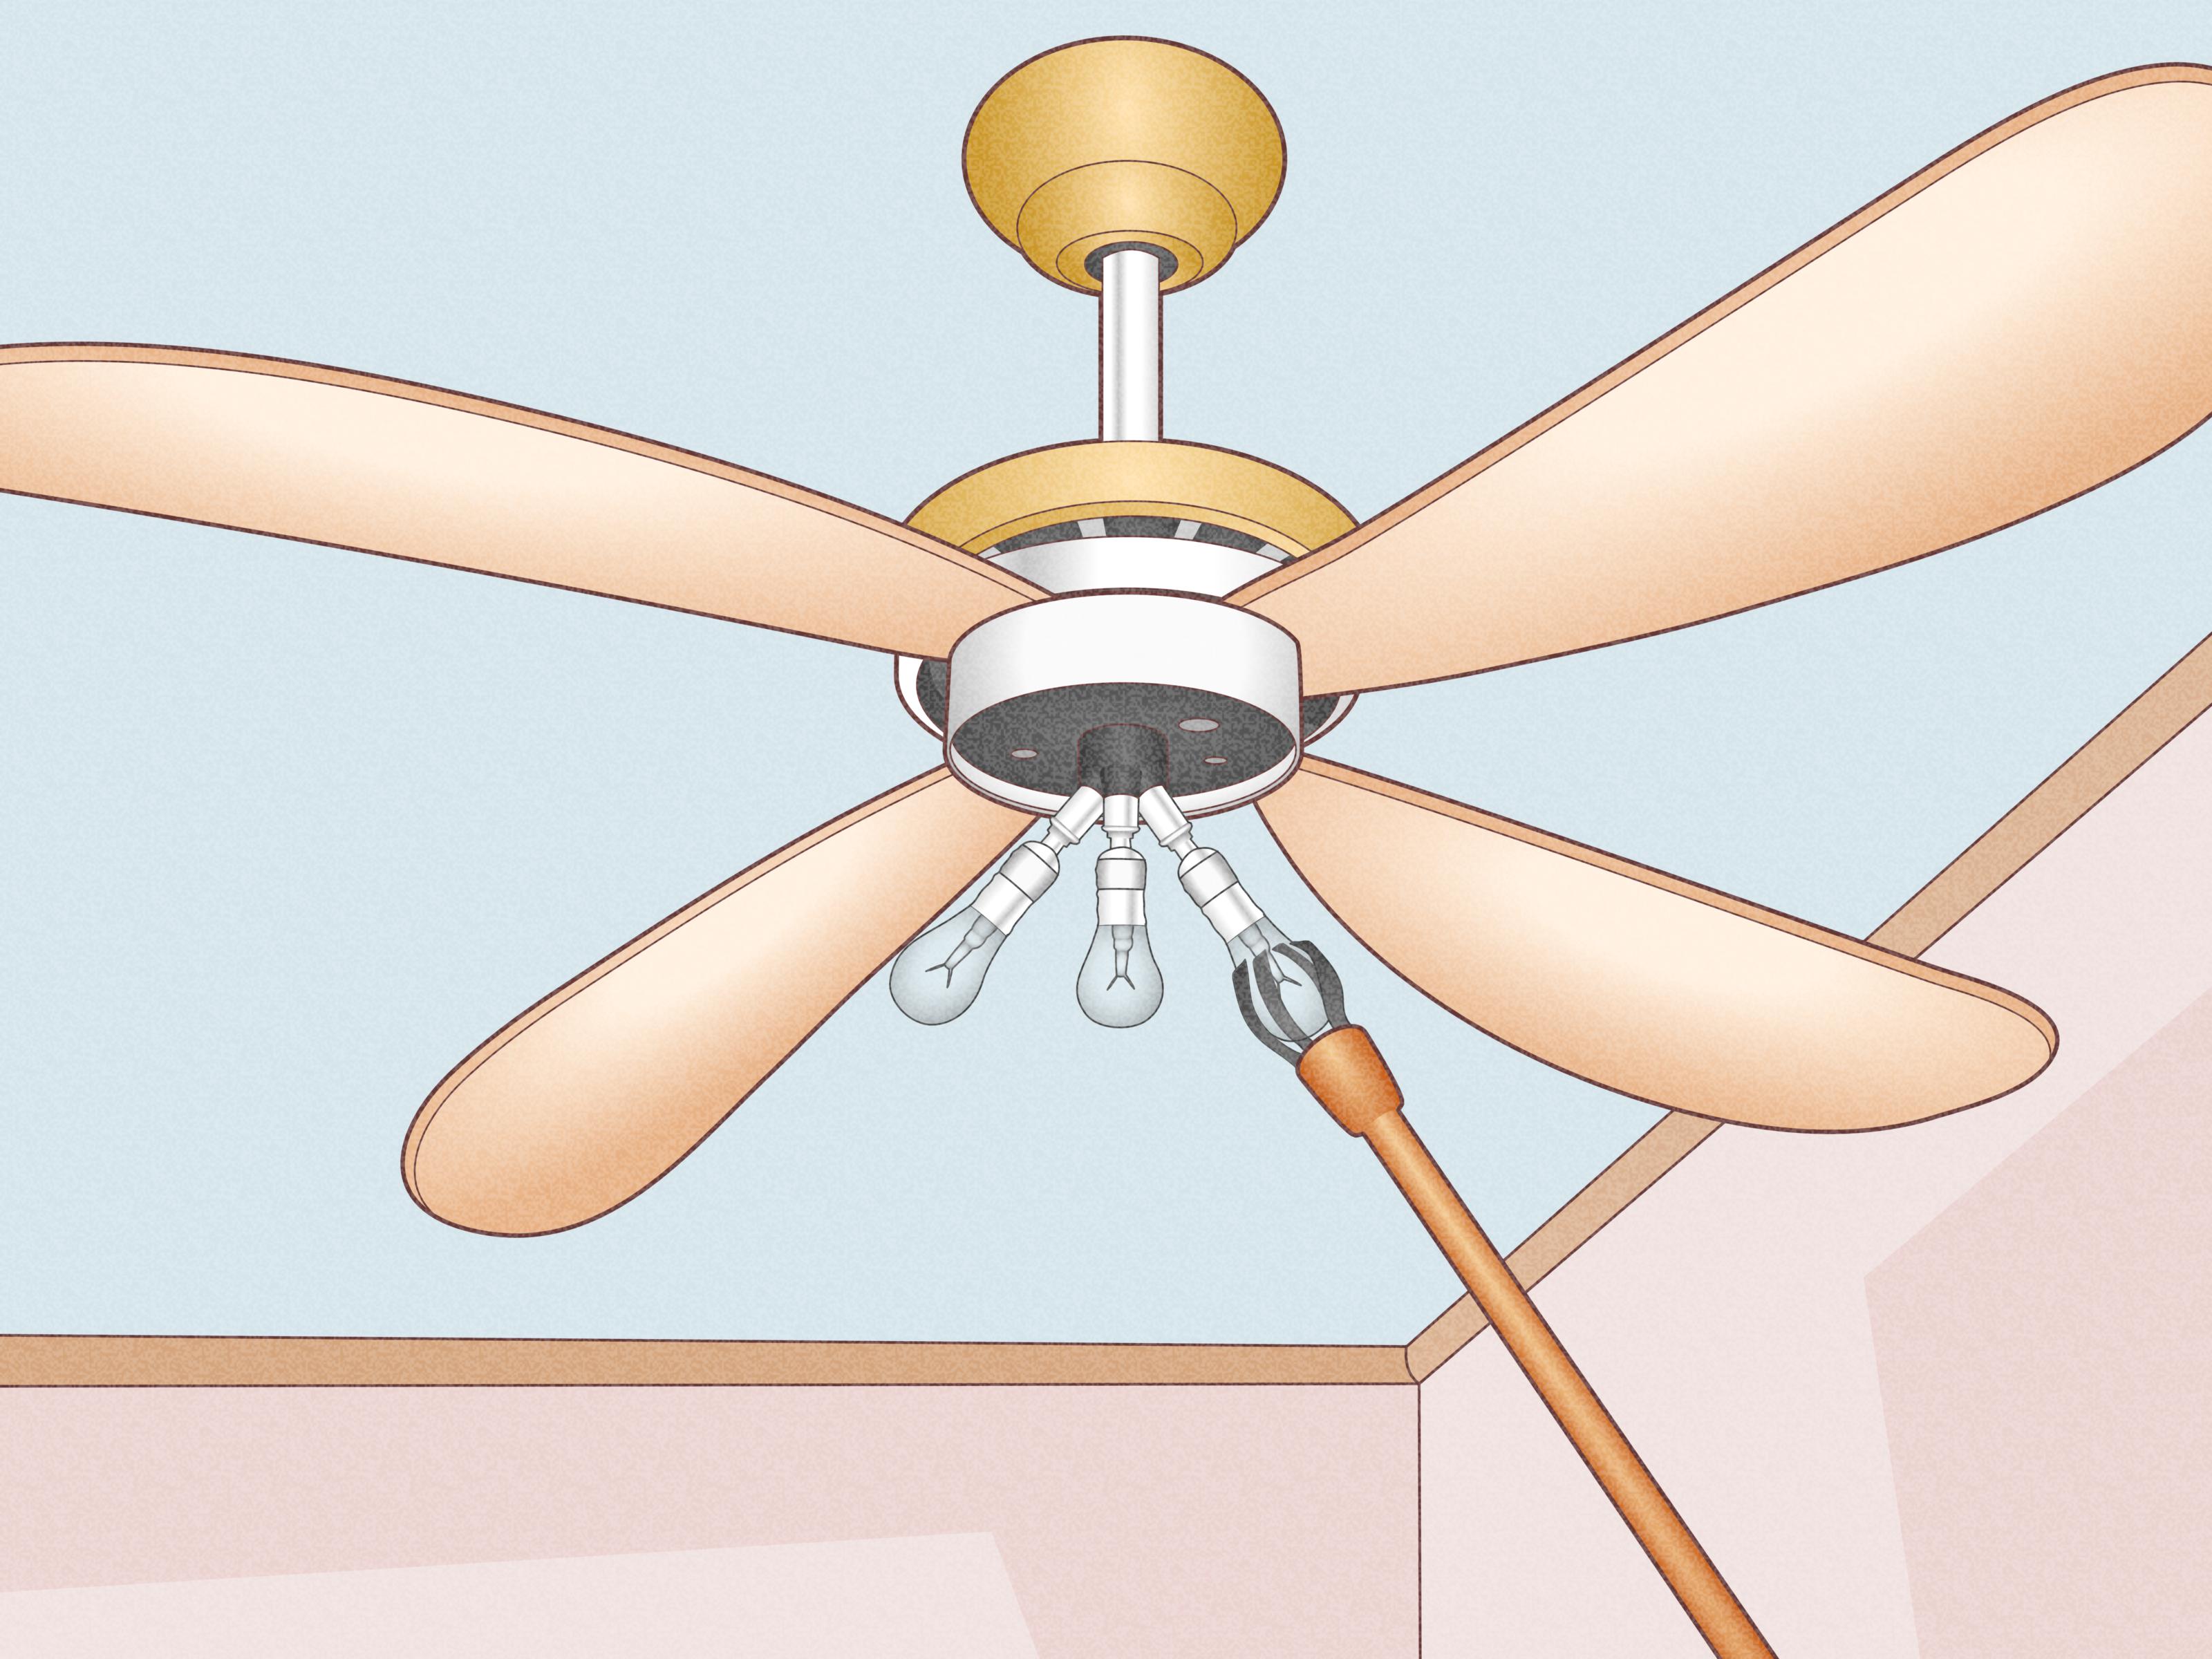
Changing a ceiling fan light bulb sounds like the kind of job that should take 90 seconds. Then you look up, see a glass dome with no visible screws, a pull chain doing acrobatics through the fixture, and a bulb that appears to have been installed by a wizard with tiny hands. Relax. You do not need a contractor, a dramatic ladder montage, or a degree in ceiling-fan archaeology.
In most homes, replacing a ceiling fan bulb is a simple DIY task once you know what type of light cover you have. Some fans use a bowl shade held by a center finial. Others use individual glass shades with thumbscrews. Some have twist-lock covers, clips, or integrated LED panels instead of traditional bulbs. The trick is to identify the design before you start twisting things like you are opening a stubborn pickle jar.
This guide walks you through four easy methods for replacing a light bulb in a ceiling fan, plus safety tips, bulb-selection advice, troubleshooting, and real-world experience that can save you from cracked glass, flickering lights, and the classic “why is this still not working?” moment.
Note: This article is for general homeowner guidance. Always follow your ceiling fan manual, match the bulb type and wattage listed on the fixture, and call a qualified electrician if you see damaged wiring, burning smells, sparks, or repeated electrical problems.
Before You Start: Safety Comes First
Before replacing a ceiling fan light bulb, turn the fan and light off. For the safest approach, switch off the circuit breaker that controls the room. Turning off only the wall switch may stop the light, but it does not always remove every electrical risk, especially in older homes or fixtures wired in unusual ways.
Let the bulb cool before touching it. Incandescent and halogen bulbs can become hot enough to punish impatient fingers. Even LED bulbs may feel warm if they have been running for a while. Give the fixture a few minutes to cool, then use a sturdy step ladder placed on a flat surface. Avoid standing on chairs, rolling office stools, laundry baskets, or anything that looks like it belongs in a slapstick comedy.
Gather These Basic Supplies
- A replacement bulb that matches the fan’s socket, wattage limit, and shape
- A stable step ladder
- A microfiber cloth or towel
- Work gloves, especially for glass shades
- A small screwdriver, if your fan has shade screws
- A flashlight, if the room becomes too dark after the breaker is off
How to Choose the Right Ceiling Fan Light Bulb
Not every bulb that fits should be used. Ceiling fan light kits often have limited space, heat restrictions, and specific socket types. Check the label inside the light kit, the old bulb, or your fan manual before buying replacements.
Common Ceiling Fan Bulb Types
Many ceiling fans use medium-base bulbs, also called E26 bulbs. Smaller fans and decorative light kits may use candelabra-base bulbs, often labeled E12. Some older or compact fixtures may use intermediate bases, pin-base bulbs, or specialty bulbs. The bulb shape also matters. A standard A19 bulb may fit some fans, while smaller A15 bulbs are often better for compact ceiling fan shades.
Check the Wattage Limit
The wattage limit printed on the fan is a safety rule, not a polite suggestion. If the label says 40 watts maximum, do not install a 60-watt incandescent bulb. A higher-wattage bulb can create excess heat inside the light kit. LED bulbs are usually a smart upgrade because they use fewer watts while producing strong brightness, but the actual wattage and compatibility still need to match the fixture.
Use the Right LED Bulb
LED bulbs are efficient, long-lasting, and cooler than incandescent bulbs, but choose carefully. If your ceiling fan has an enclosed glass dome or tight shade, look for an LED bulb rated for enclosed fixtures. If your fan light is controlled by a dimmer, use dimmable LED bulbs and make sure the dimmer switch is LED-compatible. Otherwise, the bulb may flicker, buzz, or behave like it has stage fright.
Method 1: Replace a Bulb Under a Bowl Shade with a Center Finial
This is one of the most common ceiling fan light designs. The fan has a single glass bowl underneath, held in place by a decorative nut or finial at the center. You will usually see a small cap and threaded rod passing through the glass.
Step-by-Step Instructions
- Turn off the fan, light, and circuit breaker.
- Place your ladder directly under the fan so you can reach the shade comfortably.
- Support the glass bowl with one hand.
- Use your other hand to turn the center finial counterclockwise.
- Remove the finial, decorative cap, and any washer carefully.
- Lower the glass bowl slowly and place it on a towel.
- Unscrew the old bulb counterclockwise.
- Screw in the new bulb clockwise until snug, but do not overtighten.
- Reinstall the glass bowl, washer, cap, and finial.
- Restore power and test the light.
The most important move is supporting the glass while loosening the finial. Once the nut releases, gravity becomes very interested in your glass shade. Do not let it win.
Helpful Tip
If the finial is stuck, try wrapping it with a dry cloth for better grip. Avoid pliers unless absolutely necessary, and never squeeze hard against decorative metal or glass. If you must use a tool, protect the finish with cloth and apply gentle pressure.
Method 2: Replace Bulbs in Individual Glass Shades
Many ceiling fans have two, three, or four downward- or upward-facing glass shades. Each shade is usually held by small thumbscrews around a metal fitter, a retaining ring, or a threaded collar. This method is common on traditional, farmhouse, and transitional-style fans.
Step-by-Step Instructions
- Turn off the power and allow the bulbs to cool.
- Set your ladder so you can reach the shade without leaning.
- Hold the glass shade with one hand.
- Loosen the thumbscrews evenly, usually by turning them counterclockwise.
- Remove the shade and set it somewhere safe.
- Unscrew the old bulb.
- Install the correct replacement bulb.
- Reposition the shade and tighten the screws evenly.
- Stop tightening once the shade is secure.
Do not crank down on the thumbscrews. Glass shades need to be held securely, not interrogated. Overtightening can crack the glass or make the next bulb change much harder.
What If the Shade Points Up?
For upward-facing shades, dust and dead bugs may collect inside. It is not glamorous, but it is normal. Remove the shade, wash it with mild soap and water if needed, dry it completely, and reinstall it after changing the bulb. Never put a wet shade back onto an electrical fixture.
Method 3: Replace a Bulb Behind a Twist-Lock, Clip-On, or Screwless Cover
Some modern ceiling fans hide the bulb behind a smooth dome, frosted lens, or low-profile cover with no visible screws. These can look sleek, but they also make homeowners ask, “Where is the door to this thing?” Usually, the cover twists, snaps, or releases from hidden clips.
Step-by-Step Instructions
- Turn off the light, fan, and breaker.
- Look closely at the edge of the glass or plastic cover.
- Place one hand under the cover for support.
- Try gently rotating the cover counterclockwise.
- If it does not twist, look for spring clips or small tabs around the rim.
- Release the clips carefully or press the tabs as directed by the fan design.
- Lower the cover and set it on a soft surface.
- Replace the bulb with the correct type.
- Reattach the cover by reversing the removal process.
The key word is gently. If the cover does not move, stop and inspect it again. Forcing a dome can break glass, crack plastic, bend clips, or create a new home improvement project you did not order.
How to Handle a Stuck Dome
A stuck glass dome often results from dust, paint, humidity, or years of not being removed. Try wearing rubber-grip gloves and rotating with steady pressure. You can also tap lightly around the metal rim with the heel of your hand to loosen debris. Do not hit the glass with a metal tool. That method has only two possible outcomes, and neither one involves dignity.
Method 4: Replace an Integrated LED Module or Light Kit
Some ceiling fans do not have replaceable bulbs at all. Instead, they use an integrated LED module, a flat LED board, or a complete light kit. These are common in low-profile and modern ceiling fans. When the light fails, you may need to replace the LED module or the entire light assembly rather than a screw-in bulb.
How to Tell If Your Fan Has an Integrated LED
Remove the diffuser or lens and look inside. If you see a flat circular board with many tiny yellow LED chips, that is an integrated LED module. If there is no standard socket, there is no regular bulb to replace.
Step-by-Step Instructions
- Turn off power at the circuit breaker.
- Remove the glass or plastic diffuser.
- Take a photo of the wiring and module placement before disconnecting anything.
- Find the model number on the fan or in the manual.
- Order the manufacturer-approved LED module or light kit.
- Disconnect the old module only according to the manual.
- Install the replacement part and secure all screws.
- Reattach the diffuser and restore power.
If the repair involves wire nuts, damaged connectors, unclear wiring, or no available replacement part, hire an electrician or contact the fan manufacturer. Integrated LED systems vary widely, and guessing is not a good strategy when electricity is involved.
Troubleshooting: What If the New Bulb Does Not Work?
If the replacement bulb does not turn on, do not panic. Start with the simple checks first.
Check the Bulb
Try the bulb in another lamp or fixture. New bulbs can occasionally be defective. Also confirm that the bulb is fully seated in the socket. It should be snug, but not forced.
Check the Pull Chain, Wall Switch, and Remote
Ceiling fans often have multiple controls. The wall switch may be on, but the pull chain may be off. The remote may need fresh batteries. Some fans also have separate buttons for fan speed and light control. Test each one before assuming the fixture is broken.
Check for Wattage or Compatibility Problems
If the light flickers, shuts off quickly, or buzzes, the bulb may not be compatible with the fixture or dimmer. Replace it with a bulb that matches the fan’s requirements. For enclosed shades, use bulbs rated for enclosed fixtures. For dimmer-controlled lights, use dimmable bulbs and an LED-compatible dimmer.
Look for Heat or Damage
If you smell burning, see scorch marks, notice melted plastic, or find a loose socket, stop using the light. Turn off the breaker and call a professional. A simple bulb replacement should not involve mystery smells or toasted hardware.
Ceiling Fan Bulb Replacement Mistakes to Avoid
Using the Wrong Bulb Base
An E12 candelabra bulb will not fit an E26 medium socket, and an E26 bulb will not shrink itself to fit a smaller socket. Bring the old bulb to the store or compare the base carefully before buying replacements.
Ignoring the Glass Shade Size
A bulb can have the right base and still be too large for the shade. Ceiling fan fixtures often need compact bulbs such as A15 LEDs. If the shade presses against the bulb, choose a smaller bulb that still meets brightness needs.
Overtightening the Bulb
Screwing in a bulb too tightly can damage the socket or make removal difficult later. Turn it until it is secure and makes contact. That is enough.
Mixing Bulb Colors
If your fan has multiple bulbs, replace them with bulbs of the same color temperature. Mixing warm white and daylight bulbs can make the room look like half cozy living room, half dental office.
Best Bulb Choices for Ceiling Fans
For most ceiling fans, LED bulbs are the best choice. They use less energy, last longer, and produce less heat than incandescent bulbs. A warm white bulb around 2700K to 3000K works well in bedrooms and living rooms. A brighter neutral white bulb around 3500K to 4000K can work nicely in kitchens, laundry rooms, or home offices.
Brightness is measured in lumens, not watts. A 450-lumen bulb is roughly similar to an old 40-watt incandescent bulb, while an 800-lumen bulb is closer to a 60-watt incandescent bulb. Always balance brightness with the fixture’s maximum wattage and heat limitations.
Extra Experience: Real-World Lessons from Replacing Ceiling Fan Bulbs
The easiest ceiling fan bulb replacement I ever did took less than five minutes. The hardest one took nearly an hour, not because the bulb was difficult, but because the glass dome had not been removed since roughly the era of flip phones. Dust had formed a stubborn ring around the metal rim, and the dome refused to twist. The lesson was simple: ceiling fan maintenance is easier when you do not wait until the fixture becomes a ceiling-mounted time capsule.
One helpful habit is to clean the glass shade every time you replace a bulb. A dusty shade can make a new bulb look dim, which leads people to buy brighter bulbs than the fixture needs. Remove the shade, wash it gently, dry it completely, and reinstall it. The difference can be surprisingly dramatic. Sometimes the “bad lighting” problem is really just a “this glass has seen things” problem.
Another experience worth remembering: always inspect the old bulb before tossing it. The printing on the bulb can tell you the base type, wattage, color temperature, and sometimes whether it is dimmable. If the text is faded, take the bulb with you when shopping. Hardware store employees can usually match it quickly, and it saves you from buying a pack of bulbs that looks right until you get home and discover the base is wrong.
In rooms with high ceilings, preparation matters even more. Before climbing the ladder, put the new bulb, screwdriver, gloves, and towel in one place. Nothing ruins your DIY confidence like climbing down four times because you forgot the bulb, then the screwdriver, then your common sense. For taller ceilings, use the correct ladder height and ask another adult to spot you. Reaching sideways from a ladder is a bad idea, even if the fan is “just a little over there.”
Fans with multiple bulbs teach another lesson: replace bulbs in pairs or sets when their age is similar. If one old bulb burns out, the others may not be far behind. Matching all bulbs keeps the light color and brightness consistent. It also prevents the annoying cycle of dragging out the ladder every other weekend like you are in a long-term relationship with your ceiling fan.
Finally, do not ignore flickering. A single flicker may be a loose bulb. Repeated flickering could mean an incompatible dimmer, poor contact in the socket, a failing LED driver, or a wiring issue. Start by turning off the power and checking whether the bulb is properly seated. If the problem continues with a compatible new bulb, stop guessing and get professional help. A ceiling fan light should be boring, reliable, and drama-free. Save the flickering for haunted house movies.
Conclusion
Replacing a light bulb in a ceiling fan is usually a simple project once you know which type of shade or light kit you are dealing with. Bowl shades with center finials, individual glass shades, twist-lock covers, and integrated LED modules each have their own process, but the basics remain the same: turn off the power, support the glass, use the correct bulb, and avoid forcing parts that do not want to move.
The best replacement bulb is not just the one that fits. It should match the socket, wattage limit, fixture style, dimmer setup, and enclosed-rating needs of your ceiling fan. When in doubt, check the fan manual or manufacturer’s replacement parts information. A few minutes of checking can prevent flickering, overheating, broken glass, and unnecessary return trips to the store.
With a stable ladder, a little patience, and the right bulb, this is one of those household tasks you can handle confidently. And once the room lights up again, you can enjoy the quiet satisfaction of a small DIY victorythe kind that does not require drywall repair, emergency plumbing, or pretending you meant to break something.

