
Body Care
How to Hang Kitchen Cabinets
Jul
Learning how to hang kitchen cabinets is one of those DIY projects that looks simple until you are standing in the kitchen holding a heavy upper cabinet, trying to find a stud, a level, your pencil, and possibly your life choices. The good news? With careful measuring, the right fasteners, and a patient helper, installing kitchen cabinets is absolutely manageable for a confident DIYer.
The secret is not brute strength. It is layout. A cabinet that is hung level, plumb, square, and properly fastened to wall studs will look professional and last for years. A cabinet that is “close enough” will quietly mock you every time a door swings open by itself. So let’s do this the right way, without turning your kitchen remodel into a comedy special starring crooked doors and mysterious gaps.
Before You Start: Know What You Are Installing
Kitchen cabinets usually fall into two main groups: wall cabinets and base cabinets. Wall cabinets are the uppers that hang above counters. Base cabinets sit on the floor and support countertops. Tall pantry cabinets may run from floor to near ceiling and often need extra attention because they are large, heavy, and very noticeable if out of alignment.
Most standard base cabinets are about 34 1/2 inches tall before the countertop. With a typical countertop, the finished working height is around 36 inches. Upper cabinets are commonly installed so their bottom edge is about 18 inches above the countertop, though your layout, appliance clearance, backsplash design, and cabinet height may change that number.
Always follow the cabinet manufacturer’s instructions first. This guide explains the general process for hanging kitchen cabinets, but your specific cabinet line may require special rails, brackets, screws, filler strips, or installation spacing.
Tools and Supplies You Will Need
Gather everything before the first cabinet goes up. Nothing ruins momentum like balancing a cabinet while whispering, “Where did I put the drill bits?”
- Stud finder
- 4-foot level or laser level
- Tape measure
- Pencil
- Drill and driver bits
- Cabinet screws or structural cabinet installation screws
- Clamps
- Shims
- Ledger board, usually a straight 1×3 or 2×4
- Step ladder
- Safety glasses
- Helper or cabinet lift
- Hole saw or spade bit for plumbing openings
- Filler strips and scribe molding, if needed
Step 1: Inspect the Kitchen Walls and Floor
Before hanging anything, check whether the walls are flat and the floor is level. Kitchens are famous for pretending to be square while secretly leaning like they have weekend plans. Place a long level or straight board against the wall to find bows, dips, or humps. Mark problem areas lightly with a pencil.
Next, check the floor. For base cabinets, find the highest point of the floor along the cabinet run. This matters because the base cabinets must all line up from that high point. If you begin at a low spot, you may discover later that another cabinet cannot be shimmed down enough to match. Cabinets do not bend to your optimism.
Step 2: Mark the Cabinet Layout
Use your kitchen plan to mark where each cabinet will go. Draw vertical lines for cabinet edges and horizontal lines for cabinet heights. If you are replacing cabinets in the same layout, the old cabinet marks can help, but do not trust them blindly. Old cabinets may have been installed by someone whose measuring system involved vibes.
Mark the Base Cabinet Line
From the highest point of the floor, measure up 34 1/2 inches and mark a level line around the wall where the base cabinets will sit. This line represents the top of the base cabinets before the countertop.
Mark the Upper Cabinet Line
If your finished countertop height will be about 36 inches and you want 18 inches of clearance, the bottom of the upper cabinets will usually be around 54 inches from the floor. Mark this line carefully. Use a laser level if you have one. If not, a good 4-foot level and patience will do the job.
Also mark the top line of the wall cabinets so you can quickly see whether each box is landing where it should. The more layout lines you make now, the fewer arguments you will have with gravity later.
Step 3: Find and Mark the Studs
Wall cabinets must be fastened securely to studs whenever possible. Drywall alone is not enough for loaded kitchen cabinets. Cereal boxes are light. Dinner plates, glassware, mixing bowls, and that one cast-iron pan you swear you use every week are not.
Use a stud finder to locate studs behind the drywall. Mark each stud location with a vertical line that extends above and below the cabinet area. After marking, verify by drilling a tiny test hole or using a small finish nail in an area that will be hidden by the cabinets. Stud finders are useful, but they can occasionally be dramatic.
Step 4: Remove Doors, Drawers, and Shelves
Before lifting wall cabinets, remove the doors, adjustable shelves, and drawers. This makes each cabinet lighter and easier to handle. Label every door and hinge location with painter’s tape so reinstalling them later does not become a matching game from a home improvement escape room.
Keep screws, hinges, shelf pins, and hardware in labeled bags. A clean organization system now saves you from crawling around the floor later muttering at tiny metal parts.
Step 5: Install a Ledger Board for Upper Cabinets
A ledger board is a temporary support attached to the wall at the bottom line of the upper cabinets. It helps hold the cabinet weight while you position, level, shim, and screw the cabinet into place. This is especially helpful when hanging upper cabinets because they are awkward to hold and surprisingly committed to falling.
Line up a straight board along the bottom cabinet line. Fasten it into wall studs with screws. Make sure it is level. The ledger does not replace proper cabinet screws into studs; it simply acts like an extra pair of hands that never complains about arm cramps.
Step 6: Hang the Corner Wall Cabinet First
If your layout includes a corner wall cabinet, start there. Corners control the alignment of the cabinets running in both directions. Place the cabinet on the ledger board, line it up with your layout marks, and check it with a level.
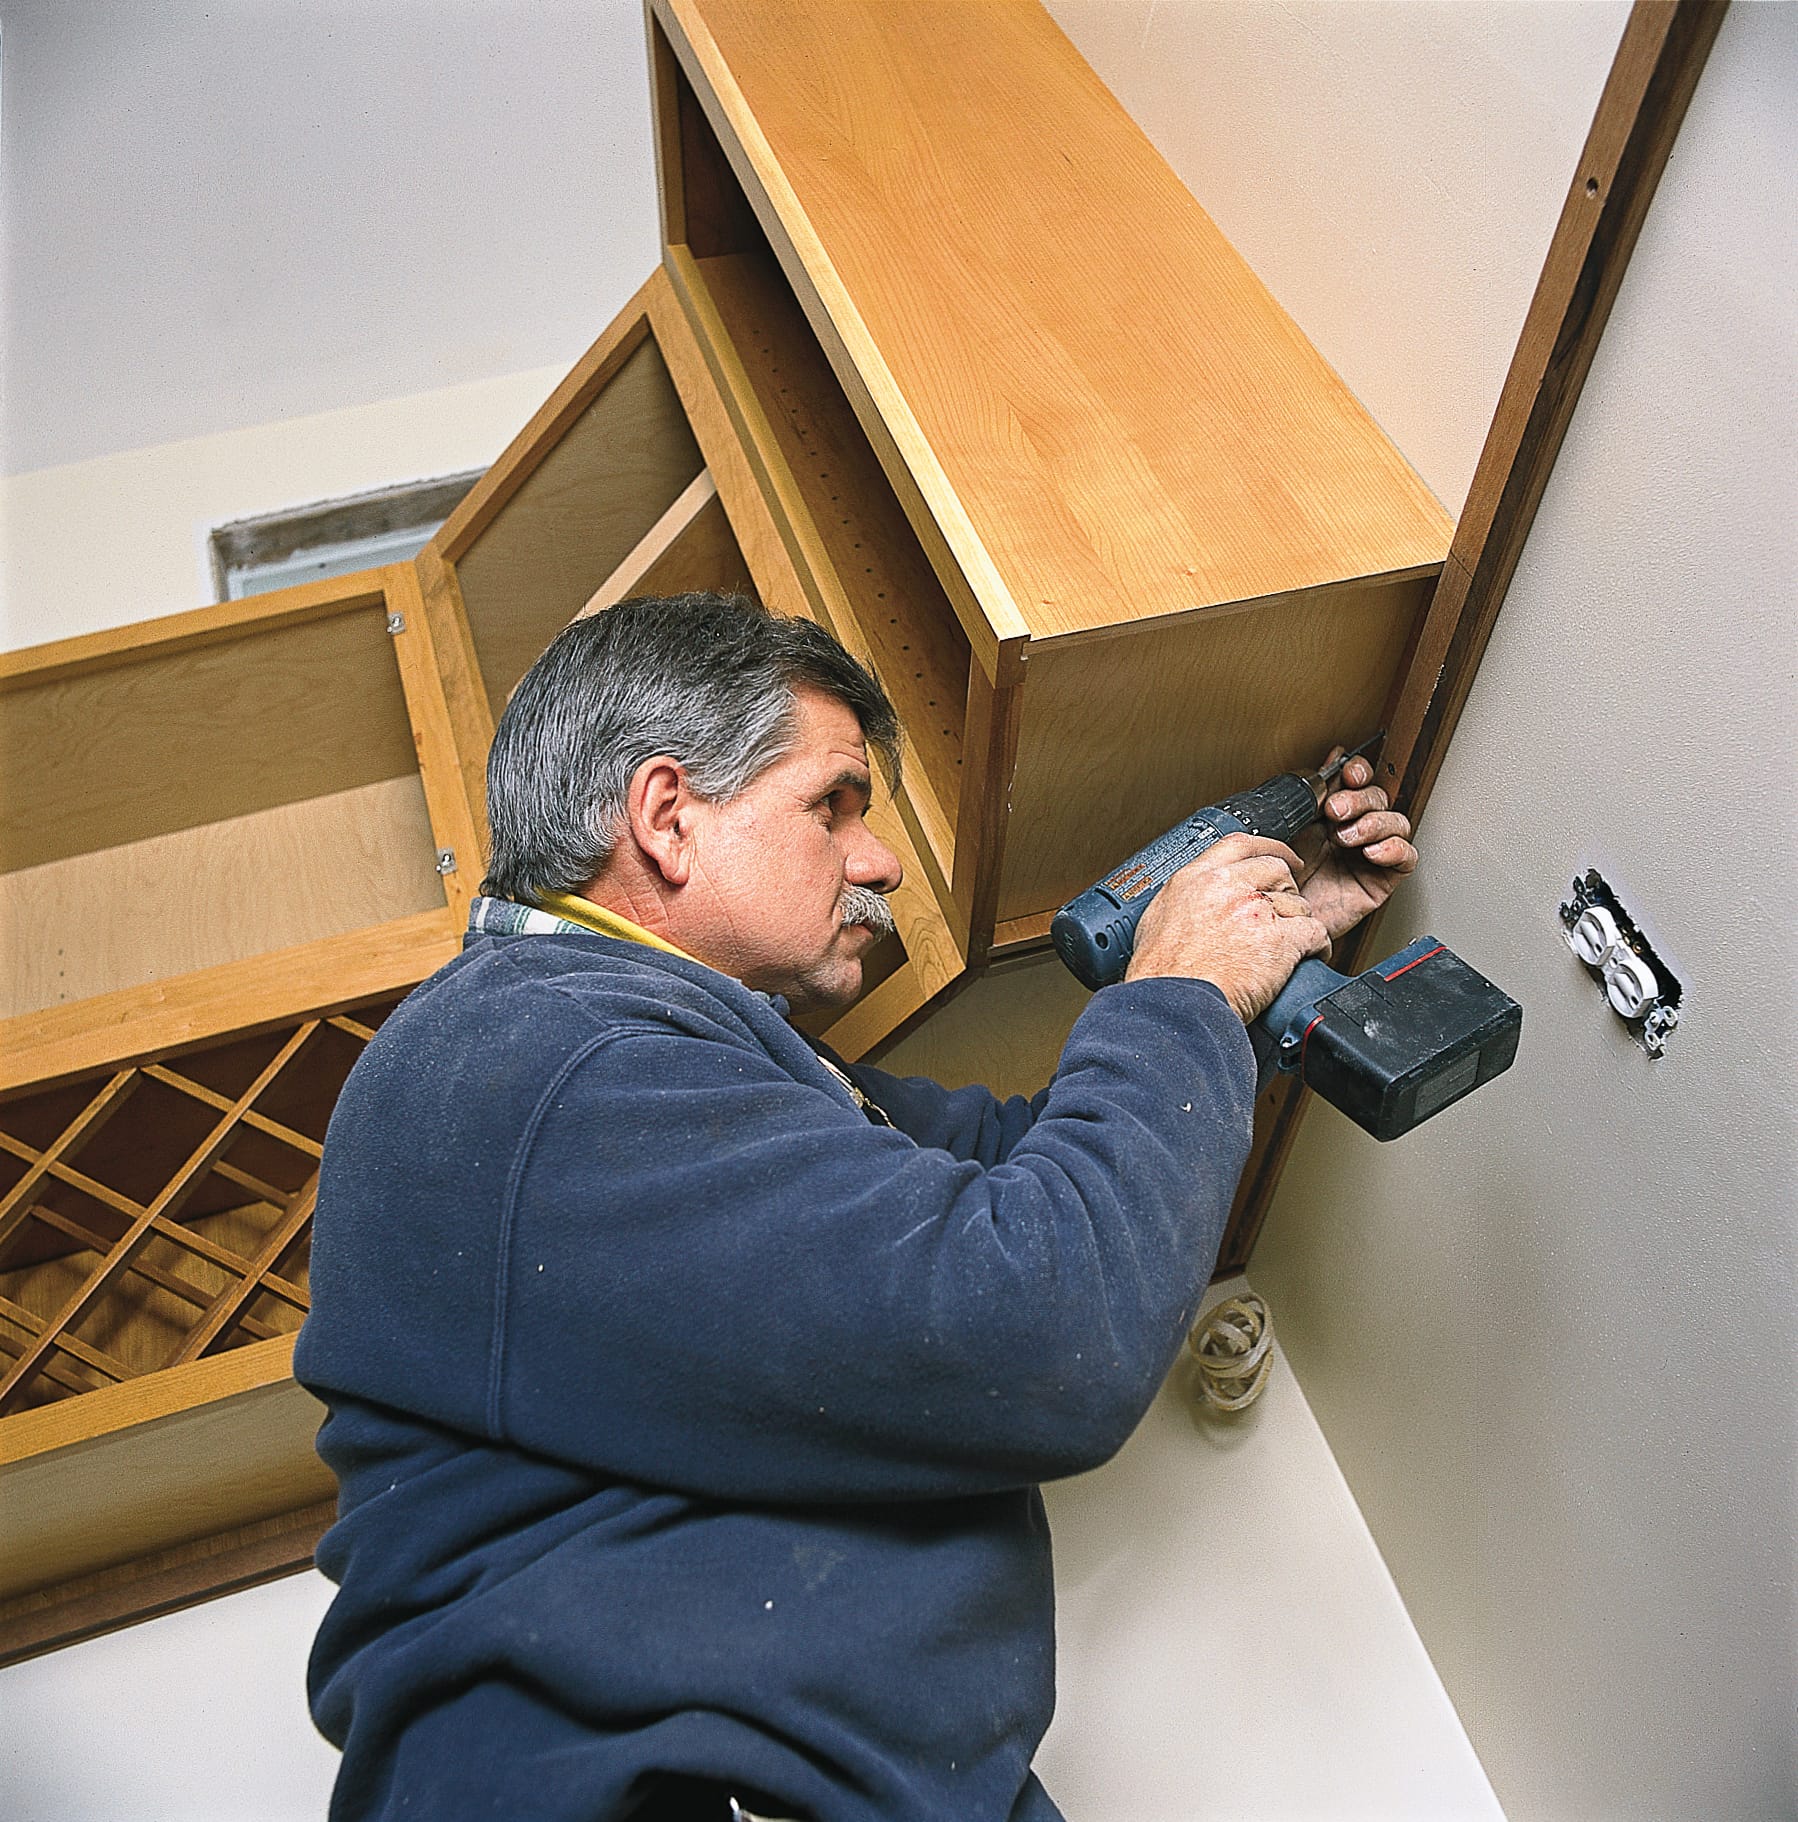
Drill pilot holes through the cabinet’s hanging rail or strong back panel at stud locations. Drive cabinet screws into the studs, but do not fully tighten them immediately. Leave a little room for adjustment. Check the cabinet for level from side to side and front to back. Use shims behind the cabinet if the wall is bowed.
Once the cabinet is level, plumb, and correctly placed, tighten the screws securely. Avoid using standard drywall screws for cabinet installation. Cabinet screws are designed for the load and are less likely to snap under stress.
Step 7: Hang the Remaining Upper Cabinets
Set the next wall cabinet on the ledger and push it snugly against the first cabinet. Clamp the face frames together, making sure the front edges are flush. If you are installing frameless cabinets, align the cabinet boxes carefully and follow the manufacturer’s instructions for joining them.
Pre-drill and screw the cabinets together through the face frames or recommended connection points. Then fasten the second cabinet to the wall studs. Continue this process across the run: place, clamp, align, screw cabinets together, fasten to studs, check level, and repeat.
Do Not Skip the Level Check
Check level after every cabinet. A tiny mistake at cabinet number two can become a very visible problem by cabinet number six. Cabinets behave like gossip: once something starts crooked, it spreads quickly.
Step 8: Remove the Ledger Board
After the wall cabinets are securely fastened to studs and connected to each other, remove the ledger board. Fill the screw holes if they will be visible, or leave them alone if the backsplash or base cabinets will cover them.
Open and close the cabinet doors temporarily if they are still attached, or reinstall one or two to check reveals. Small adjustments are easier now than after trim, hardware, and lighting are installed.
Step 9: Install the Base Cabinets
Many installers hang wall cabinets first because it gives more working room. Once the uppers are secure, move on to the base cabinets. Start at the corner or the highest point of the floor, depending on your layout.
Place the first base cabinet against the wall and align it with the 34 1/2-inch level line. Use shims under the cabinet and behind it as needed. The cabinet must be level from side to side and front to back. It should also be plumb against the wall.
When the first base cabinet is perfect, fasten it to the wall through the back rail and into studs. Then place the next base cabinet, clamp the face frames together, align the fronts, screw the cabinets together, shim as needed, and fasten to the wall. Continue across the run.
Cut Openings for Plumbing Carefully
For sink base cabinets, measure and mark plumbing locations before pushing the cabinet fully into place. Use a hole saw or spade bit to cut neat openings in the cabinet back or floor. Make the holes large enough for pipes and shutoff valves, but not so large that the cabinet looks like it lost a fight with a raccoon.
Step 10: Add Fillers, Panels, and Trim
Most kitchens are not perfectly sized for cabinets. That is why filler strips exist. Fillers close gaps between cabinets and walls, help doors open without rubbing, and create a finished built-in look.
Measure each gap carefully. Cut filler strips slightly oversized, then scribe them to match uneven walls if necessary. Attach fillers according to the cabinet manufacturer’s instructions. Add finished end panels, toe kicks, light rail molding, crown molding, or scribe molding after the cabinet boxes are secure and aligned.
Step 11: Reinstall Doors, Drawers, Shelves, and Hardware
Once the cabinet boxes are installed, reinstall doors, drawers, shelves, and hardware. Adjust hinges so doors have even reveals and close properly. Many modern hinges allow small up-down, left-right, and in-out adjustments. This is where your kitchen starts looking less like a construction zone and more like a place where coffee might happen.
Install knobs and pulls after the doors and drawers are aligned. Use a hardware template to keep holes consistent. Measure twice before drilling, because cabinet doors are very unforgiving about “creative” handle placement.
Common Mistakes When Hanging Kitchen Cabinets
Trusting the Ceiling Instead of a Level Line
Ceilings can be uneven. Floors can slope. Walls can bow. Your level line is the boss. Follow it.
Missing the Studs
Cabinets need solid fastening. If your screw does not hit a stud or approved structural backing, stop and correct it. Do not rely on drywall anchors for a full run of loaded wall cabinets unless the cabinet manufacturer specifically approves the method for that situation.
Skipping Shims
Shims are not cheating. They are how you make cabinets level and plumb when the house itself is not cooperating.
Installing Hardware Too Early
Wait until doors and drawers are adjusted before drilling for pulls and knobs. Otherwise, tiny alignment problems become painfully obvious.
Working Alone
Upper cabinets are heavy and awkward. Use a helper or cabinet lift. Pride is not a structural support system.
When to Call a Professional
DIY cabinet installation can save money, but not every kitchen is a great first project. Consider hiring a professional if your kitchen has uneven walls, complicated corners, tall pantry cabinets, crown molding, appliance panels, stone countertops, hidden electrical issues, or major plumbing changes.
You should also bring in a licensed professional for electrical, gas, or major plumbing work. Hanging cabinets is one project; rerouting wires behind them is a different beast with sharper teeth.
Final Checklist Before You Celebrate
- All cabinets are fastened into studs or approved structural backing.
- Cabinets are level, plumb, and square.
- Face frames are flush and tightly joined.
- Doors and drawers open without rubbing.
- Fillers and panels are secure.
- Hardware is straight and evenly placed.
- There is proper clearance for appliances, plumbing, lighting, and countertops.
When everything checks out, step back and admire the result. Hanging kitchen cabinets requires planning, measuring, lifting, adjusting, and a little humility. But when done correctly, it transforms the kitchen and gives you the deeply satisfying feeling of saying, “Yes, I installed those.” Then immediately telling everyone who enters the house.
Real-World Experiences and Practical Lessons From Hanging Kitchen Cabinets
One of the biggest lessons from hanging kitchen cabinets is that the job rewards patience more than speed. The first cabinet often takes the longest, and that is normal. It sets the height, level, and alignment for everything that follows. If the first cabinet is off by even a small amount, the rest of the run may slowly drift out of position. In real kitchens, this usually shows up as uneven gaps between doors, a wavy line along the top, or a corner that refuses to look finished no matter how much trim you add.
Another practical experience: walls are rarely as flat as they appear. A wall can look perfectly normal until you place a cabinet against it and notice a gap big enough to store a spatula. This is where shims become your best friend. Place shims behind the cabinet at stud locations, not randomly in the middle of nowhere. The goal is to support the cabinet where it is actually fastened. Once the screws tighten, the cabinet should stay square instead of twisting to match the wall’s imperfections.
It also helps to dry-fit cabinets before final fastening. Set the cabinets in place, check spacing for appliances, confirm that doors will open fully, and make sure drawers will not crash into handles, walls, or neighboring cabinets. This is especially important near dishwashers, refrigerators, ranges, and inside corners. A cabinet may technically fit on paper but still create an annoying everyday problem. The tape measure may say “yes,” while the refrigerator door says, “Absolutely not.”
For upper cabinets, using a ledger board can turn a stressful job into a controlled process. Without a ledger, one person must hold the cabinet in midair while another person levels, shims, drills, and drives screws. That is a lot of pressure, especially when the cabinet is heavy. With a ledger board, the cabinet has a temporary shelf to rest on, leaving your hands free to fine-tune the position. It is a simple trick, but it makes the installation feel far more professional.
Labeling doors and drawers is another small step that pays off. Cabinet doors may look identical, but tiny differences in hinge adjustment can make each one fit best in its original opening. Label them with painter’s tape before removal. Reinstalling them later becomes faster, cleaner, and far less irritating.
Finally, expect adjustments at the end. Even a careful installation usually needs hinge tweaks, drawer alignment, filler trimming, and touch-up work. Do not judge the project too early. A kitchen can look rough halfway through and polished by the end. The final details are what make hanging kitchen cabinets look custom instead of merely attached to the wall. Take your time, keep checking your lines, and remember: the cabinets do not have to know this is your first attempt. Let them think you do this every weekend.
Conclusion
Hanging kitchen cabinets is a high-impact DIY project built on simple principles: measure carefully, find the studs, use a level, support upper cabinets with a ledger, shim where needed, and fasten every cabinet securely. The work can feel intimidating at first, but each step builds on the last. Start with a strong layout, install wall cabinets before base cabinets for easier access, and make small adjustments as you go. The result is a cleaner, stronger, better-looking kitchen that feels professionally finished without losing the satisfaction of doing it yourself.
SEO Tags

