
Makeup
How to Do an Open Turn in Swimming: 11 Steps
Aug
An open turn in swimming can look deceptively simple. You reach the wall, touch it, turn around, and leave. Easy, right? Yet plenty of swimmers arrive with speed, spend what feels like a lunch break reorganizing themselves at the wall, and push off after all their momentum has quietly floated away.
A well-executed open turn is different. It is quick, compact, legal, and connected to the swimming before and after it. Instead of treating the wall as a place to stop, you use it as a springboard that redirects your speed in the opposite direction.
Open turns are required in competitive breaststroke and butterfly because those strokes use a simultaneous two-hand touch. They can also be used in freestyle, backstroke, recreational swimming, fitness workouts, and individual medley transitions. For beginners, an open turn is often easier to learn than a flip turn because the swimmer can see the wall, take a breath, and maintain a clearer sense of orientation.
This guide explains how to do an open turn in swimming through 11 practical steps, followed by common mistakes, drills, and realistic practice experiences that can help the movement feel faster and more natural.
What Is an Open Turn in Swimming?
An open turn, sometimes called a touch turn, is a wall transition in which the swimmer touches the wall with one or both hands, rotates the body, places the feet against the wall, and pushes off in the opposite direction. Unlike a flip turn, the swimmer does not perform a forward somersault.
During breaststroke and butterfly races, the swimmer must touch the wall with both hands separated and simultaneously. The hands may touch above, at, or below the waterline. After making a legal touch, the swimmer can turn in the most efficient manner available, provided the body is in the required position when the feet leave the wall.
In freestyle, only some part of the body must touch the wall, so a one-handed open turn is acceptable. Recreational swimmers may also use the technique when they are not comfortable with flip turns or when they want an extra breath during a long workout.
How to Do an Open Turn in Swimming in 11 Steps
Step 1: Warm Up Before Practicing Turns
Begin with several easy lengths of swimming before repeatedly practicing wall movements. Include relaxed shoulder circles, gentle kicking, streamlined glides, and a few gradually faster lengths. Your goal is to prepare your shoulders, hips, knees, ankles, and core for quick changes in direction.
Turn practice should feel crisp rather than desperate. If you begin while stiff or exhausted, you are more likely to grab the wall, twist awkwardly, or push off with poor alignment. A short warm-up may not be exciting, but neither is explaining why you challenged a concrete wall to a wrestling match.
Step 2: Identify Your Preferred Turning Side
Most swimmers naturally rotate toward one side. To find yours, swim slowly toward the wall, make the required touch, and notice which shoulder you instinctively turn toward. Practice both directions for coordination, but use your stronger side while first learning the complete sequence.
Your turning side affects which hand remains briefly on the wall and which hand moves underwater first. Consistency makes the movement easier to automate because your arms, hips, and feet begin following the same dependable pattern on every length.
Step 3: Approach the Wall Without Slowing Down
Maintain your swimming rhythm as you approach the wall. Avoid lifting your head early, shortening several strokes, or gliding from too far away. Those actions create drag and cause your speed to disappear before the turn begins.
Use the lane-bottom “T,” wall markings, pool gutter, or touchpad as visual references. Over time, learn how many strokes you normally need between the marker and the wall. The objective is not to memorize a rigid number for every pool, but to develop reliable distance awareness.
Think of swimming through the wall rather than cautiously sneaking toward it. You should arrive under control, but still carrying useful momentum.
Step 4: Time the Final Stroke
Your last stroke should place you close enough to touch with slightly bent elbows. If you reach the wall with completely straight arms and an overstretched body, you are probably too far away. If your elbows collapse against your ribs or your face nearly meets the wall, you have arrived too close.
For breaststroke and butterfly, finish the approach with both hands moving forward together. In freestyle, the final arm stroke can flow directly into a one-handed touch. Keep your body long and your head aligned rather than throwing your chin forward.
Step 5: Make a Quick, Controlled Wall Touch
In breaststroke and butterfly, touch with both hands at the same time while keeping them separated. Do not stack one hand over the other. In freestyle, touch with the hand that best supports your preferred turning direction.
The touch should be light and brief. You do not need to grab the gutter or pull your body upward. Treat the wall as something hot: make contact, initiate the turn, and move away. Holding on may feel secure, but it converts a swimming turn into a small aquatic committee meeting.
Step 6: Keep Your Head Low and Move One Hand Back
Immediately after touching, release the hand on your turning side and sweep it underwater toward the opposite end of the pool. This arm becomes the first half of your new streamline.
Keep your head close to the water. Lifting your entire upper body wastes time and shifts your weight away from the direction of the turn. Your mouth can clear the surface for a quick breath without your chest climbing dramatically out of the pool.
Let the released arm lead your rotation. It should move directly toward the direction you are about to swim rather than circling widely beside your body.
Step 7: Tuck Your Knees and Rotate Your Hips
As the first hand leaves the wall, bend your knees and bring your heels toward your hips. At the same time, rotate your hips toward the wall. The turn should be driven primarily by the core and lower body, not by pulling yourself around with your arms.
Keep the tuck compact. Allowing the knees to drift far beneath the body produces a slow, wide turn. Bringing the heels quickly toward the wall shortens the rotational path and helps your feet arrive sooner.
Your body will usually rotate onto its side during this phase. That side position is useful because it allows you to plant your feet, push powerfully, and complete the remaining rotation during the glide.
Step 8: Plant Both Feet on the Wall
Place the balls of both feet against the wall approximately hip-width apart. Your knees should be bent enough to create a strong push, but not folded so tightly that your hips are almost touching your heels.
A useful position resembles a controlled squat turned sideways. Your feet should be high enough to direct the push horizontally rather than downward, but not so high that they slip over the gutter. Keep your ankles firm and your toes ready to drive away from the wall.
Do not pause to inspect your foot placement. With practice, the feet should land almost automatically as part of the tuck.
Step 9: Recover the Second Arm Into Streamline
The hand that remained on the wall should now release and travel quickly past your head. Bring it together with the arm already pointing down the pool. Some swimmers recover this hand over the water, while others keep it close to the surface. Either route can work when it is direct and compact.
Avoid swinging the elbow in a large circle. The hand should take the shortest practical path into streamline. Your upper arm passes close to your head, and your hands meet before or as your legs begin extending.
Take one quick breath during this recovery if needed. The breath should fit inside the turn rather than becoming a separate event.
Step 10: Push Off Powerfully on Your Side
Drive through both legs and extend your knees, hips, and ankles. Push backward into the wall so the wall sends you forward. Avoid pushing upward, which causes an immediate rise to the surface and reduces the distance gained from the push.
Many swimmers leave the wall partly on their side and rotate toward the breast during the glide. This is usually faster than trying to complete every degree of rotation before pushing. For breaststroke and butterfly, make sure you are on the breast when your feet leave the wall, as required by competition rules.
Your push-off should be decisive. A strong wall push can briefly make you faster than your normal surface-swimming speed, so do not waste it with a loose body position.
Step 11: Lock Into Streamline and Begin the Next Stroke
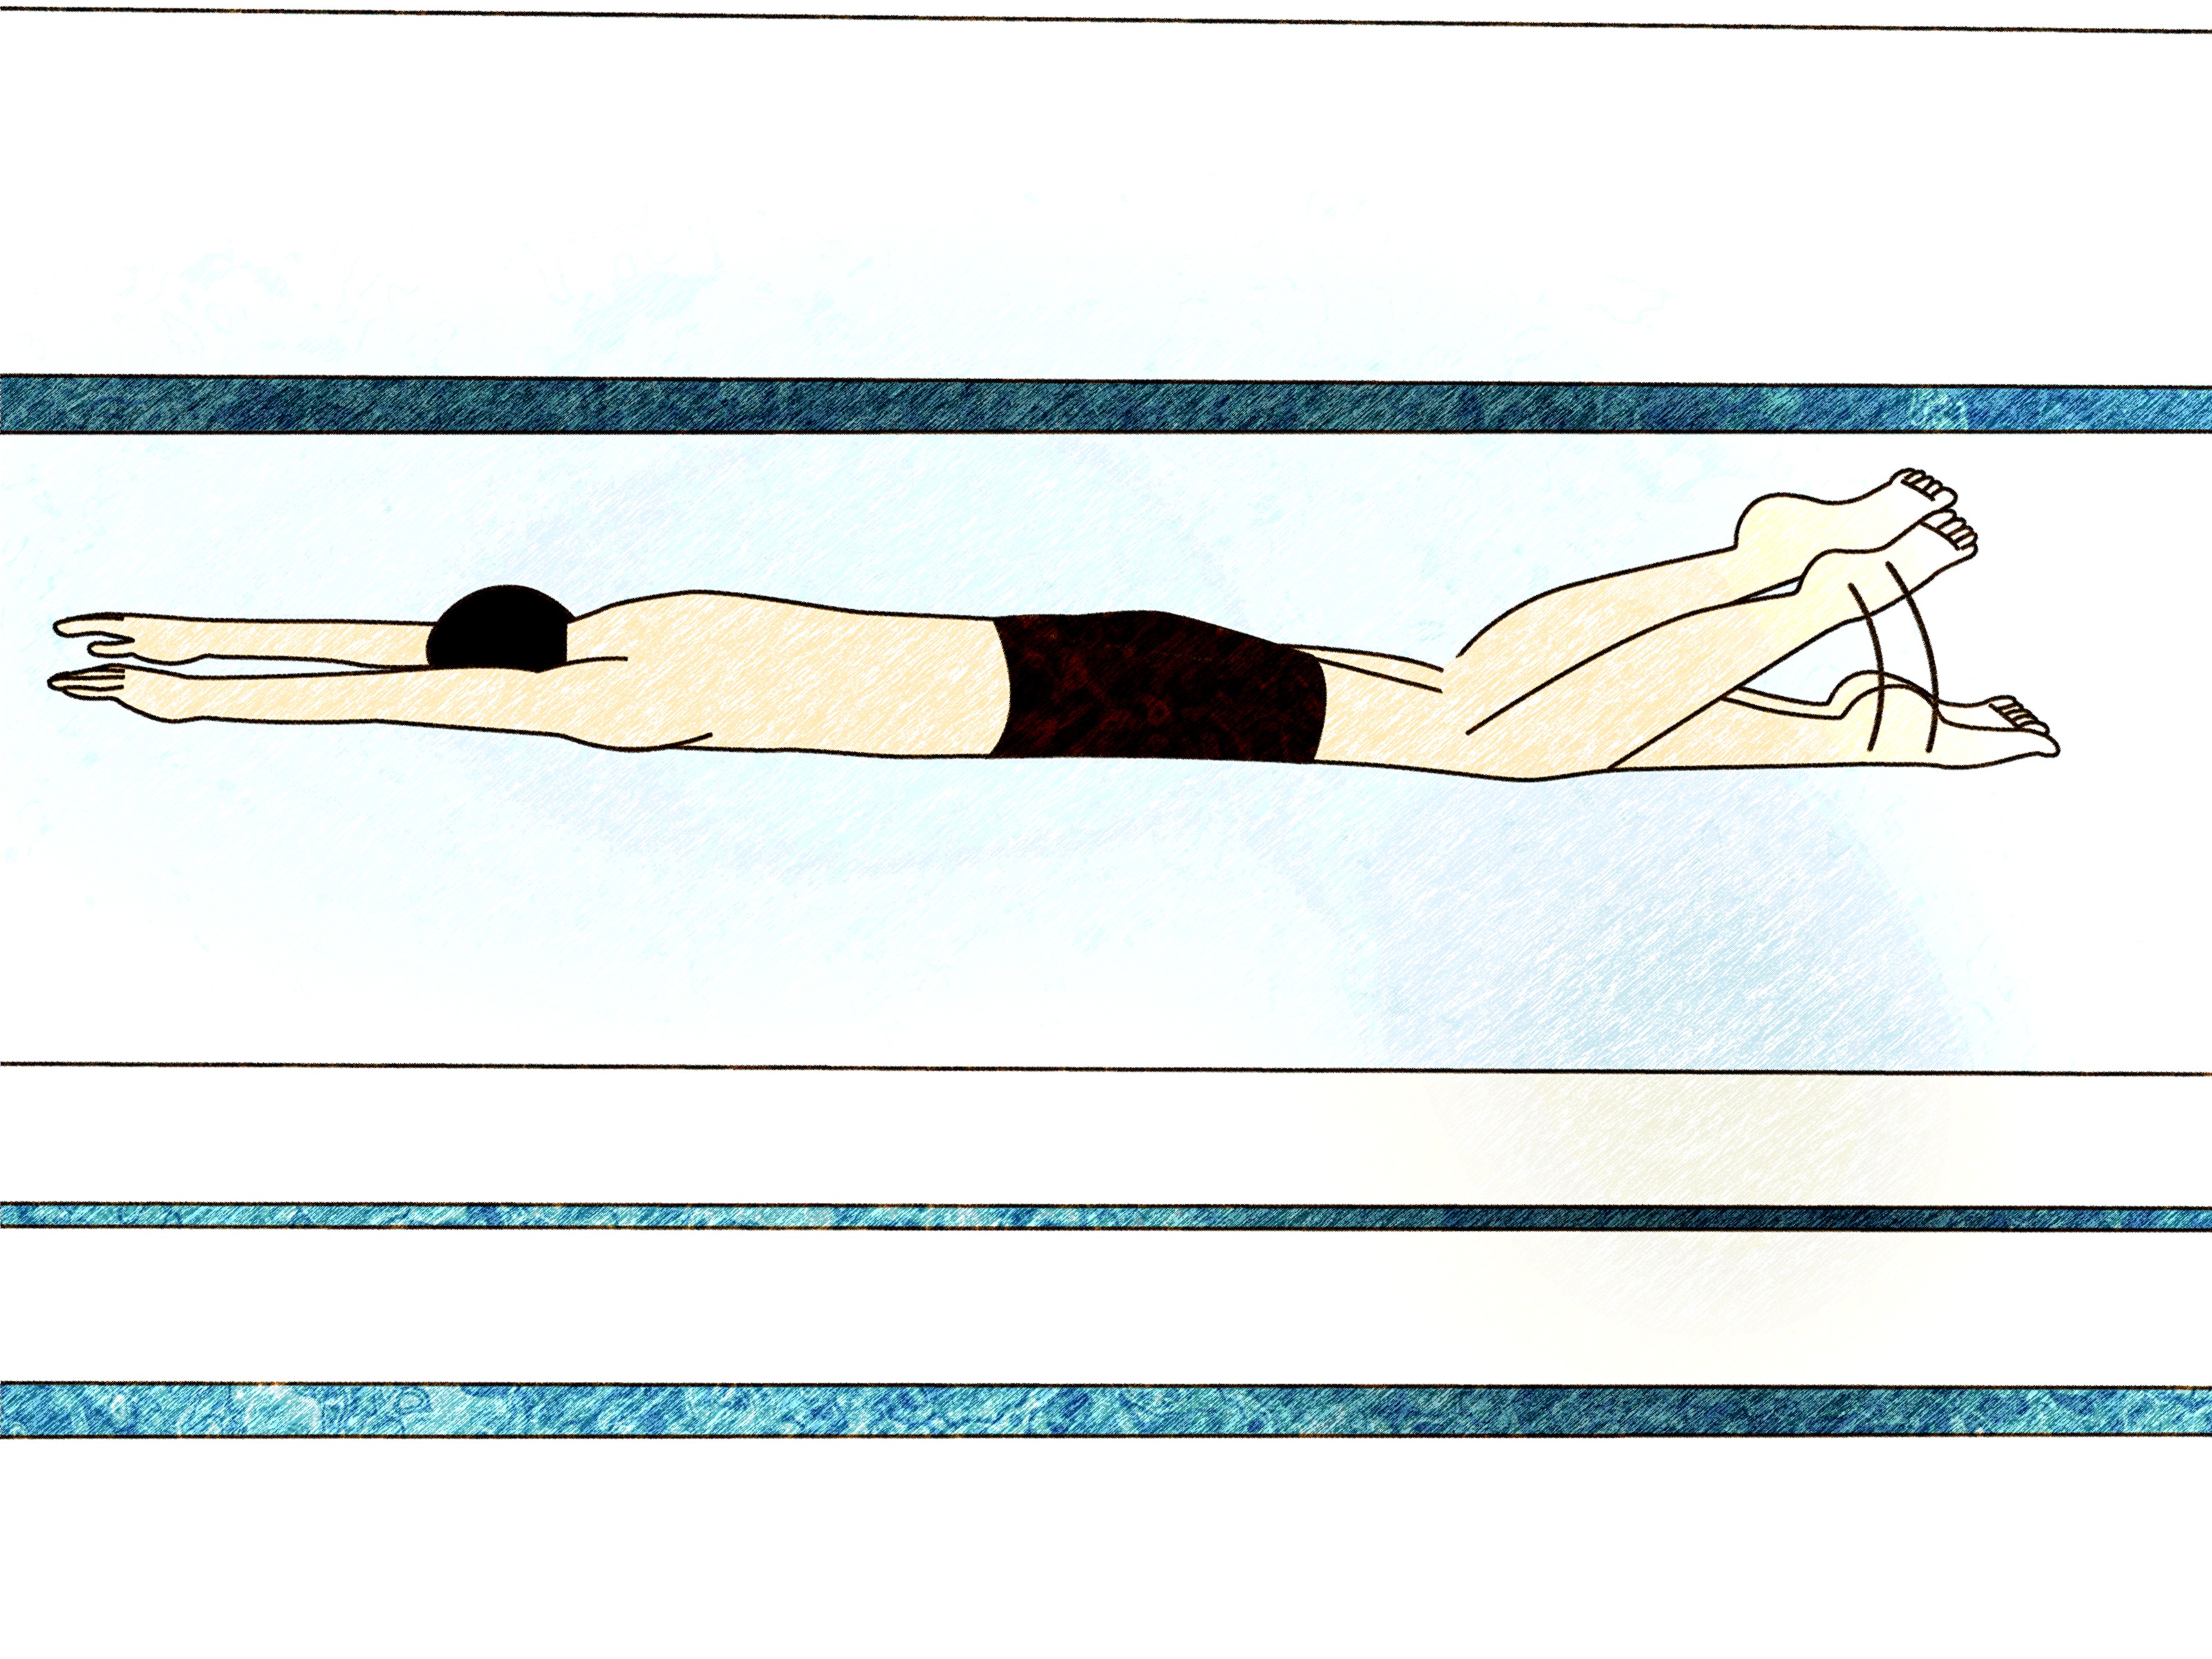
Stack one hand over the other, squeeze your upper arms beside your ears, tuck your chin slightly, engage your core, and keep your legs together. A tight streamline reduces drag and preserves the speed created by your push.
For butterfly, transition into legal underwater dolphin kicks before beginning the first arm pull. For breaststroke, perform the permitted underwater pullout according to current rules and your coach’s instruction. In freestyle, use a controlled flutter kick or dolphin kick before breaking out into the first stroke.
Begin swimming before you slow below your normal surface speed. Staying underwater indefinitely does not earn bonus points, and eventually your lungs will submit a strongly worded complaint.
Common Open-Turn Mistakes and How to Fix Them
Stopping at the Wall
A swimmer touches, lifts the head, takes a long breath, then starts arranging the feet. Fix this by linking the touch and tuck together. The instant the hands contact the wall, the knees should begin moving toward it.
Pulling on the Gutter
Grabbing the edge raises the body and delays rotation. Practice touching a flat section of wall or touchpad without holding it. Use your momentum and core to turn.
Looking Up Too Early
Early head lifting causes the hips and legs to drop. Keep your eyes directed slightly downward during the approach and let the head rise only enough for a quick breath during rotation.
Making a Wide Knee Swing
When the knees travel in a large arc, the feet take too long to reach the wall. Think “heels to hips” rather than “knees to chest.” This cue often produces a faster, tighter tuck.
Pushing Off Before the Arms Are Ready
If the legs extend while the arms are still beside the body, the swimmer leaves the wall shaped like a parachute. Coordinate the second arm recovery with the leg drive so the hands meet as the push begins.
Breaking Streamline Immediately
Separating the hands, lifting the head, or bending at the waist creates unnecessary resistance. Hold a firm streamline until it is time to begin the legal underwater transition and breakout.
Three Drills for a Faster Open Turn
Wall-Tuck Repetitions
Stand or float close to the wall with both hands touching it. Release one hand, tuck the legs, plant the feet, recover the second arm, and push into streamline. Repeat five to eight times on each side. This drill removes the approach so you can focus on sequencing.
Three-Stroke Turn Drill
Start several yards from the wall, take three controlled strokes, execute the turn, and streamline away. Gradually increase your approach speed while preserving the same compact movement.
Turn-and-Breakout Repeats
Begin near the flags or lane marker, accelerate into the wall, turn, and continue through the first three strokes after the breakout. This teaches you to connect the turn to actual swimming instead of relaxing immediately after the push.
Practice Experiences: What Swimmers Commonly Notice
Learning an open turn often begins with an odd discovery: the wall seems much closer when you are moving quickly. During slow demonstrations, swimmers have plenty of time to touch, think, breathe, rotate, and place their feet. Add race-speed momentum, and suddenly the sequence feels as though someone pressed the fast-forward button.
A common beginner experience is reaching the wall and freezing for a fraction of a second. The swimmer knows every step intellectually but tries to perform them one at a time: touch, stop, release the hand, stop, bend the knees, stop, find the wall, then push. Early practice can therefore feel less like one turn and more like assembling furniture underwater.
The breakthrough usually arrives when the swimmer stops treating the movements as separate tasks. The touch triggers the tuck. The tuck brings the feet to the wall. The turning arm points toward the other end. The second arm joins it as the legs drive. Once those actions overlap, the turn begins to feel surprisingly small.
Many swimmers also discover that the head causes more trouble than expected. Lifting the face high may feel helpful because it creates extra breathing room, but it often pulls the hips away from the wall. During practice, swimmers who focus on keeping the head low frequently find that their feet reach the wall faster, even though they are trying less aggressively.
Foot placement tends to be inconsistent at first. One attempt may land perfectly, while the next places the feet too low, too close together, or at different heights. This is normal. Repeated wall-tuck drills allow the nervous system to learn the distance without requiring constant visual checking. After enough repetitions, the swimmer begins to recognize the correct position through touch and body awareness.
Another noticeable change comes from improving the streamline. A beginner may believe the turn is finished once the feet leave the wall. In reality, a powerful push followed by a loose body shape is like accelerating a car and immediately opening a parachute. When swimmers squeeze the arms beside the ears, align the head, and hold the core firm, they often travel noticeably farther with no extra leg effort.
Breathing can create its own mini-drama. Some swimmers inhale too early during the approach and lift the head. Others arrive breathless and remain at the wall for two or three breaths. Practicing a quick breath during the arm recovery helps solve both problems. The breath becomes part of the rotation rather than a reason to stop.
Intermediate swimmers commonly reach a stage where the turn feels smooth at moderate speed but falls apart during sprints. The solution is usually progressive acceleration. Perform several turns at 60 percent effort, then 70, 80, and 90 percent while keeping the same sequence. Speed should be added only while the movement remains organized.
Video can also reveal surprises. A swimmer may feel compact but actually swing the knees widely, lift the chest, or pause before pushing. A coach, training partner, or safely positioned camera can provide feedback that is difficult to sense from inside the movement.
The most satisfying experience comes when the wall stops feeling like an interruption. Instead of arriving, stopping, and restarting, the swimmer flows into the touch and leaves with speed. The turn may never be the glamorous part of swimming, but a clean one creates a small burst of momentum on every lengthand those small bursts add up quickly.
Final Thoughts
To master an open turn in swimming, focus on continuity. Approach the wall with speed, make a legal and brief touch, release one hand, tuck the legs, plant the feet, recover the second arm, and push into a firm streamline. The best open turns do not rely on frantic movement. They rely on efficient timing and a compact body position.
Practice slowly enough to learn the sequence, then increase speed without allowing pauses or wide movements to return. Even a few focused turn repetitions during each swim can improve distance awareness, confidence, and wall speed. Eventually, the turn will require less conscious thought, leaving you free to concentrate on the next lengthor on pretending you meant to splash the swimmer in the next lane.
Note: Swimmers preparing for competition should confirm the latest rules with their governing organization and coach. Anyone experiencing shoulder, knee, neck, or back pain should stop the drill and seek qualified medical or coaching guidance.

