
Skincare
How to Dress a Chest Wound: 14 Steps
Jul
A chest wound can look deceptively small while hiding a serious injury beneath the skin. A puncture, gunshot wound, stab wound, fractured rib, or piece of debris may allow air or blood to enter the space around a lung. That can interfere with breathing and, in severe cases, place dangerous pressure on the heart and major blood vessels.
For that reason, dressing an open chest wound is not ordinary home wound care. The goal is not to clean it, close it permanently, or make it look tidy. The goal is to activate emergency medical services, support breathing, limit bleeding, and prevent the injured person from deteriorating before trained responders arrive.
This guide describes 14 emergency first-aid steps for a suspected open chest wound. It does not replace certified first-aid training or instructions from a 911 dispatcher. Any penetrating wound to the chest, upper back, or area between the neck and upper abdomen should be treated as a medical emergency.
What Is an Open Chest Wound?
An open chest wound is an injury that breaks the chest wall and may communicate with the chest cavity. It may be caused by a knife, bullet, metal fragment, broken object, animal horn, machinery accident, explosion, or fractured rib. Some wounds make a noticeable sucking, bubbling, or hissing sound as the person breathes. Others are nearly silent.
The absence of dramatic bleeding does not make the injury safe. Blood may be collecting inside the chest, and air may be leaking around a lung. A person can initially speak and remain alert, then develop worsening breathing difficulty minutes later.
Warning Signs of a Serious Chest Injury
- A puncture or open wound on the chest, side, upper abdomen, shoulder area, or upper back
- A sucking, bubbling, whistling, or hissing sound from the wound
- Blood or pink foam bubbling at the opening
- Shortness of breath, rapid breathing, or painful breathing
- Unequal movement of the two sides of the chest
- Pale, gray, clammy, or bluish skin
- Confusion, agitation, weakness, dizziness, or decreasing alertness
- Coughing up blood
- A rapid or weak pulse
- An object still embedded in the chest
Helpful Emergency Supplies
Do not delay care while searching for the perfect equipment. Use what is immediately available and follow the dispatcher’s instructions. Helpful supplies may include:
- Disposable medical gloves or another barrier
- Sterile gauze or a clean, dry cloth
- A commercially manufactured vented chest seal
- Trauma shears for cutting clothing
- A blanket or coat
- An automated external defibrillator, or AED, if available
A vented chest seal is specifically designed to limit air entering through the wound while allowing air or fluid to escape. It is different from household plastic, food wrap, or a random square of tape. This is not the moment for an enthusiastic DIY vacuum-sealing project.
How to Dress a Chest Wound in 14 Steps
Step 1: Make Sure the Scene Is Safe
Before approaching, look for traffic, weapons, fire, unstable structures, electrical hazards, broken glass, or an attacker who may still be nearby. You cannot help the injured person by becoming the second patient.
Put on disposable gloves when available. If gloves are unavailable, use a clean plastic barrier or ask the conscious person to hold a dressing against the wound while you arrange help. Avoid direct contact with blood whenever reasonably possible.
Step 2: Recognize the Injury as an Emergency
Assume that a deep wound between the neck and upper abdomen may have entered the chest cavity. The same caution applies to wounds on the side of the torso or upper back. Do not judge severity only by the size of the skin opening.
A wound does not need to make a movie-style sucking sound to be dangerous. Trouble breathing, chest pain, shock symptoms, or an injury caused by a high-energy object are enough to justify emergency action.
Step 3: Call 911 Immediately
Call 911 or direct a specific person to call. Instead of shouting, “Somebody call an ambulance,” point to one person and say, “You in the blue shirt, call 911 and come back.” This reduces the chance that everyone assumes someone else is doing it.
Put the phone on speaker so the dispatcher can guide you while you provide care. Give the exact location, the cause of the injury if known, whether the person is breathing normally, and whether an object remains embedded.
Step 4: Keep the Person Still and Reassure Them
Ask the person not to walk, twist, or make unnecessary movements. Movement can increase pain, bleeding, and breathing difficulty. Speak calmly and explain what you are doing.
Statements such as “Help is coming,” “Try to stay still,” and “Keep looking at me” are more useful than dramatic commentary about the wound. Panic raises oxygen demand, which is the opposite of what an injured lung needs.
Step 5: Check Responsiveness and Breathing
Determine whether the person responds when spoken to and whether they are breathing normally. Look for chest movement and listen for abnormal sounds. Gasping is not normal breathing.
If the person is responsive, continue supporting them in the position that makes breathing easiest. If they become unresponsive and are not breathing normally, move immediately to Step 14 and begin CPR as directed by the dispatcher.
Step 6: Expose the Chest Without Causing Unnecessary Movement
Cut or move clothing away from the injury so you can see the wound. Do not pull clothing over an embedded object. Cut around it instead.
Quickly look for more than one opening. Penetrating injuries may create an entrance wound and an exit wound, including one on the back or side. However, do not repeatedly roll a person who may have a spinal injury. Ask the dispatcher how to check the back safely when major movement would be required.
Step 7: Do Not Remove an Embedded Object
Leave knives, metal fragments, sticks, glass, and other embedded objects in place. The object may be limiting blood loss, and removing it can cause additional tissue damage or catastrophic bleeding.
Place bulky dressings around the object to reduce movement without pressing down on it. Do not shorten, twist, or reposition the object unless emergency responders specifically direct you to do so because it prevents safe transport or CPR.
Step 8: Control Visible Bleeding Carefully
Use sterile gauze or a clean cloth to apply steady, gentle pressure around the bleeding area. If the wound appears superficial and is not moving air, ordinary direct pressure may be appropriate. If it appears to enter the chest cavity, avoid pushing gauze deeply into the opening.
Do not pack a suspected chest-cavity wound unless a trained emergency professional instructs you under an established protocol. Never place a tourniquet around the chest, and do not tightly wrap a bandage around the entire torso. The person needs room for the chest to expand.
Step 9: Choose the Safest Wound Covering
Current civilian first-aid guidance provides three reasonable options for a suspected open chest wound while EMS is responding:
- Leave the opening exposed to the air.
- Place a clean, dry, nonocclusive dressing loosely over it.
- Apply a commercially manufactured vented chest seal according to its directions.
A nonocclusive dressing allows air to move rather than trapping it inside the chest. If gauze is needed to absorb active bleeding, avoid fastening it so tightly that it becomes an airtight plug.
Older first-aid lessons sometimes recommended taping household plastic over the wound. Modern civilian guidance is more cautious because a completely airtight improvised seal can trap leaking air and contribute to a life-threatening tension pneumothorax. When no commercial vented seal is available, leaving the wound exposed or using loose, clean gauze is generally safer than improvising an airtight cover.
Step 10: Apply a Vented Chest Seal When Available
Open the package and follow the manufacturer’s directions. Briefly wipe away enough blood or moisture from the surrounding skin to help the adhesive stick, but do not scrub, probe, or irrigate the wound.
Center the vent over the opening and press the adhesive firmly against the skin. Check that clothing, jewelry, and folds of skin are not blocking the vent. Some trauma kits include two seals for entrance and exit wounds. Use the second only when the additional wound can be reached without unsafe movement.
Do not delay the 911 call, bleeding control, or breathing assessment while struggling with a seal that will not stick. Emergency care is a priority list, not an arts-and-crafts competition.
Step 11: Help the Person Find a Position of Comfort
Allow a responsive person to remain in the position in which breathing feels easiest. Many people prefer sitting or leaning slightly toward the injured side, but do not force a particular position.
If a head, neck, or back injury may be present, minimize movement and keep the person in the position found unless movement is necessary for safety, CPR, airway management, or bleeding control. If the person is unresponsive but breathing, follow the dispatcher’s instructions about positioning and spinal precautions.
Step 12: Watch Closely for Worsening Breathing
Continue checking the person’s breathing, skin color, mental status, and ability to speak. Warning signs of deterioration include increasing breathlessness, rapid shallow breathing, confusion, severe agitation, blue or gray lips, decreasing responsiveness, or one side of the chest moving less than the other.
If breathing becomes worse after any dressing or seal is applied, loosen or remove it and immediately tell the 911 dispatcher. A trained professional may describe this as relieving or “burping” a chest seal, but an untrained rescuer should not insert fingers, instruments, or needles into the wound.
Needle decompression is an invasive medical procedure. Do not attempt it unless you are appropriately trained, equipped, authorized, and operating under a professional protocol.
Step 13: Reduce Heat Loss and Treat for Shock
Cover the person with a coat or blanket while keeping the wound visible for reassessment. Even in warm weather, seriously injured people can lose body heat quickly.
Do not give food, alcohol, medication, or drinks. Surgery or anesthesia may be needed, and an increasingly drowsy person could choke. Continue offering calm reassurance and prevent unnecessary movement.
Signs of shock include pale or clammy skin, a rapid weak pulse, rapid breathing, confusion, weakness, dizziness, thirst, and decreasing alertness. Report these changes to the dispatcher immediately.
Step 14: Begin CPR If the Person Stops Breathing Normally
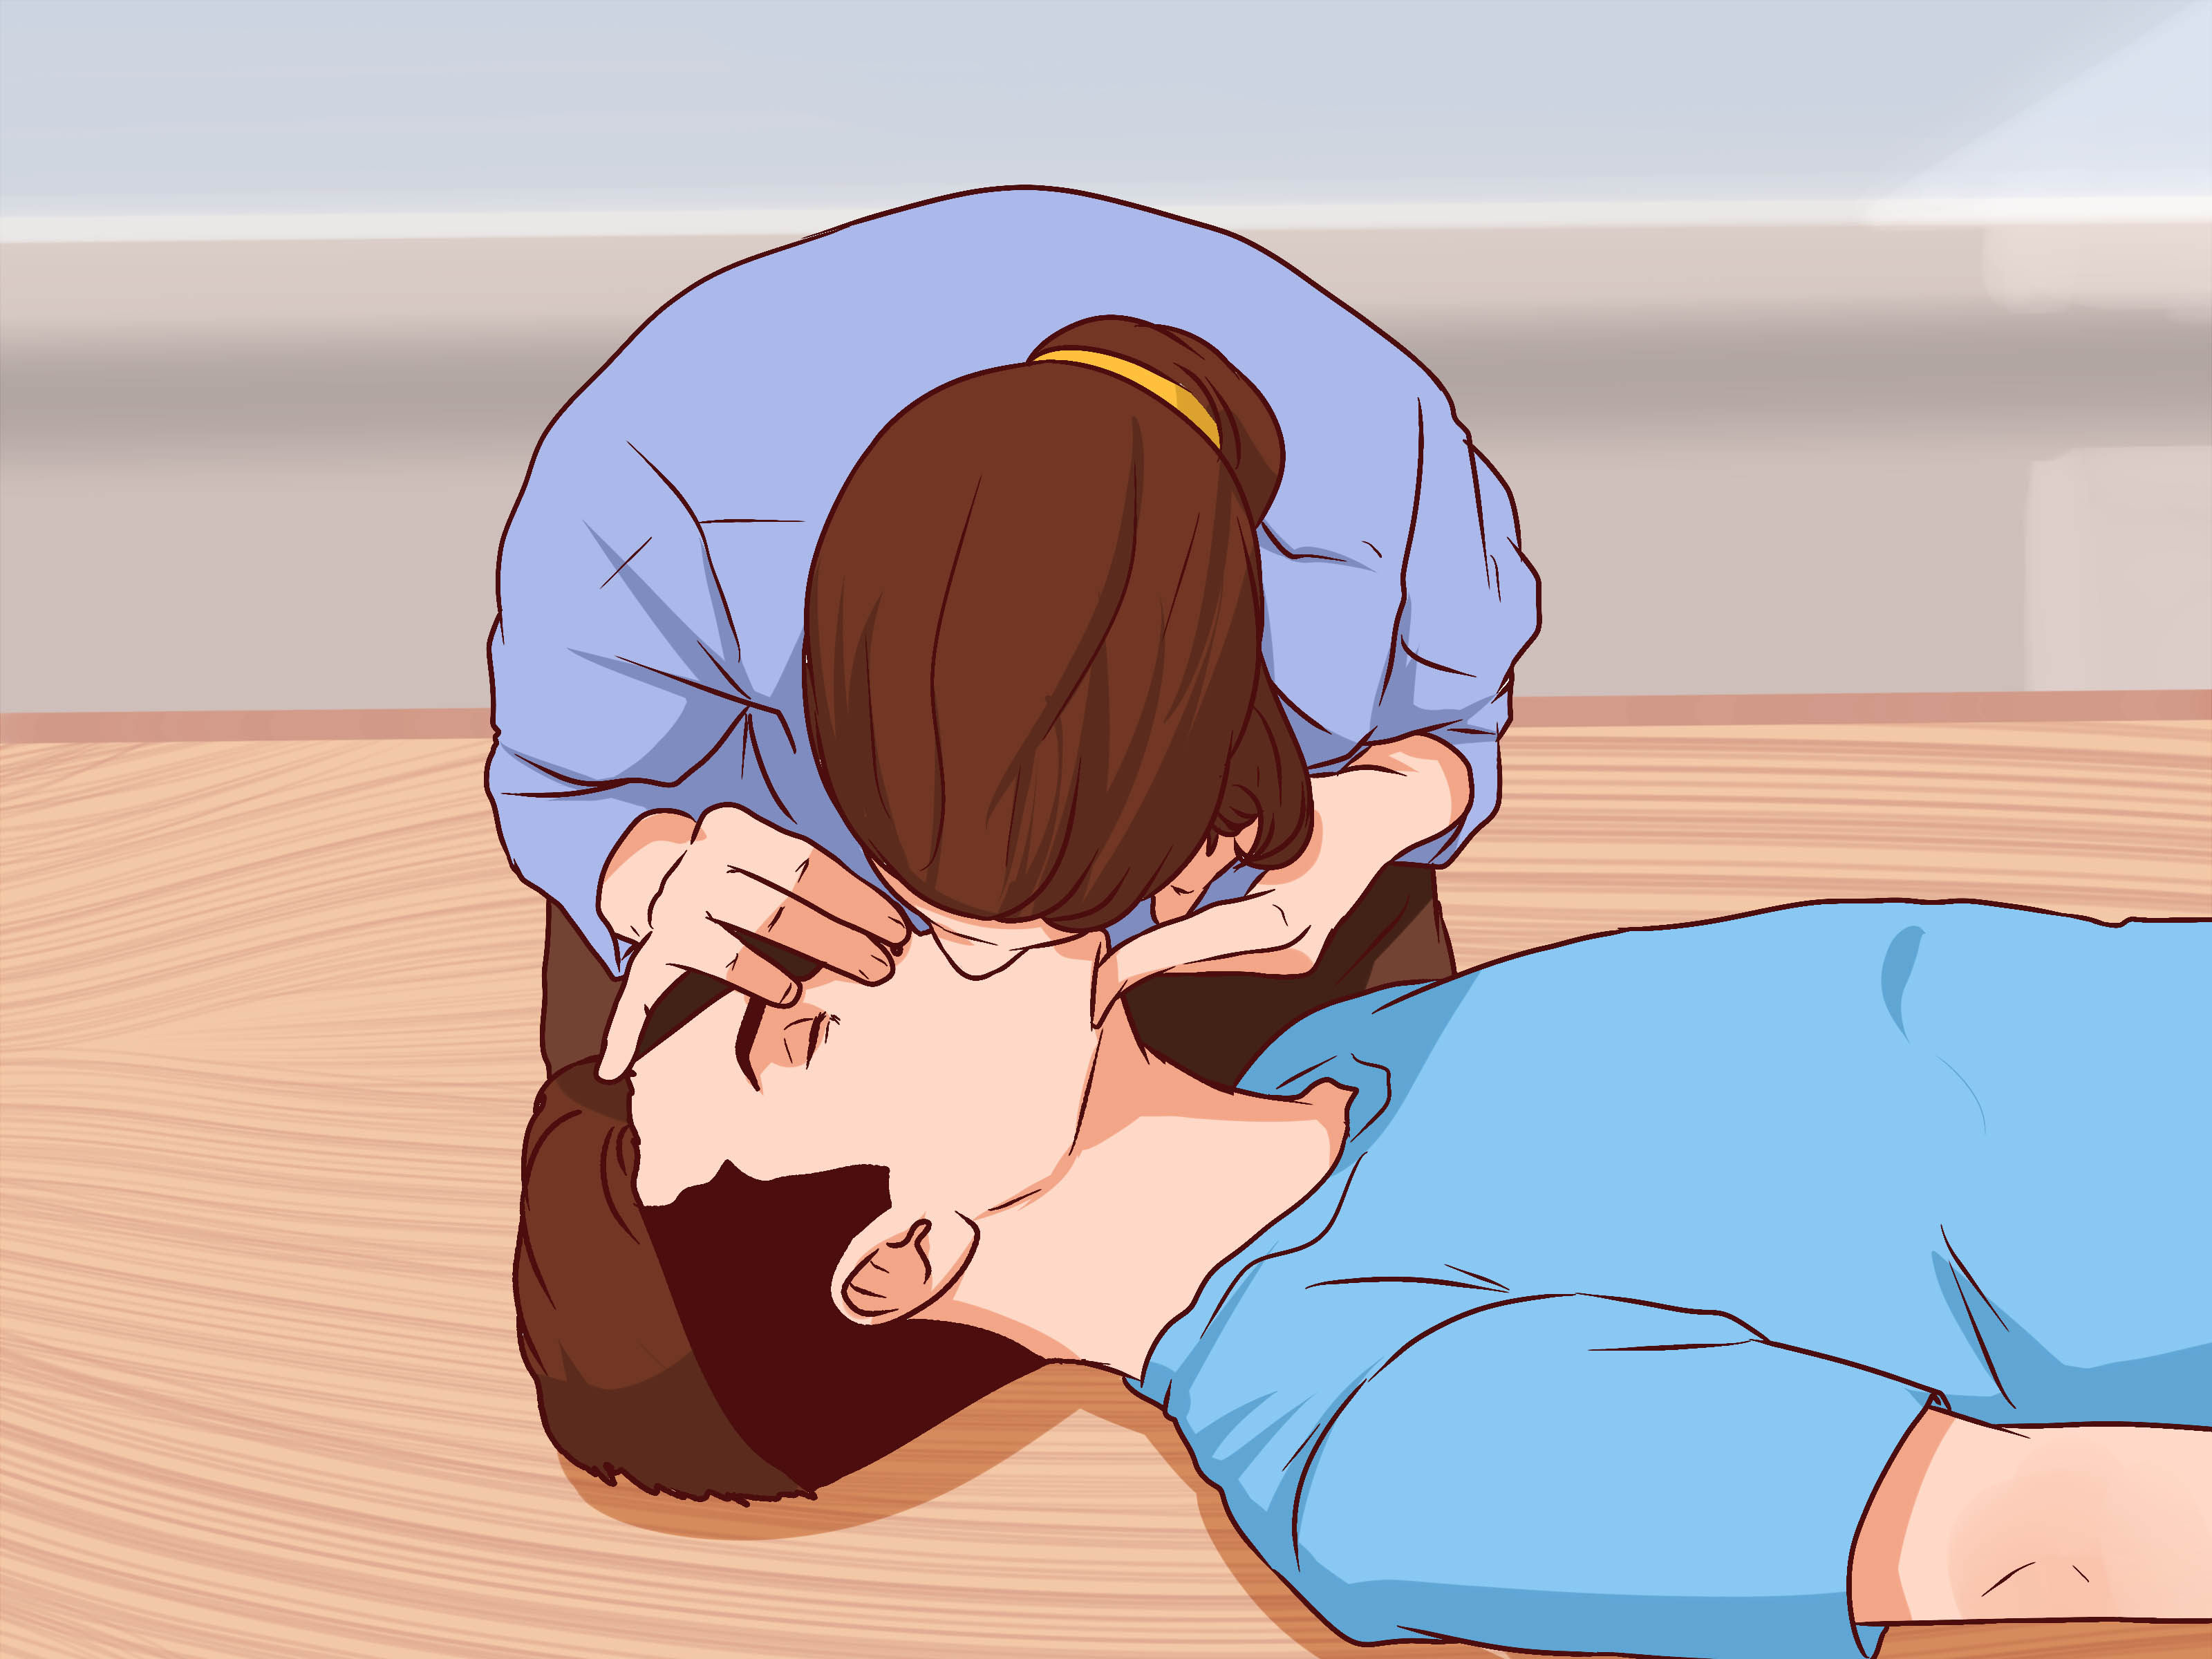
If the person becomes unresponsive and is not breathing or is only gasping, begin CPR immediately. Follow the 911 dispatcher’s directions. For an adult or teenager, an untrained rescuer can provide hands-only CPR by pushing hard and fast in the center of the chest at approximately 100 to 120 compressions per minute.
Use an AED as soon as one becomes available. Expose and dry enough of the chest to attach the pads, positioning them away from the open wound, chest seal, or embedded object. Follow the AED’s spoken prompts and do not delay compressions unnecessarily.
Continue until the person begins breathing normally, trained responders take over, the scene becomes unsafe, or you are physically unable to continue.
Common Chest-Wound First-Aid Mistakes
Cleaning or Probing the Wound
Do not pour peroxide, alcohol, iodine, or water into a major chest wound. Do not explore the opening with a finger or instrument. Hospital clinicians will clean and evaluate the injury under controlled conditions.
Creating a Homemade Airtight Seal
Airtight plastic secured on all sides can trap air leaking from an injured lung. Use a purpose-built vented seal when available, a loose nonocclusive dressing, or no covering while awaiting EMS guidance.
Removing the First Dressing to Check the Bleeding
Repeatedly lifting a blood-soaked dressing can disrupt clotting. Maintain steady pressure when bleeding control is needed. If breathing worsens, however, the chest covering may need to be loosened or removed. Bleeding and breathing must both be reassessed.
Wrapping the Chest Tightly
A circumferential bandage can restrict chest expansion. Secure dressings only as needed, and never use a chest wrap so tight that it interferes with breathing.
Waiting for Symptoms to Become Dramatic
A person with a penetrating chest wound may look surprisingly well at first. Do not wait for blue lips, collapse, or obvious respiratory failure before calling 911.
What Happens After Emergency Responders Arrive?
Tell responders what happened, when it happened, what you observed, and what treatment you provided. Mention any changes in breathing, alertness, skin color, or bleeding. Tell them whether a dressing was applied, removed, or loosened.
Emergency clinicians may provide oxygen, assisted ventilation, medication, blood products, imaging, drainage of air or blood from the chest, and surgery. The person may also need evaluation for infection risk and tetanus vaccination based on the wound and vaccination history.
Even when the skin wound appears small, professional evaluation is essential. Internal lung, blood-vessel, diaphragm, heart, or abdominal injuries cannot be ruled out by looking at the surface.
Practical Experience: Lessons From Chest-Wound Training Scenarios
First-aid simulations repeatedly demonstrate that the hardest part of treating a chest wound is not opening a package of gauze. It is maintaining priorities while several frightening problems compete for attention. Blood attracts the eye, but breathing may be the more immediate threat. A responder who spends five minutes building an elaborate bandage can miss the fact that the injured person is becoming confused and cyanotic.
Lesson 1: Calling for Help Must Happen Early
In practice drills, participants often begin touching the wound before anyone has called 911. They become absorbed in finding gloves, unfolding gauze, or asking what happened. The better habit is to activate EMS as soon as a serious chest injury is recognized. Treatment can continue while the phone is on speaker, and the dispatcher becomes an additional member of the response team.
Lesson 2: Simple Actions Usually Beat Complicated Improvisation
People naturally want to build something: a seal, a pressure device, a special knot, or an impressive wrap. Yet modern civilian guidance intentionally gives rescuers simple options. Leave the wound exposed, cover it loosely with clean dry material, or use a commercial vented seal. Simple actions are easier to perform correctly under stress and easier to reverse if breathing worsens.
Lesson 3: Reassessment Is More Important Than a Perfect-Looking Dressing
A bandage that looks neat can still become dangerous if it interferes with breathing. During training, rescuers sometimes stare at the wound and forget to look at the person’s face. Skin color, speech, alertness, respiratory effort, and chest movement provide valuable clues. The key question is not, “Does my dressing look professional?” It is, “Is this person breathing better, worse, or the same?”
Lesson 4: The Back Is Easy to Forget
Penetrating trauma can create more than one wound. Simulated casualties frequently have a second opening hidden under the shoulder, side, or back. A quick search matters, but so does spinal safety. The practical balance is to inspect what can be reached without unnecessary twisting and ask the emergency dispatcher for help when rolling the person may be risky.
Lesson 5: Calm Communication Has Medical Value
An injured person may feel as though they are suffocating, which naturally causes fear and rapid breathing. A calm rescuer can reduce confusion and discourage sudden movement. Short instructions work best: “Stay still. Help is coming. Breathe as comfortably as you can. Tell me if it becomes harder.” Long explanations and nervous jokes are rarely helpful, although a steady, reassuring tone certainly is.
Lesson 6: Equipment Is Useful Only When You Know It
A vented chest seal is valuable, but the middle of an emergency is a poor time to study its packaging for the first time. Training scenarios show why responders should inspect their first-aid kits in advance, learn how seals open, and understand where the vent sits. Expired adhesive, damaged packaging, or unfamiliar equipment can waste critical time.
Lesson 7: Hands-On Training Builds Better Judgment
Reading provides essential background, but practical courses teach how much pressure to apply, how to recognize abnormal breathing, how to use barriers, and how to communicate with dispatchers. CPR, AED, first-aid, and bleeding-control classes also let students make mistakes on mannequins rather than during the worst afternoon of someone’s life.
The strongest real-world lesson is therefore straightforward: prepare before the emergency, call for help early, use the least complicated effective intervention, and keep reassessing the whole person.
Conclusion
To dress a chest wound safely, think in this order: scene safety, 911, breathing, bleeding control, an appropriate covering, and continuous reassessment. Do not remove embedded objects, probe the wound, tightly wrap the chest, or create an improvised airtight seal. Use a commercial vented chest seal only as directed, and loosen or remove any covering if the person’s breathing worsens.
A chest wound is never a “bandage it and see how it goes” injury. Prompt emergency treatment is necessary even when bleeding is limited and the person initially appears stable. Calm, simple first aid can buy valuable time until professional care arrives.
SEO Tags

