Body Care
3 Ways to Paint a Refrigerator
Jun
A refrigerator is basically the family bulletin board, snack vault, and silent kitchen bouncer all in one. It works hard, gets touched constantly, and somehow collects fingerprints faster than a toddler with a chocolate cookie. So when an old fridge still runs well but looks tired, yellowed, scratched, or wildly out of sync with your kitchen style, painting it can be a smart alternative to replacing it.
The good news: yes, you can paint a refrigerator. The better news: you have more than one way to do it. The slightly annoying news: prep matters more than paint. A refrigerator is a slick, glossy, high-touch metal surface, which means regular wall paint will not magically behave like a factory appliance finish. To get a smooth, durable result, you need the right coating, careful cleaning, light sanding, and enough patience to let the finish cure before everyone starts yanking the door open for string cheese.
This guide explains three practical ways to paint a refrigerator: appliance epoxy spray paint, roll-on appliance enamel or direct-to-metal paint, and a creative painted finish such as chalkboard, matte color, or decorative design. Each method has its own strengths, so the best choice depends on your space, skill level, ventilation, color goals, and tolerance for overspray. Spoiler: overspray is not a personality trait you want on your kitchen cabinets.
Can You Really Paint a Refrigerator?
Yes, a refrigerator exterior can be painted as long as you treat it like an appliance, not like a bedroom wall. The outside panels are usually metal with a factory coating, and that coating is smooth by design. Paint needs a slightly rough, clean surface to grip. That is why most successful refrigerator painting projects include degreasing, sanding, wiping away dust, taping off seals and controls, and using a product made for metal or appliances.
Painting a refrigerator is best for cosmetic updates. It can cover scratches, yellowing, outdated colors, small worn areas, and mismatched appliance finishes. It will not fix dents perfectly, improve cooling performance, repair rusted-through metal, or turn a dying fridge into a luxury built-in model. If the refrigerator leaks, runs constantly, freezes lettuce into sad green glass, or sounds like a lawn mower learning jazz, address the mechanical issue before reaching for paint.
Important Safety and Prep Before Painting
Before choosing one of the three painting methods, prepare the appliance correctly. This is the part where many DIY projects succeed or fail. A beautifully chosen color cannot save paint that is applied over grease, dust, silicone residue, or old rust.
1. Unplug and Empty the Refrigerator
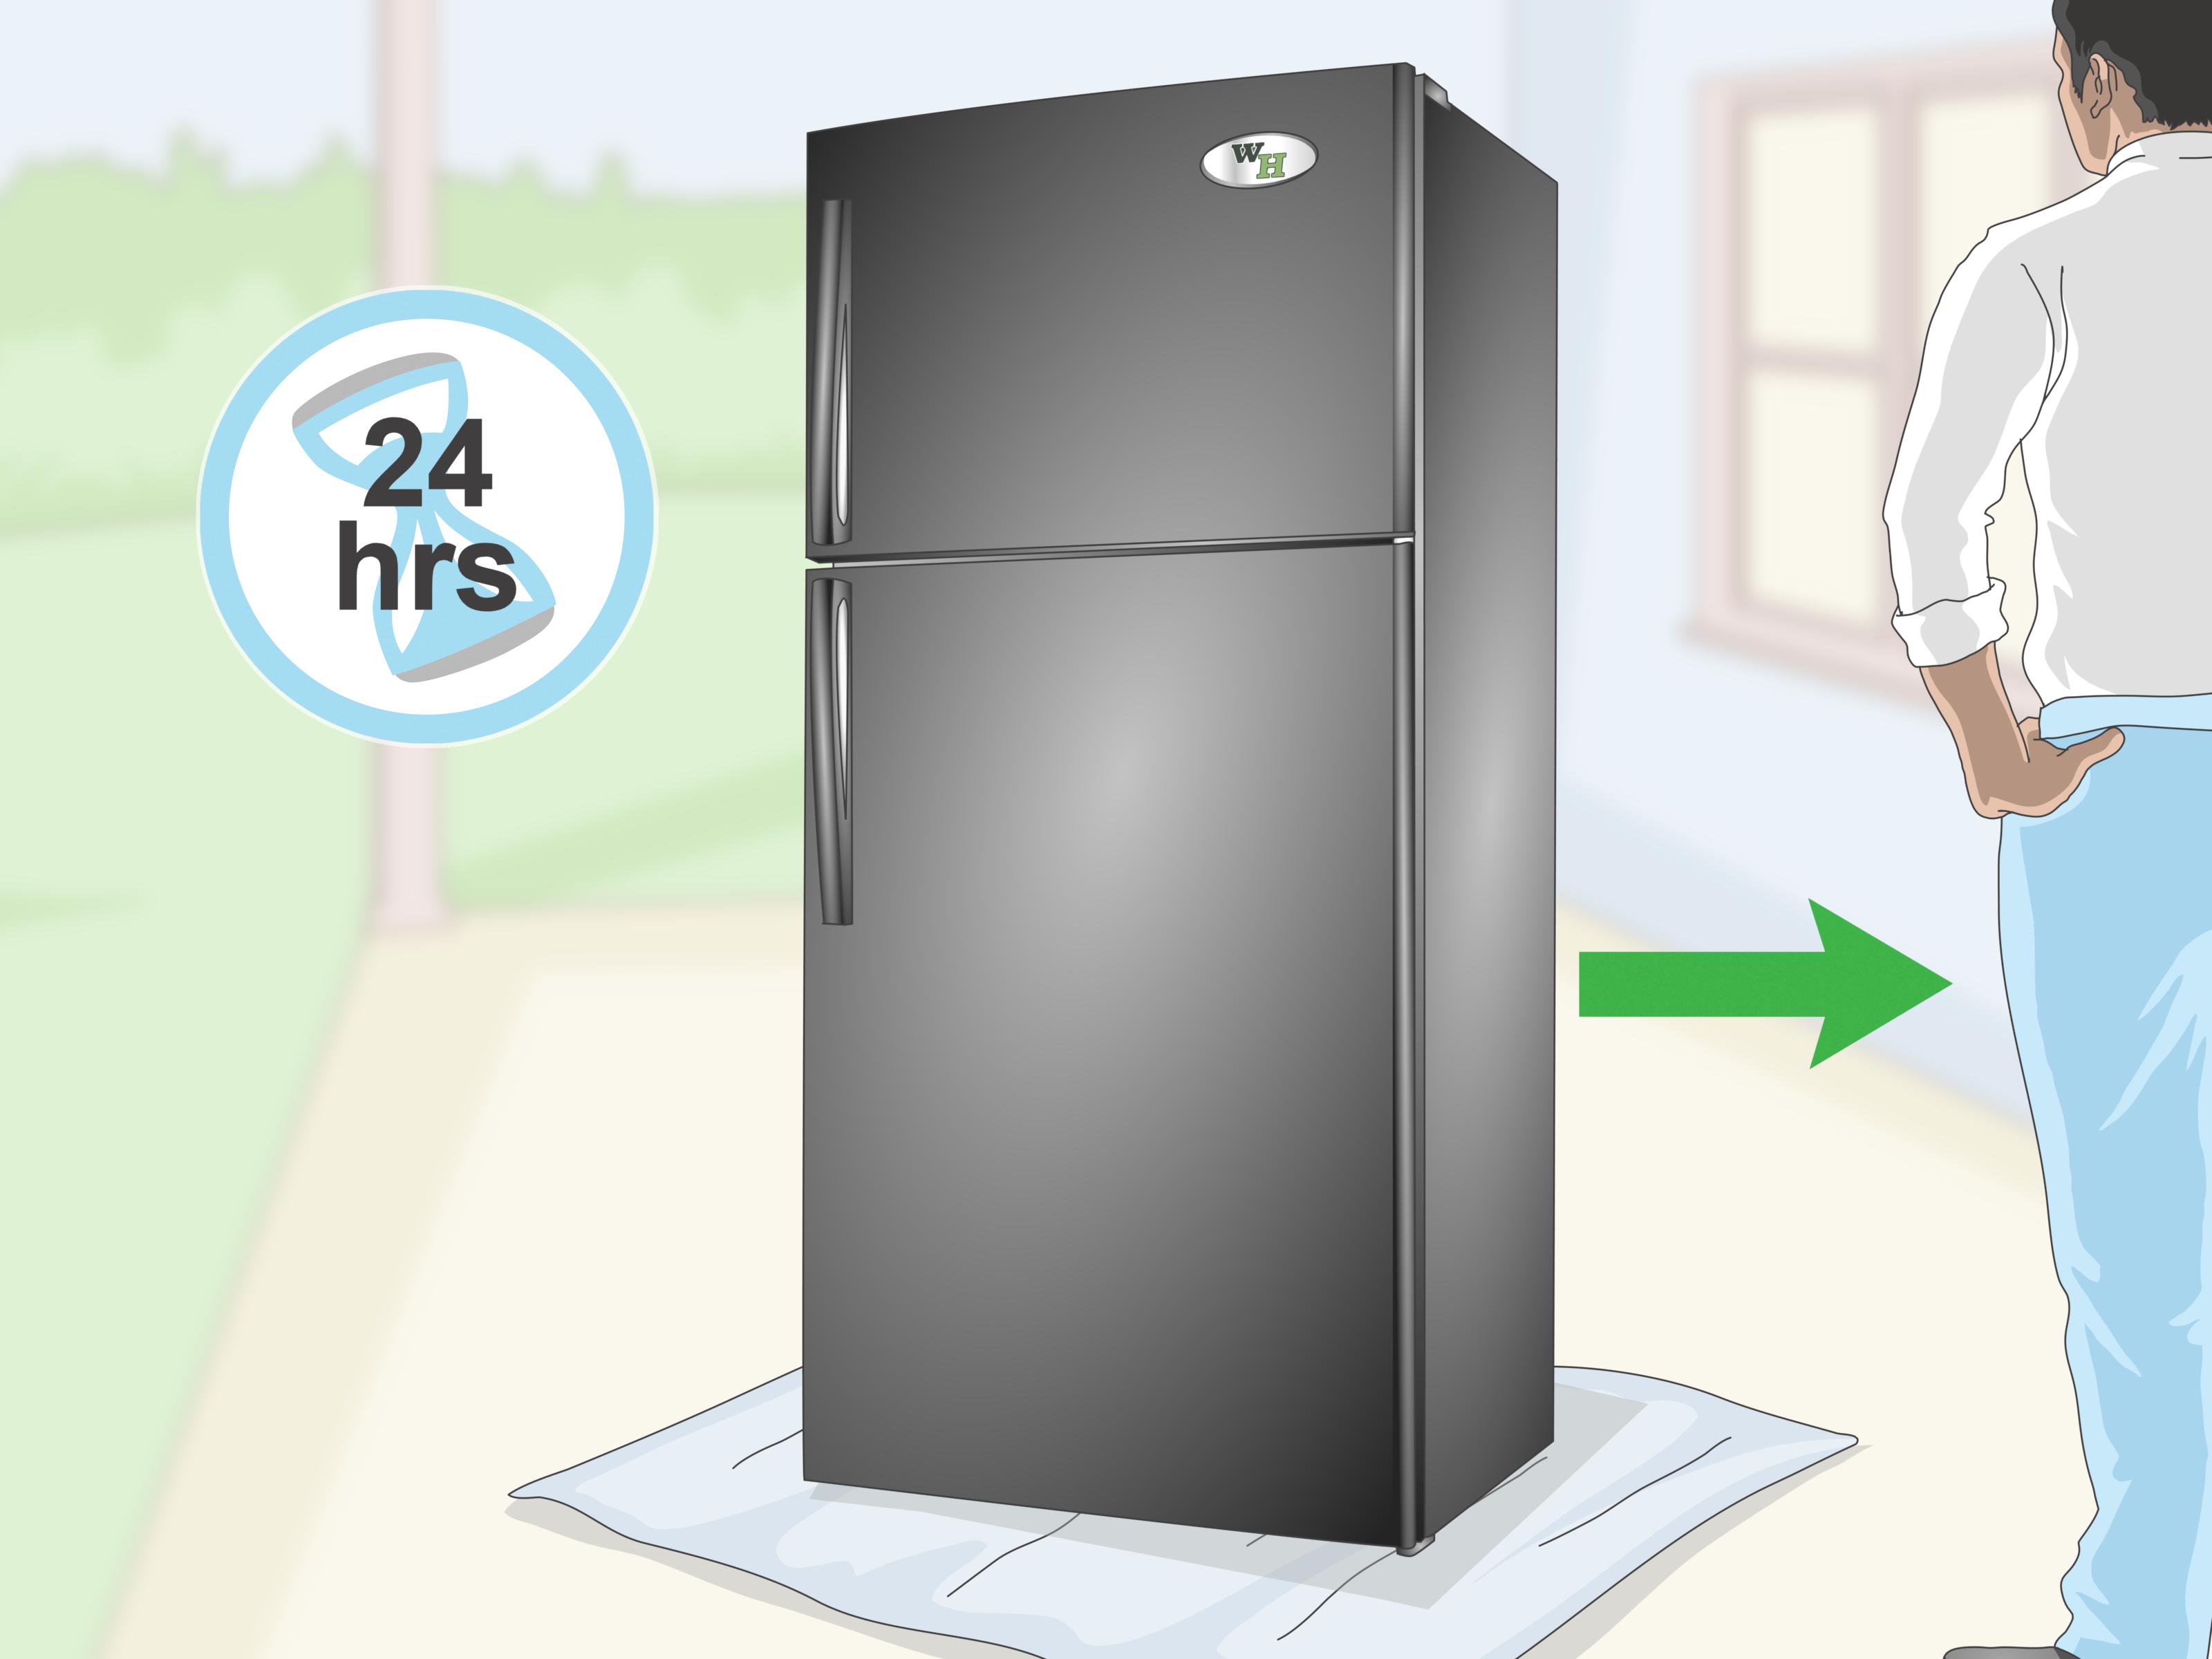
Unplug the refrigerator before moving or painting it. If you are painting only the front doors and can safely keep the unit in place, you may not need to empty everything for long, but you should still protect food and avoid working around open containers. For a full paint job, move perishables to a cooler. Nobody wants milk with a hint of aerosol enamel.
2. Move It to a Ventilated Area If Possible
Spray paint and many oil-based coatings need strong ventilation. A garage with the door open is often better than a closed kitchen. If you must paint indoors, avoid spray products unless the area is very well protected and ventilated. Roll-on paint is usually easier to control inside the home.
3. Clean Like You Mean It
Wash the exterior with warm water and mild dish soap, then remove grease with a degreasing cleaner if needed. Pay attention to handles, edges, and the area near the stove, where airborne cooking oil can settle. Rinse with clean water and dry thoroughly. Paint does not bond well to invisible kitchen grime, even if that grime has been part of the household since the last presidential administration.
4. Sand the Surface Lightly
Use fine-grit sandpaper, often around 220 grit, to dull the glossy finish. You are not trying to remove the old finish completely. You are simply creating a slightly rough surface so primer or appliance paint can grip. After sanding, wipe the fridge with a tack cloth or lint-free cloth to remove dust.
5. Tape Off Everything You Should Not Paint
Use painter’s tape and plastic sheeting to protect rubber gaskets, handles if you are not removing them, logos, water dispensers, ice makers, control panels, hinges, vents, coils, labels, and the interior. Do not paint the door seals, inside compartments, condenser coils, electrical components, or any surface that gets hot or comes into direct food contact.
Tools and Supplies You May Need
Your exact supply list depends on the painting method, but most refrigerator paint projects use some combination of the following:
- Mild dish soap and degreasing cleaner
- Microfiber cloths or lint-free rags
- Fine-grit sandpaper or sanding sponge
- Painter’s tape
- Plastic sheeting or drop cloths
- Bonding primer or direct-to-metal primer, if required
- Appliance epoxy spray paint, appliance enamel, or specialty paint
- Foam roller, small angled brush, or spray paint handle
- Respirator or mask rated for paint fumes, especially when spraying
- Disposable gloves
Way 1: Paint a Refrigerator With Appliance Epoxy Spray Paint
Appliance epoxy spray paint is one of the most popular ways to paint a refrigerator because it is designed for metal appliances and can create a glossy, factory-like finish. It is commonly available in appliance-friendly colors such as white, black, almond, and stainless-style finishes. This method works especially well when you can move the refrigerator to a garage, workshop, or protected outdoor area.
Best For
This method is best for homeowners who want a smooth, hard, glossy finish and are comfortable using spray paint. It is also a good choice for covering yellowed white appliances, refreshing scratched doors, or matching a fridge to other black or white appliances.
Pros
- Creates a smooth, even finish when applied correctly
- Designed for metal appliance exteriors
- Often dries faster than brush-on coatings
- Good for a clean, modern appliance look
Cons
- Requires excellent ventilation
- Overspray can travel farther than expected
- Color choices may be limited
- Needs careful masking and steady application
How to Do It
Start by cleaning, sanding, and taping the refrigerator as described above. Shake the spray can thoroughly according to the label directions. Hold the can the recommended distance from the surface, usually around 10 to 16 inches depending on the product, and spray in light, overlapping passes. Do not try to achieve full coverage in one coat. That is how drips happen, and drips on a refrigerator door are very visible because the surface is large and flat.
Apply two or more light coats, allowing the proper recoat time between applications. Spray slightly past the edge of the fridge with each pass so the paint does not build up heavily at the ends. Keep your wrist moving, maintain consistent distance, and resist the urge to “fix” a wet spot by blasting it again. Let the paint level itself.
After the final coat, allow the finish to dry and cure according to the paint label. Many painted surfaces feel dry before they are fully hardened. During this stage, avoid magnets, cleaners, rough towels, and enthusiastic door slamming. Your fridge may look finished, but the paint is still building its tiny armor.
Way 2: Paint a Refrigerator With Roll-On Appliance Enamel or Direct-to-Metal Paint
If spraying sounds messy, roll-on appliance paint or direct-to-metal enamel may be your best friend. This method uses a small foam roller and an angled brush to apply a smooth coating with more control. It is especially useful when the refrigerator cannot easily be moved outside or when you want to avoid coating half the kitchen in a mysterious paint fog.
Best For
This method is best for indoor projects, renters with permission to paint, homeowners who dislike spray paint, and anyone working in a tight kitchen. It is also helpful when you want a specific finish that comes in a quart rather than a spray can.
Pros
- Less overspray and easier indoor control
- Can produce excellent coverage with the right roller
- Works well on large flat doors
- Good option for careful, patient DIYers
Cons
- May show roller marks if applied too thickly
- Usually takes longer than spraying
- May require primer depending on the product
- Glossy finishes can reveal surface flaws
How to Do It
After cleaning and sanding, check whether your paint requires primer. If you are using a bonding primer, apply a thin, even coat and let it dry completely. A primer made for glossy or metal surfaces can help the topcoat adhere more securely, especially if the refrigerator has a slick factory finish.
Use a high-density foam roller for the large panels and a small angled brush for edges, corners, hinges, and tight areas. Roll in long, even strokes, keeping the coat thin. Thick paint may look satisfying for three minutes, then sag like a tired curtain. Two thin coats are usually better than one heavy coat.
Lightly sand between coats if the product directions allow it and if you notice dust nibs or raised texture. Wipe clean before applying the next coat. Once finished, remove painter’s tape before the paint becomes rock-hard, which can help prevent peeling along taped edges. Let the refrigerator cure before cleaning or decorating it.
Way 3: Paint a Refrigerator With a Creative Finish
The third way to paint a refrigerator is to stop pretending it has to look like every other appliance in the neighborhood. A refrigerator can become a matte statement piece, a chalkboard message center, a retro pastel accent, a color-blocked kitchen feature, or even a hand-painted design. This method is less about matching a factory finish and more about adding personality.
Best For
This approach is best for older but functional refrigerators, basement fridges, garage fridges, creative kitchens, rental units where removable panels are not enough, or homeowners who want a budget-friendly design moment. It is also ideal for people who looked at a plain white fridge and thought, “You know what this needs? Drama.”
Creative Refrigerator Paint Ideas
- Chalkboard finish: Great for grocery lists, meal plans, kid art, and reminders like “buy eggs,” which will still somehow be ignored.
- Matte black: Modern, bold, and surprisingly versatile with wood, brass, white cabinets, or colorful tile.
- Retro pastel: Soft mint, pale pink, butter yellow, or powder blue can give an old fridge vintage charm.
- Color blocking: Paint the doors one color and the sides another for a playful custom look.
- Stencil design: Add subtle patterns, stripes, botanicals, or geometric shapes after the base coat dries.
How to Do It
Creative finishes still need serious prep. Clean, sand, and tape the refrigerator carefully. If using chalkboard paint, matte paint, or a decorative acrylic enamel, apply a bonding primer first unless the paint specifically says otherwise. The primer is especially important when using non-appliance paint over a glossy metal surface.
Apply the base coat with a foam roller in thin layers. For chalkboard paint, follow the label instructions for curing and conditioning the surface before writing on it. Many chalkboard finishes need several days to harden before use. For decorative patterns, let the base color cure before applying painter’s tape or stencils. Fresh paint under tape can lift, which is a small tragedy but still a tragedy.
If the finish will get heavy use, consider a compatible clear protective topcoat. Make sure the topcoat works with your chosen paint and will not yellow, cloud, or create a sticky surface. Test products on a small hidden area or scrap metal if possible.
Which Refrigerator Painting Method Is Best?
Choose appliance epoxy spray paint if you want the closest thing to a classic appliance finish and can work in a ventilated, protected area. Choose roll-on appliance enamel or direct-to-metal paint if you want more control and less mess indoors. Choose a creative finish if your goal is personality, color, or a custom design rather than a factory look.
For most standard kitchen refrigerators, roll-on appliance enamel is the most beginner-friendly option because it limits overspray and gives you time to work carefully. For the smoothest glossy result, spray appliance epoxy can look fantastic, but it demands better setup. For a second fridge, game room fridge, pantry fridge, or bold kitchen makeover, creative paint can turn a basic appliance into a conversation piece.
Common Mistakes to Avoid
Using Regular Wall Paint
Interior wall paint is not built for slick metal appliances, constant touching, cleaning, and moisture. It may scratch, peel, or stay soft. Use appliance paint, direct-to-metal enamel, or a compatible primer-and-topcoat system.
Skipping the Sanding
A glossy refrigerator surface needs to be dulled so paint can grip. Light sanding is quick, but skipping it can lead to peeling later.
Painting the Rubber Gasket
The door gasket needs to stay flexible and clean so it can seal properly. Paint can crack, stick, or interfere with the seal. Tape it off carefully.
Painting Over Rust Without Treating It
Loose rust should be removed before painting. If rust is severe, use a rust-inhibiting primer or evaluate whether the appliance is worth refinishing.
Using the Fridge Too Soon
Paint may dry to the touch before it fully cures. Give the finish time before scrubbing it, adding magnets, or dragging baskets across the top.
How Long Does a Painted Refrigerator Last?
A well-prepped painted refrigerator can look good for years, but durability depends on the paint type, surface preparation, kitchen traffic, cleaning habits, and how rough people are with the handles and doors. High-touch areas may need occasional touch-ups. Homes with kids, pets, roommates, or midnight snack athletes should expect more wear around handles and edges.
To extend the life of the finish, clean the painted surface with mild soap and a soft cloth. Avoid abrasive pads, harsh solvents, ammonia-heavy cleaners, and aggressive scrubbing. If you use magnets, choose smooth ones and move them carefully. A painted refrigerator is durable, but it is not invincible. Treat it like a nice cabinet finish, not a garage workbench.
Experience Section: Real-World Lessons From Painting Refrigerators
The biggest lesson from refrigerator painting is that the project looks simple because the object is shaped like a box. This is a trap. A refrigerator is a very shiny, very touchable, very vertical box, and vertical surfaces love to expose every shortcut. The first time many DIYers paint one, they underestimate cleaning. The door may look clean, but around the handle there is usually a secret archive of hand oils, cooking grease, and mystery smudges. If that grime is not removed, paint may fisheye, separate, or peel later. Cleaning twice is not overkill; it is insurance.
Another experience-based tip: remove the handles if you can. Painting around handles is possible, but it often leaves awkward edges. If the handles are removable, take photos before removing screws, label small parts, and keep everything in a cup or bag. Refrigerator screws have a magical ability to vanish under the nearest cabinet like tiny metal fugitives.
Spray painting feels fast, but setup takes time. Cover more than you think you need to cover. Overspray can land on floors, walls, bikes, storage bins, and that one folding chair nobody likes but everyone keeps. If working in a garage, sweep first and let dust settle before painting. Dust floating into wet gloss paint is a special kind of DIY heartbreak.
Rolling paint is calmer, but technique matters. A foam roller can leave a smooth finish if you use thin coats and avoid overworking the paint. Many beginners keep rolling back and forth because they want perfection immediately. Instead, load the roller lightly, apply the paint evenly, then leave it alone. Paint often levels better when you stop bothering it. This is also good life advice, but refrigerators are easier to manage than people.
Color choice is another practical lesson. Black can look sleek and modern, but it may show dust and fingerprints. White looks clean, but it can reveal uneven coverage if the old finish is yellowed. Pastels and matte colors can be charming, especially in vintage-style kitchens, but they make the fridge a focal point. Before committing, tape a large color sample near the appliance and look at it in morning, afternoon, and evening light. Kitchen lighting can turn “soft sage” into “hospital pea soup” if you are unlucky.
Finally, curing time is where patience pays off. A painted fridge can look ready after a day, but the finish may still be vulnerable. Waiting before replacing magnets, wiping aggressively, or reinstalling heavy handles helps prevent early scratches. The best refrigerator paint jobs are not rushed. They are cleaned carefully, sanded lightly, painted thinly, and left alone long enough to harden. In the end, the reward is surprisingly satisfying: the same hardworking fridge, but now it looks intentional instead of apologetic.
Final Thoughts
Painting a refrigerator is one of those DIY projects that can make a kitchen feel fresh without the cost of a new appliance. The key is choosing the right method. Appliance epoxy spray paint gives a smooth, glossy, appliance-style finish. Roll-on appliance enamel offers more control for indoor projects. Creative finishes let you turn an ordinary fridge into a bold design feature.
Whatever method you choose, remember the golden rule: prep first, paint second, brag third. Clean the surface thoroughly, sand lightly, protect the parts that should not be painted, apply thin coats, and let the finish cure. Do that, and your refrigerator can go from “old appliance in the corner” to “wait, did you buy a new fridge?” without actually buying one.
Note: Always follow the specific directions on your paint, primer, and appliance labels. Do not paint interior food-contact surfaces, rubber seals, vents, coils, control panels, or electrical components.
