
Skincare
Before and After Thrift Store Side Table Makeover Idea DIY
May
Some thrift store furniture whispers, “I have potential.” Other pieces scream, “Please rescue me from this sticky price tag and questionable stain color.” A side table is the perfect beginner-friendly project because it is small, affordable, easy to move, and dramatic enough to make you feel like a design genius by dinner. With a little cleaning, sanding, paint, patience, and one heroic screwdriver, a dated side table can become the kind of custom accent piece people assume you found at a boutique.
This before and after thrift store side table makeover idea DIY guide walks through the entire process: how to choose the right table, prep it properly, repair small flaws, pick a stylish finish, paint like you know what you are doing, and seal it so your hard work does not surrender to coffee rings. Whether your style leans farmhouse, coastal, modern, vintage, cottagecore, boho, or “I saw it on Pinterest and now I have confidence,” this project is wonderfully flexible.
Why a Thrift Store Side Table Is the Perfect DIY Makeover
A side table is small enough to finish over a weekend but visible enough to change the feel of a room. Unlike a giant dresser or dining table, it does not require an enormous workspace, advanced tools, or a deep emotional commitment. If the first coat of paint looks weird, you can recover. If the color feels too bold, repaint it. If the original hardware looks like it belongs in a pirate movie, replace it.
Thrifted side tables are also budget-friendly. Many secondhand shops, estate sales, garage sales, and online marketplaces have solid wood or wood-veneer tables for far less than new furniture. Older pieces often have better bones than flat-pack furniture: dovetail drawers, turned legs, real wood tops, and charming details that only need a little encouragement to shine again.
The Before: What to Look for at the Thrift Store
Before falling in love with a $12 table, inspect it like a tiny furniture detective. First, wiggle it. A little wobble can usually be fixed by tightening screws or adding wood glue, but a table that leans like it has given up on life may require more repair than you want.
Check the Structure
Look for sturdy legs, a solid top, and drawers that slide reasonably well. Minor scratches, water marks, chipped veneer, and ugly paint are not deal breakers. Those are makeover opportunities wearing bad outfits. However, avoid severe warping, deep cracks through the frame, strong musty odors, or signs of pest damage.
Look for Interesting Details
Curved legs, carved trim, cane inserts, small drawers, scalloped edges, brass pulls, and unusual shapes can make a thrift store side table feel custom after painting. Even a plain square table can look chic with a matte black finish, new hardware, and a styled stack of books.
Measure Before Buying
A side table should usually sit close to the height of the sofa arm or bed mattress it will serve. It does not need to be exact, but it should be comfortable for setting down a lamp, drink, phone, or book. Bring a tape measure, or at least know the approximate height and width you need. Guessing in the thrift store aisle is how people end up with a “side table” that is secretly a plant stand.
Design Plan: Choose the After Before You Start
The best furniture makeovers begin with a simple design plan. You do not need a mood board worthy of a television reveal, but you should know the look you want before opening a paint can.
Popular Side Table Makeover Styles
Modern matte black: Great for simple shapes, mid-century silhouettes, and tables with clean lines. Add brass or leather hardware for contrast.
Soft white farmhouse: Ideal for cottage, country, and vintage tables. Light distressing on edges can highlight details without making the table look artificially aged.
Two-tone wood and paint: Paint the base and refinish or stain the top. This works beautifully when the tabletop has attractive wood grain.
Bold color statement: Try deep green, navy blue, terracotta, mustard, or dusty rose. A small side table is a safe place to use color because it will not overwhelm the room.
Natural boho refresh: Sand the top, use a warm stain or paint wash, and pair it with woven baskets, rattan, or ceramic decor.
Tools and Supplies You May Need
You can customize the supply list depending on your table’s condition, but most side table DIY makeovers use a familiar lineup:
- Drop cloth or old sheet
- Screwdriver for removing hardware
- Degreasing cleaner or mild soap
- Microfiber cloths
- Sandpaper or sanding sponge in medium and fine grits
- Wood filler for dents or holes
- Putty knife
- Primer suited for furniture
- Furniture paint, enamel paint, chalk-style paint, or cabinet paint
- Small foam roller and angled brush
- Clear topcoat, wax, or polyurethane
- New drawer pull or knob, if desired
The exact products depend on your desired finish. Chalk-style paint is popular because it offers a matte look and strong coverage, while enamel or cabinet paint is excellent for a smoother, more durable finish. Spray paint can work well for metal or highly detailed pieces, but ventilation and thin coats are essential.
Step 1: Clean the Table Thoroughly
Do not skip cleaning. Thrift store furniture may carry furniture polish, dust, cooking residue, old wax, mystery fingerprints, or sticker glue. Paint does not bond well to grime. It bonds to the clean surface underneath the grime.
Remove drawers and hardware first. Then wipe the table with mild soap and water or a furniture-safe cleaner. For stubborn residue, use a degreasing cleaner and follow the product directions. Let the table dry completely before sanding. Painting damp wood is like applying makeup in a rainstorm: technically possible, but nobody is getting the best result.
Step 2: Repair Dents, Holes, and Loose Parts
Small flaws are normal on secondhand furniture. Fill unwanted hardware holes, chips, or dents with wood filler. Smooth it with a putty knife and let it dry fully. Once dry, sand the repair until it blends with the surrounding surface.
If legs or joints are loose, tighten screws. For wobbly wood joints, a small amount of wood glue and clamping time can help. Do repairs before painting, not after. A beautifully painted table with a loose leg is just a stylish accident waiting to happen.
Step 3: Sand for Better Adhesion
Sanding does not always mean removing every bit of the old finish. In many painted furniture projects, the goal is to scuff the surface so primer or paint can grip. Use a medium-grit sanding sponge for glossy finishes, then follow with a finer grit for smoothness. Pay extra attention to edges, corners, and repaired areas.
After sanding, remove dust with a microfiber cloth or tack cloth. Dust left behind can create bumps in the paint and weaken adhesion. If you want a professional-looking finish, dust removal is not optional. It is the quiet little step that makes the final result look crisp instead of crunchy.
Step 4: Prime the Surface
Primer helps paint stick, improves coverage, and can block stains from bleeding through. This is especially useful on dark wood, shiny laminate, knotty wood, or older furniture with unknown finishes. For a thrift store side table, one good coat of bonding primer can save you from needing extra coats of paint later.
Apply primer in thin, even coats using a brush for details and a foam roller for flat areas. Let it dry according to the label. Once dry, lightly sand with fine-grit sandpaper if the surface feels rough, then wipe away the dust. This quick sanding step helps create that smooth “I bought it this way” finish.
Step 5: Paint in Thin, Even Coats
Paint is where the before and after magic finally becomes obvious. Use thin coats rather than trying to cover everything at once. Thick paint can drip, wrinkle, show brush marks, or take forever to cure. Two thin coats usually look better than one heavy coat, and three thin coats can look beautifully polished.
Brush in the direction of the wood grain when possible. Use an angled brush for corners, trim, and legs. Use a small foam roller for the tabletop, drawer fronts, and flat panels. Let each coat dry fully before applying the next. If the paint manufacturer recommends sanding between coats, do it lightly and clean off the dust afterward.
Color Ideas That Work Beautifully
Classic white: Brightens dark rooms and works with nearly any decor style.
Sage green: Soft, current, and perfect with brass hardware or natural wood.
Navy blue: Sophisticated without being boring.
Charcoal gray: A modern neutral that hides wear better than pure white.
Warm beige or greige: Elegant, calm, and easy to style.
Terracotta: Cozy, earthy, and great for boho or eclectic rooms.
Step 6: Upgrade the Hardware
New hardware is the jewelry of furniture makeovers. A simple knob swap can make a thrifted side table look far more expensive. Try aged brass for warmth, matte black for contrast, glass knobs for vintage charm, ceramic pulls for cottage style, or leather tabs for a modern handmade touch.
If the original hardware is beautiful but tarnished, clean and reuse it. Vintage brass, antique bronze, and old drawer pulls can add character that new hardware sometimes lacks. If the old holes do not match your new pull, fill them before painting and drill new holes after the finish has cured.
Step 7: Seal the Finish
A side table works hard. It holds lamps, coffee mugs, remote controls, books, phones, water glasses, and possibly one cat who believes all furniture is communal property. A protective topcoat helps prevent scratches, stains, and everyday wear.
For painted furniture, use a clear water-based polyurethane, polycrylic, furniture wax, or the topcoat recommended for your paint. Apply thin coats and let each coat dry fully. For tabletops, multiple thin coats are usually better than one heavy coat. If using polyurethane, brush with the grain and avoid overworking the finish.
The After: Styling Your Newly Made-Over Side Table
Once the finish is fully cured, style the table with intention. A lamp adds height and function. A small tray keeps items organized. A plant adds life. A stack of books creates layers. A candle or ceramic bowl brings texture. The trick is to keep the surface useful, not crowded.
For a bedroom, pair the table with a reading lamp, small dish for jewelry, and a book. For a living room, style it with a lamp, coaster, framed photo, and greenery. For an entryway, use a small catchall bowl and a mirror above it. The makeover does not end with paint; styling completes the transformation.
Before and After Example: A $15 Side Table Transformation
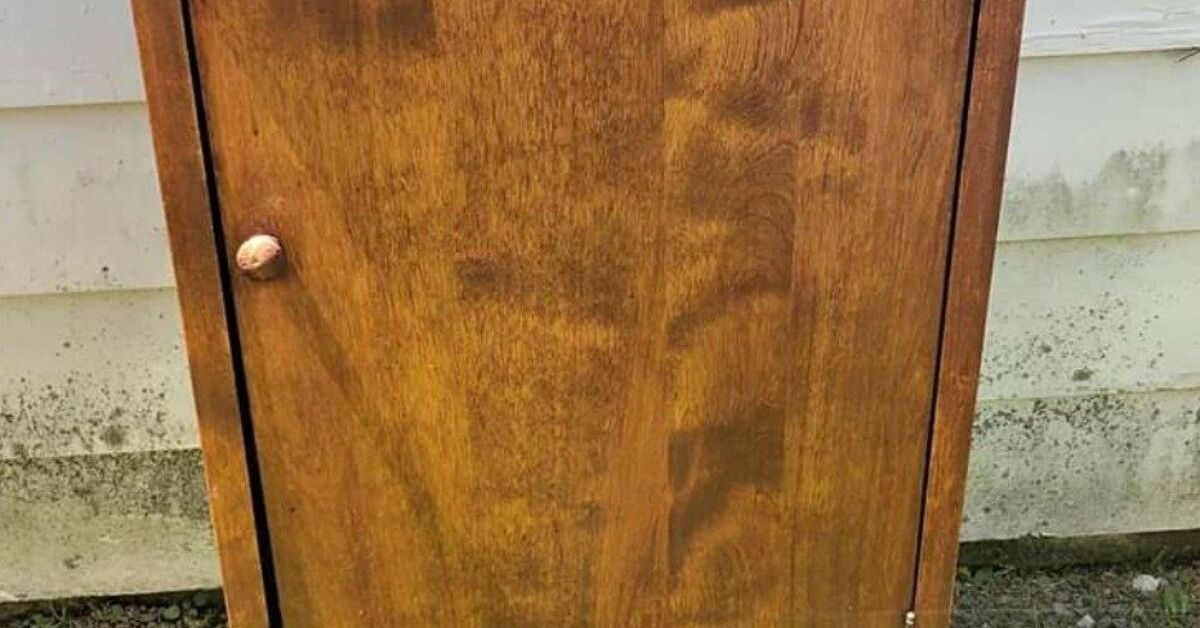
Imagine the before: a scratched cherry-finish side table with one drawer, dated brass hardware, water rings on top, and legs that look like they survived a vacuum cleaner battle. It costs $15 and has a solid frame. Not glamorous, but promising.
The makeover plan: clean it, sand the glossy finish, fill the worst scratches, prime it, paint the base in sage green, sand and stain the top in a warm walnut tone, and replace the old knob with an aged brass pull. The result is a two-tone side table that looks collected, cozy, and far more expensive than its humble thrift store origin story.
This kind of before and after thrift store side table makeover works because it respects the original piece while giving it a fresh identity. The paint modernizes the shape. The stained top adds warmth. The new hardware makes the table feel intentional. Suddenly, the little table that once looked forgotten becomes a focal point.
Common Mistakes to Avoid
Skipping Prep
Prep is not the glamorous part, but it is the reason the paint stays put. Clean, sand, repair, dust, and prime when needed. Future you will be grateful.
Painting Too Thickly
Heavy coats are tempting because they seem faster. They are not. Thin coats dry better, cure stronger, and look smoother.
Ignoring Cure Time
Dry paint is not the same as cured paint. A table may feel dry within hours but still need days or weeks to harden completely. Be gentle with the surface at first, and avoid placing heavy decor or wet cups on it too soon.
Choosing the Wrong Finish for the Room
A delicate wax finish may be lovely in a low-use guest room, but a busy living room table might need a tougher topcoat. Match the finish to real life, not fantasy life where nobody spills iced coffee.
Budget Breakdown for a DIY Side Table Makeover
A thrift store side table makeover can be impressively affordable, especially if you already own basic supplies. Here is a realistic sample budget:
- Thrifted side table: $10 to $35
- Sandpaper or sanding sponge: $5 to $10
- Wood filler: $5 to $8
- Primer: $8 to $18
- Paint sample or small quart: $8 to $25
- Topcoat: $10 to $20
- New hardware: $4 to $15
If you have leftover paint and tools, the project can cost very little. Even with new supplies, you can often complete the makeover for less than the price of a mass-produced accent table. Better yet, your finished piece will be one of a kind.
Eco-Friendly Benefits of Thrift Store Furniture Makeovers
DIY furniture makeovers are not just budget-friendly; they are also a practical form of reuse. Giving an old table a second life keeps usable furniture out of the landfill and reduces the demand for newly manufactured pieces. It also lets you create a home with more personality and less sameness.
Thrifted furniture carries stories. Maybe the table once lived beside someone’s reading chair, held a lamp for decades, or survived three paint colors before meeting you. With a thoughtful makeover, it becomes part of your home’s story instead of becoming waste.
Extra Experience: Real-Life Lessons From a Thrift Store Side Table Makeover
The first lesson is simple: never judge a table by its orange varnish. Many thrift store pieces look outdated because of the finish, not the shape. A bulky brown table may reveal beautiful lines once the shine is toned down. A scratched top may look hopeless until it is sanded, stained, or painted. The “before” stage often looks worse than the table truly is, especially under thrift store lighting, which somehow makes everything look like it has been stored in a haunted garage.
Another useful experience is to test your paint color before committing. A color that looks soft and elegant on a paint chip can look wildly different on furniture. Lighting, wall color, flooring, and surrounding decor all affect how the finished table appears. If possible, paint a small hidden area or a scrap board first. This tiny test can prevent the classic DIY moment where you step back and say, “Interesting… but not in the way I hoped.”
Hardware can also change the entire personality of the piece. During one makeover, a plain white side table looked unfinished until a warm brass knob was added. Suddenly, it felt intentional. Another table painted deep blue looked too formal with shiny silver hardware but became relaxed and stylish with a simple wooden knob. Small details matter because side tables are viewed up close.
Drying time deserves respect. Many beginners finish painting, love the result, and immediately decorate the table. Then they discover a lamp base has left a ring in the not-quite-cured paint. Let the finish harden before heavy use. Place items gently, use coasters, and avoid dragging decor across the surface. The first week is when your makeover needs kindness.
It also helps to embrace imperfections. A thrift store side table is not supposed to look like it rolled off a factory line yesterday. Tiny dents, soft distressing, subtle brush texture, and old wood character can make the piece feel warm and authentic. The goal is not sterile perfection. The goal is a beautiful, useful table with personality.
Finally, take before photos. You may think you will remember how rough the table looked when you bought it, but you will not fully appreciate the transformation unless you document it. Put the table near a window, snap a quick photo before cleaning, then photograph the finished piece in its styled spot. The side-by-side comparison is satisfying, motivating, and excellent for sharing online. Nothing says DIY victory like proof that your chic little table once looked like it was abandoned in a basement next to a broken treadmill.
Conclusion
A before and after thrift store side table makeover idea DIY project is one of the most rewarding ways to refresh your home on a budget. It is approachable for beginners, creative enough for experienced DIYers, and practical enough to justify the weekend effort. With smart thrift shopping, proper prep, thoughtful paint choices, upgraded hardware, and a durable sealant, a forgotten side table can become a custom accent piece full of charm.
The best part is that every makeover is different. One table may become sleek and modern in matte black. Another may turn cottage-inspired with creamy paint and vintage hardware. Another may keep its wood top and gain a colorful painted base. That flexibility is exactly why thrift store furniture flips remain so popular: they let you design something personal, useful, affordable, and just a little bit magical.
