
Beauty Unlocked
How To Make a Window Box with Vintage Trim
Aug
A window box is a small project with a suspicious amount of charm. One minute your window looks perfectly normal, and the next it looks like it belongs on a cottage, a farmhouse, or a bakery that sells muffins with names like “Morning Glory.” Add vintage trim, and suddenly your DIY window box has character, curb appeal, and that wonderful “this has always been here” look.
The good news: learning how to make a window box with vintage trim does not require a professional workshop, a truck full of mysterious tools, or a heroic tolerance for splinters. You need careful measurements, exterior-friendly materials, proper drainage, secure mounting, and a little patience with the decorative details. The vintage trim does the visual heavy lifting, while the box itself does the practical work of holding soil, water, and plants without staging a dramatic collapse beneath your window.
This guide walks you through planning, building, trimming, sealing, installing, and planting a DIY window box that looks old in the best way but performs like a modern outdoor planter. Think of it as a tiny porch renovation for your window.
Why Add Vintage Trim to a Window Box?
Plain window boxes are lovely, but vintage trim gives them architectural personality. A flat cedar box can look clean and simple; add salvaged molding, beadboard, old casing, or decorative corner blocks, and it starts to echo the details of older homes. That matters because the best window box design usually looks connected to the house rather than randomly attached like a wooden lunchbox.
Vintage trim is especially useful if your home has traditional siding, porch columns, shutters, old window casings, or cottage-style details. It can also soften a newer exterior by adding texture and depth. Even a simple strip of old base cap molding across the front can make a window planter feel custom.
The trick is to use vintage trim as decoration, not structure. Old trim may be beautiful, but it can be brittle, uneven, or previously painted. Build the box from sturdy outdoor-rated lumber first, then attach the trim like jewelry. Very charming jewelry, but jewelry nonetheless.
Before You Build: Plan the Window Box Size
Measure the Window
Start by measuring the width of the window, including the outer trim if you want the box to align with the full visual frame. A classic window box is usually the same width as the window trim or slightly wider. For example, if your window trim measures 36 inches across, a 36- to 40-inch box will usually look balanced.
Depth matters too. A box that is too shallow dries out quickly and limits root growth. A practical DIY window box is often about 7 to 10 inches deep and 7 to 10 inches tall. This gives flowers, herbs, and trailing plants enough soil to grow without creating a monster planter that requires a forklift and emotional support.
Estimate the Weight
A planted window box gets heavy. Wood, wet potting mix, mature plants, and water all add up. Before installing, make sure your brackets and fasteners are rated for the load. When in doubt, use more support than you think you need. Gravity is not impressed by rustic charm.
Choose the Right Location
Watch how much sun the window receives. Full sun, part sun, and shade all call for different plants. Also consider wind exposure, roof runoff, and whether you can easily water the box. A window box that looks adorable but requires a ladder every morning will quickly become a decorative regret.
Best Materials for a DIY Window Box with Vintage Trim
For the main box, choose wood that can handle outdoor life. Cedar and redwood are popular because they are naturally rot-resistant and lightweight compared with many other lumber options. Exterior-grade pine can work if sealed carefully, but it may not last as long in wet conditions. PVC boards are another low-maintenance option, though they do not have the same warm, salvaged feel as wood.
Recommended Supplies
- 1×8 cedar boards for the front, back, and ends
- 1×6 cedar board or exterior plywood for the bottom
- Vintage trim, salvaged molding, beadboard, or decorative casing
- Exterior wood glue or construction adhesive
- Stainless steel or exterior-rated screws
- Galvanized or stainless brad nails for trim
- Exterior primer and paint, stain, or spar urethane
- Landscape fabric
- Potting mix made for containers
- Heavy-duty window box brackets
Tools You Will Need
- Tape measure
- Pencil
- Speed square
- Miter saw or circular saw
- Drill and drill bits
- Countersink bit
- Clamps
- Sandpaper or sanding block
- Caulk gun
- Paintbrush
- Level
- Stud finder, masonry bit, or anchors depending on wall type
A Quick Note About Salvaged Trim
Vintage trim is the star of this project, but inspect it before using it. Avoid pieces that are badly rotten, crumbling, warped beyond usefulness, or covered in flaking mystery paint. If the trim came from an older home, especially one built before 1978, test painted surfaces for lead before sanding, scraping, or cutting. Charming should not come with a side order of hazardous dust.
For the cleanest result, choose trim with enough flat back surface to sit securely against the window box. Thin decorative molding, old base cap, picture rail, small crown molding, beadboard strips, and rosette blocks can all work beautifully. If the trim is uneven, dry-fit everything first and decide where small gaps can be hidden with caulk.
Step-by-Step: How To Make a Window Box with Vintage Trim
Step 1: Cut the Box Pieces
For a simple 36-inch window box, cut the following pieces:
- Front board: 36 inches long
- Back board: 36 inches long
- Two end boards: about 7 inches long, depending on your desired depth
- Bottom board: sized to fit inside or underneath the box frame
Dry-fit the pieces before fastening. This is the moment when you find out whether your cuts are square, your boards are straight, and your confidence was perhaps a little ahead of schedule. Adjust now, not after glue enters the chat.
Step 2: Build the Basic Box
Apply exterior wood glue to the ends of the shorter side pieces. Clamp the front, back, and side boards together to form a rectangle. Drill pilot holes to prevent splitting, then fasten the corners with exterior-rated screws. Add the bottom board and secure it with screws every few inches along the edges.
Keep the box square as you work. Measure diagonally from corner to corner; if both diagonal measurements match, the box is square. If not, gently shift it before tightening all screws. This is woodworking’s way of reminding us that rectangles are earned, not assumed.
Step 3: Drill Drainage Holes
Drainage is not optional. Without it, rainwater and irrigation can collect in the bottom, suffocating roots and encouraging rot. Drill several evenly spaced drainage holes along the bottom board. A 3/8-inch to 1/2-inch bit works well for many wooden boxes.
After drilling, sand rough edges around the holes. Later, you can line the inside with landscape fabric to keep soil from washing out while still allowing water to escape.
Step 4: Sand the Box
Sand the edges, corners, and front face of the box. You do not need furniture-grade smoothness, but you do want to remove splinters and rough saw marks. Slightly rounding sharp edges also helps paint or stain adhere more evenly.
If you are going for a distressed vintage look, do not overdo the sanding. A few nicks and imperfections are part of the charm. The goal is “weathered and lovely,” not “attacked by raccoons.”
Step 5: Design the Vintage Trim Layout
Lay the salvaged trim across the front of the box and experiment with placement. You might use one horizontal band near the top, a second band near the bottom, and small decorative blocks at the corners. Another option is to frame the front panel like a tiny old door, using mitered molding on all four sides.
For a cottage style, try beadboard on the front panel with a narrow cap trim along the top. For a farmhouse look, use simple flat trim with slightly chunky corner pieces. For a Victorian touch, add curved or carved molding, but use restraint. The window box should not look like it is wearing the entire antique store.
Step 6: Cut and Attach the Trim
Measure carefully and cut trim pieces to length. For picture-frame trim, cut 45-degree miters at the corners. For rustic trim, square butt joints can look perfectly appropriate, especially if the pieces are old and already have character.
Apply a thin bead of exterior adhesive to the back of each trim piece. Press it in place and secure it with galvanized or stainless brad nails. Wipe away excess glue before it dries. If small gaps appear, use exterior paintable caulk after the adhesive cures.
Step 7: Add a Top Lip or Cap Rail
A top trim cap makes the box look finished and helps visually tie the vintage trim to the structure. You can use a 1×2 board, old casing, or a salvaged sill-like piece. Let it overhang slightly on the front and sides for shadow and depth.
Attach the cap with exterior glue and screws or nails. If water can sit on the cap, angle or seal it well. Flat horizontal surfaces outdoors are where water likes to linger and plot against your paint job.
Step 8: Prime, Paint, Stain, or Seal
Finish all sides of the window box, including the back and bottom. This step is easy to skip because no one sees those areas, but moisture certainly finds them. Use exterior primer and paint for a crisp look, or exterior stain and clear protective finish if you want the wood grain to show.
For a vintage style, consider soft white, muted green, deep charcoal, dusty blue, warm cream, or a color that matches your shutters. If the salvaged trim already has safe, stable old paint, you can preserve some of that patina with a clear exterior finish. Just make sure the surface is clean, sound, and compatible with the product you use.
Step 9: Line the Interior
Once the finish cures, line the bottom with landscape fabric. This helps keep potting mix inside the box while allowing water to drain. Do not block the drainage holes with plastic sheeting. A window box is a planter, not a soup bowl.
If you want extra protection for the wood, you can use a removable plastic liner or place nursery pots inside the box. This makes seasonal changes easier and reduces direct soil contact with the wood.
Step 10: Install Strong Brackets
Mounting is the part where pretty meets practical. Use brackets designed for window boxes and rated for the expected weight. For wood siding, attach brackets into studs or solid framing whenever possible. For brick, stone, or masonry, use appropriate masonry anchors. For vinyl siding, avoid crushing the siding and use mounting methods designed for that surface.
Mark the bracket locations with a level. A slight tilt away from the house can help water drain forward instead of toward the wall, but keep the box visually straight. Secure the brackets first, then set the empty box on top and fasten it to the brackets from below or through the back, depending on your hardware.
Planting Your Vintage Window Box
Use a lightweight potting mix made for containers rather than garden soil. Garden soil can compact in a planter, making drainage and root growth harder. Fill the box most of the way, leaving about an inch of space below the rim so water does not immediately run over the sides.
Use the Thriller, Filler, Spiller Formula
The easiest planting recipe is the classic thriller, filler, spiller method. Use one or more upright plants for height, medium plants for fullness, and trailing plants to cascade over the front. This formula works especially well with vintage trim because trailing plants soften the edges without hiding all your hard work.
For sunny windows, try geraniums, petunias, calibrachoa, lantana, sweet potato vine, verbena, thyme, or rosemary. For shadier windows, consider impatiens, begonias, coleus, creeping Jenny, ferns, or trailing ivy. Herbs such as basil, parsley, oregano, and chives can also do well in window boxes if they receive enough sun.
Match Plants by Sun and Water Needs
A common container mistake is mixing plants that want completely different conditions. Do not put a drought-loving herb next to a thirsty annual and expect everyone to remain friends. Choose plants with similar light and watering preferences, and your window box will be easier to maintain.
Maintenance Tips for a Long-Lasting Window Box
Window boxes dry out faster than in-ground beds because they hold limited soil and are exposed to sun, wind, and reflected heat from the house. Check moisture often, especially during hot weather. Water deeply until excess begins to drain from the bottom.
Feed plants according to the needs of your potting mix and plant varieties. Many container gardens benefit from slow-release fertilizer at planting time and occasional liquid feeding during the growing season. Trim leggy plants, remove spent blooms, and replace tired annuals when they stop performing.
Inspect the box a few times a year. Look for peeling paint, loose trim, clogged drainage holes, rusting fasteners, and bracket movement. A few minutes of maintenance can add seasons of life to your DIY window box.
Design Ideas for Vintage Trim Window Boxes
Farmhouse White with Beadboard
Attach vertical beadboard to the front panel, add simple corner trim, and paint the whole box creamy white. Plant with lavender, white petunias, trailing thyme, and silvery dichondra for a soft farmhouse look.
Salvaged Green Cottage Box
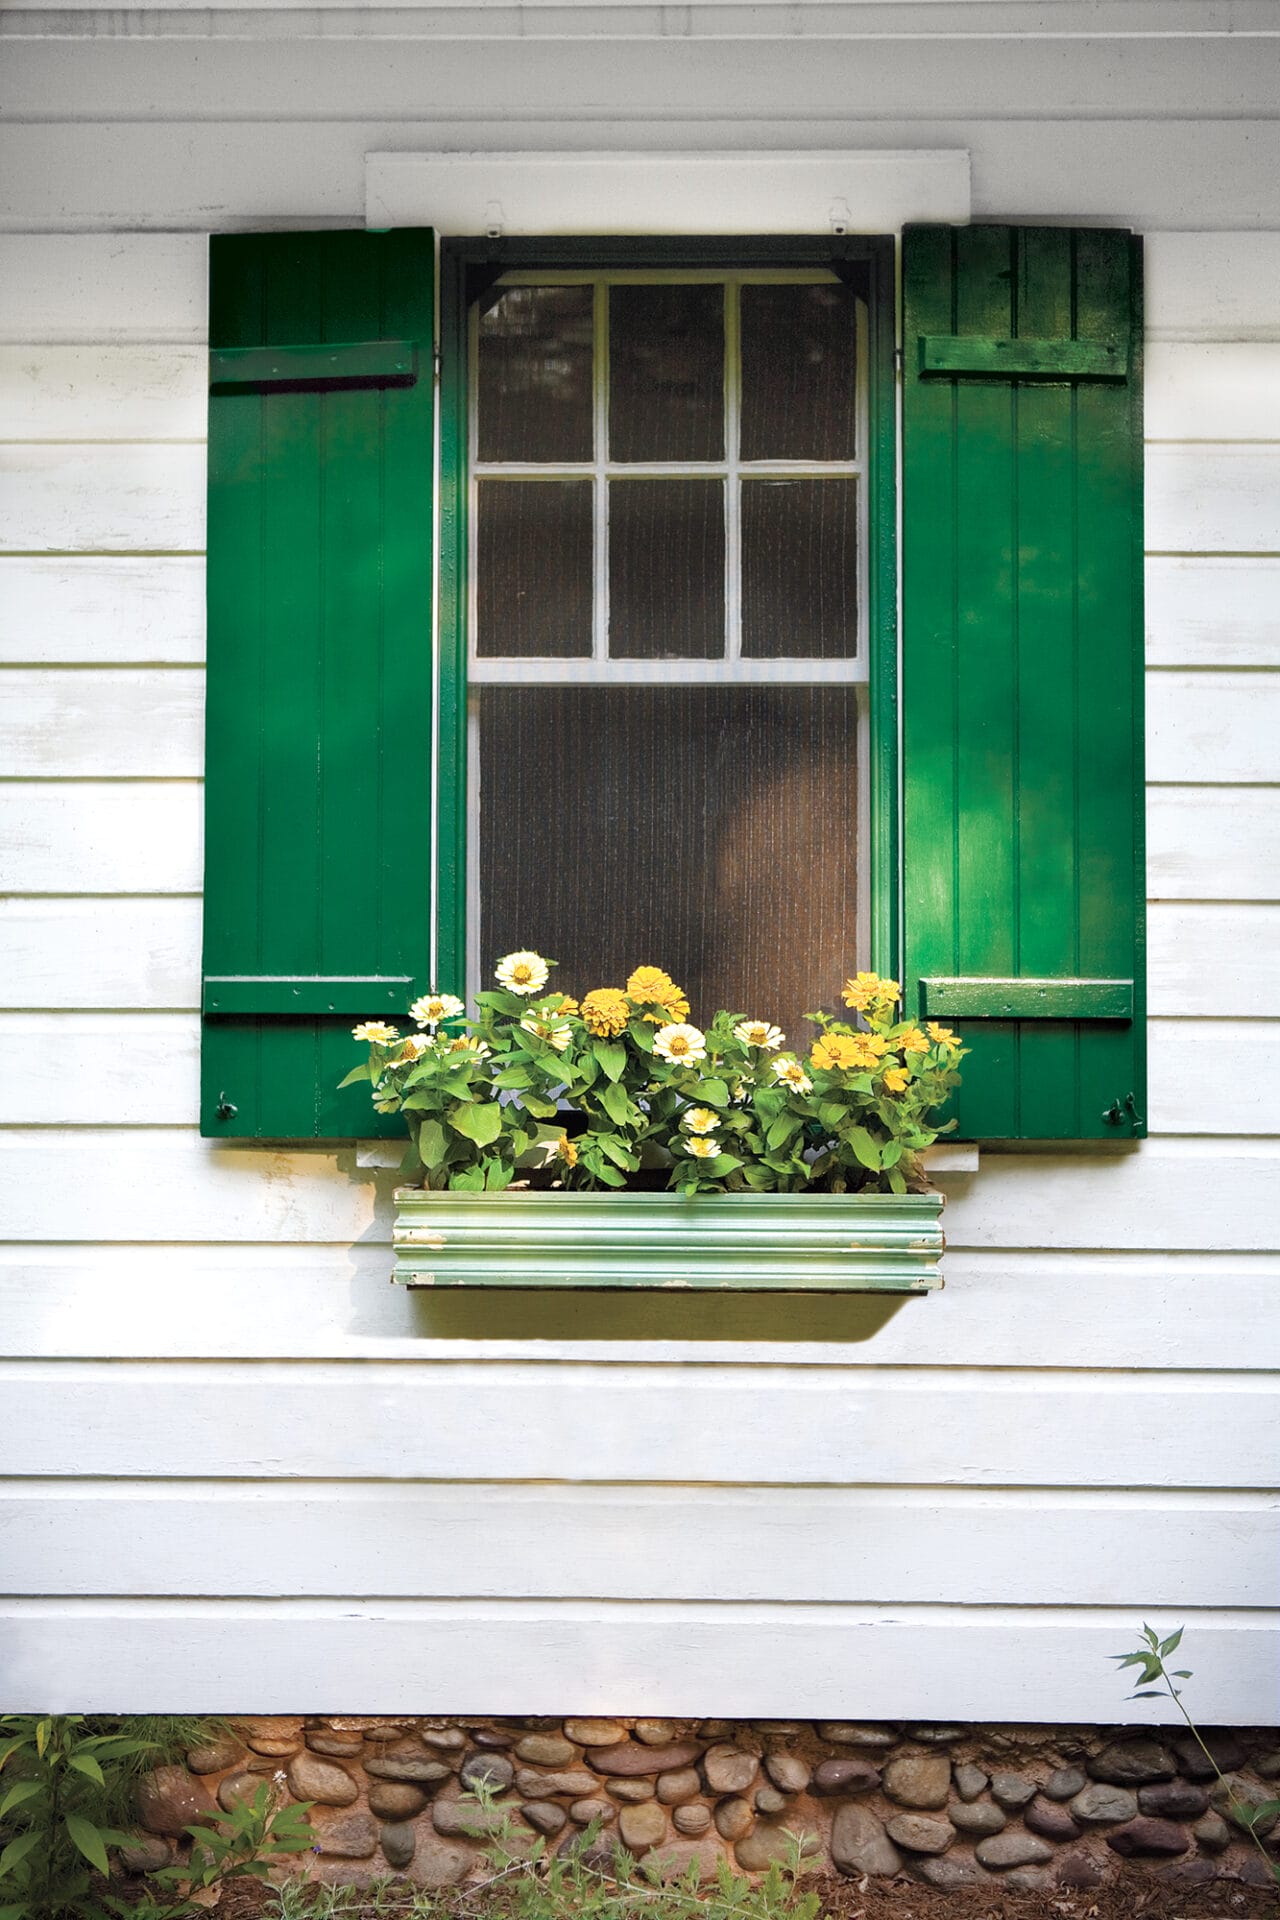
Use old green-painted molding as an accent over a natural cedar box. Pair it with coral geraniums, chartreuse sweet potato vine, and blue lobelia. The color contrast feels collected rather than overly coordinated.
Dark Painted Box with Antique Molding
Paint the box charcoal or deep navy and add vintage trim in the same color for subtle texture. Fill it with white flowers and trailing greenery for a dramatic, high-contrast window display.
Herb Window Box for a Kitchen Window
Build a slightly deeper box and plant it with parsley, thyme, oregano, chives, and compact basil. Add a small vintage label holder or stamped metal tag to the front. It is practical, fragrant, and dangerously likely to make you say, “I grew that,” every time you garnish dinner.
Common Mistakes to Avoid
Skipping Drainage
Drainage holes are essential. Plants need oxygen around their roots, and waterlogged potting mix can cause root rot. Drill the holes before painting so you can seal the exposed wood edges.
Using Weak Hardware
Do not rely on tiny screws or decorative brackets that are not rated for weight. A planted window box can become very heavy after rain. Use strong brackets and proper anchors for your wall type.
Forgetting the Back of the Box
The back of the box sits close to the house and may trap moisture. Paint or seal it thoroughly, and leave a small air gap if your bracket system allows it.
Overcrowding Plants
Freshly planted boxes can look a little sparse, but plants need room to grow. Overcrowding creates competition for water and nutrients. Give the arrangement a few weeks before deciding it needs more.
Real-Life Experience: What Building a Vintage Trim Window Box Teaches You
Making a window box with vintage trim is one of those projects that seems simple on paper and then quietly teaches you ten small lessons while you work. The first lesson is that old trim has opinions. New lumber usually behaves itself, but salvaged molding may have bowed edges, stubborn nail holes, chipped corners, and layers of paint that tell a whole family history. That is part of the appeal. The goal is not to erase every imperfection; it is to make those imperfections look intentional.
One practical experience worth remembering is to design around the trim you actually have, not the trim you wish you had. If you find two long pieces of matching molding and two shorter pieces that are close but not identical, use the matching pieces on the most visible front face and place the less-perfect sections on the sides. Once the box is painted and planted, small differences disappear faster than cookies at a neighborhood meeting.
Another lesson is that dry-fitting saves the day. Before glue, nails, or caulk, lay every trim piece on the box and step back. Look at it from the sidewalk distance, not just from six inches away. Many DIY details that seem huge on the workbench become invisible from the yard. On the other hand, a crooked top rail can still shout from across the street, so use a level and trust your eyes.
Painting also takes more time than expected. A window box has corners, seams, bottom edges, trim profiles, nail holes, and drainage openings. The first coat always feels heroic; the second coat feels like character development. But sealing the box well is what separates a one-season project from something that can handle weather. Pay attention to end grain, screw holes, and the bottom. Water loves shortcuts.
Installation is where it helps to have a second person. One person can hold the box while the other checks level, marks holes, and confirms the placement. Empty boxes are manageable; planted boxes are not the moment to discover the brackets are slightly off. Install the box empty, test the fit, then plant it after it is secure.
Finally, the planting stage changes everything. Before plants, the box may look like a nice piece of woodworking. After plants, it becomes part of the house. Trailing greenery hides tiny flaws, upright flowers add color, and herbs bring fragrance every time the window opens. The vintage trim gives the box its personality, but the plants give it life. That combination is the real magic of the project: old materials, new growth, and a window that suddenly looks like it has a story.
Conclusion
Learning how to make a window box with vintage trim is a rewarding DIY project because it blends carpentry, salvage style, gardening, and curb appeal in one compact build. Start with a strong, weather-resistant box. Add drainage. Use exterior-rated fasteners. Mount it securely. Then bring in the vintage trim for character, texture, and that custom look you cannot buy from a plastic planter aisle.
Whether you fill it with flowers, trailing vines, herbs, or seasonal greenery, a vintage trim window box makes a home feel warmer and more personal. It is proof that a small project can make a big visual difference. Also, it gives you a legitimate reason to rescue old molding from a salvage shop, which is wonderful news for anyone who enjoys saying, “I have plans for that,” while carrying dusty wood to the car.

