
Beauty Tools & Accessories
How to Change the Tag Lights in a Vehicle: 15 Steps
Aug
Tag lights, also called license plate lights, are the tiny rear lamps that illuminate your license plate after dark. They are small, inexpensive, and easy to ignoreright up until a police officer, inspection station, or very observant neighbor reminds you that your plate is supposed to be visible at night. The good news? Replacing a burned-out tag light bulb is one of the most beginner-friendly vehicle repairs you can do at home.
In most cars, trucks, and SUVs, the job takes about 10 to 20 minutes, requires only basic tools, and costs far less than a shop visit. You do not need to be a professional mechanic. You just need the right replacement bulb, a little patience, and the ability to avoid launching a tiny screw into another dimension. We have all been there.
This guide explains how to change the tag lights in a vehicle in 15 clear steps. It also covers bulb selection, common mistakes, troubleshooting, LED upgrades, safety tips, and real-world experience from doing this simple repair on different vehicles.
What Are Tag Lights and Why Do They Matter?
Tag lights are exterior vehicle lights mounted near the rear license plate. Their job is simple: shine a white light on the plate so it can be read in low-light conditions. Depending on the vehicle, the light may be located above the plate, beside it, below it, or built into the trunk lid, liftgate, bumper, or tailgate handle area.
Although tag lights are not glamorous, they are part of the vehicle’s required lighting system. A burned-out license plate light can lead to a failed safety inspection, a fix-it ticket, or an unnecessary traffic stop. It can also make the rear of the vehicle look neglected, even if the rest of the car is cleaner than a showroom floor on opening day.
Before You Start: Know Your Vehicle
Tag light replacement varies by make and model. Some cars use a simple wedge bulb that pulls straight out. Others use a twist-lock socket. Some newer vehicles have sealed LED license plate lamp assemblies, which means you replace the entire unit rather than a single bulb. That is why checking your owner’s manual or using a reliable bulb finder by year, make, and model is the smartest first step.
Common tag light bulb numbers include 168, 194, 2825, W5W, and similar miniature wedge bulbs. However, do not guess. A bulb that looks close may not be electrically correct. Using the wrong bulb can cause poor fitment, overheating, flickering, error messages, or damage to the socket or lens housing.
Tools and Supplies You May Need
You will not need a rolling toolbox the size of a refrigerator. For most vehicles, the job requires only a few small items:
- Correct replacement tag light bulb or lamp assembly
- Small Phillips-head screwdriver
- Flat-head screwdriver or plastic trim tool
- Clean gloves or a soft cloth
- Flashlight or work light
- Dielectric grease, optional but helpful
- Small container for screws
A plastic trim tool is often better than a metal screwdriver because it reduces the chance of scratching paint or cracking the lens. If you must use a metal screwdriver, wrap the tip with painter’s tape. Your paint will thank you, quietly but sincerely.
How to Change the Tag Lights in a Vehicle: 15 Steps
Step 1: Park on a Flat, Safe Surface
Park the vehicle on level ground in a safe, well-lit area. Set the parking brake and turn the engine off. If you are working near traffic, move somewhere safer before beginning. A driveway, garage, or quiet parking lot is ideal.
Step 2: Turn Off the Lights and Ignition
Make sure the headlights, parking lights, and ignition are off. Tag lights usually turn on with the parking lights or headlights, so turning everything off prevents heat, electrical surprises, and accidental battery drain.
Step 3: Confirm Which Tag Light Is Out
Turn the parking lights on briefly and check the rear plate area. Some vehicles have one tag light; many have two. If one side is dim or dark, that bulb may be burned out. If both lights are out, the problem could still be two bad bulbs, but it may also be a fuse, wiring issue, or corroded connector.
Step 4: Identify the Bulb or Assembly Type
Check the owner’s manual, existing bulb number, or a parts-store fitment tool. If your vehicle uses replaceable bulbs, buy the exact type. If it uses a sealed LED assembly, order the correct replacement housing. Do not rely only on “it looks about right,” because automotive lighting parts enjoy pretending to be identical until installation day.
Step 5: Inspect the Lens Cover
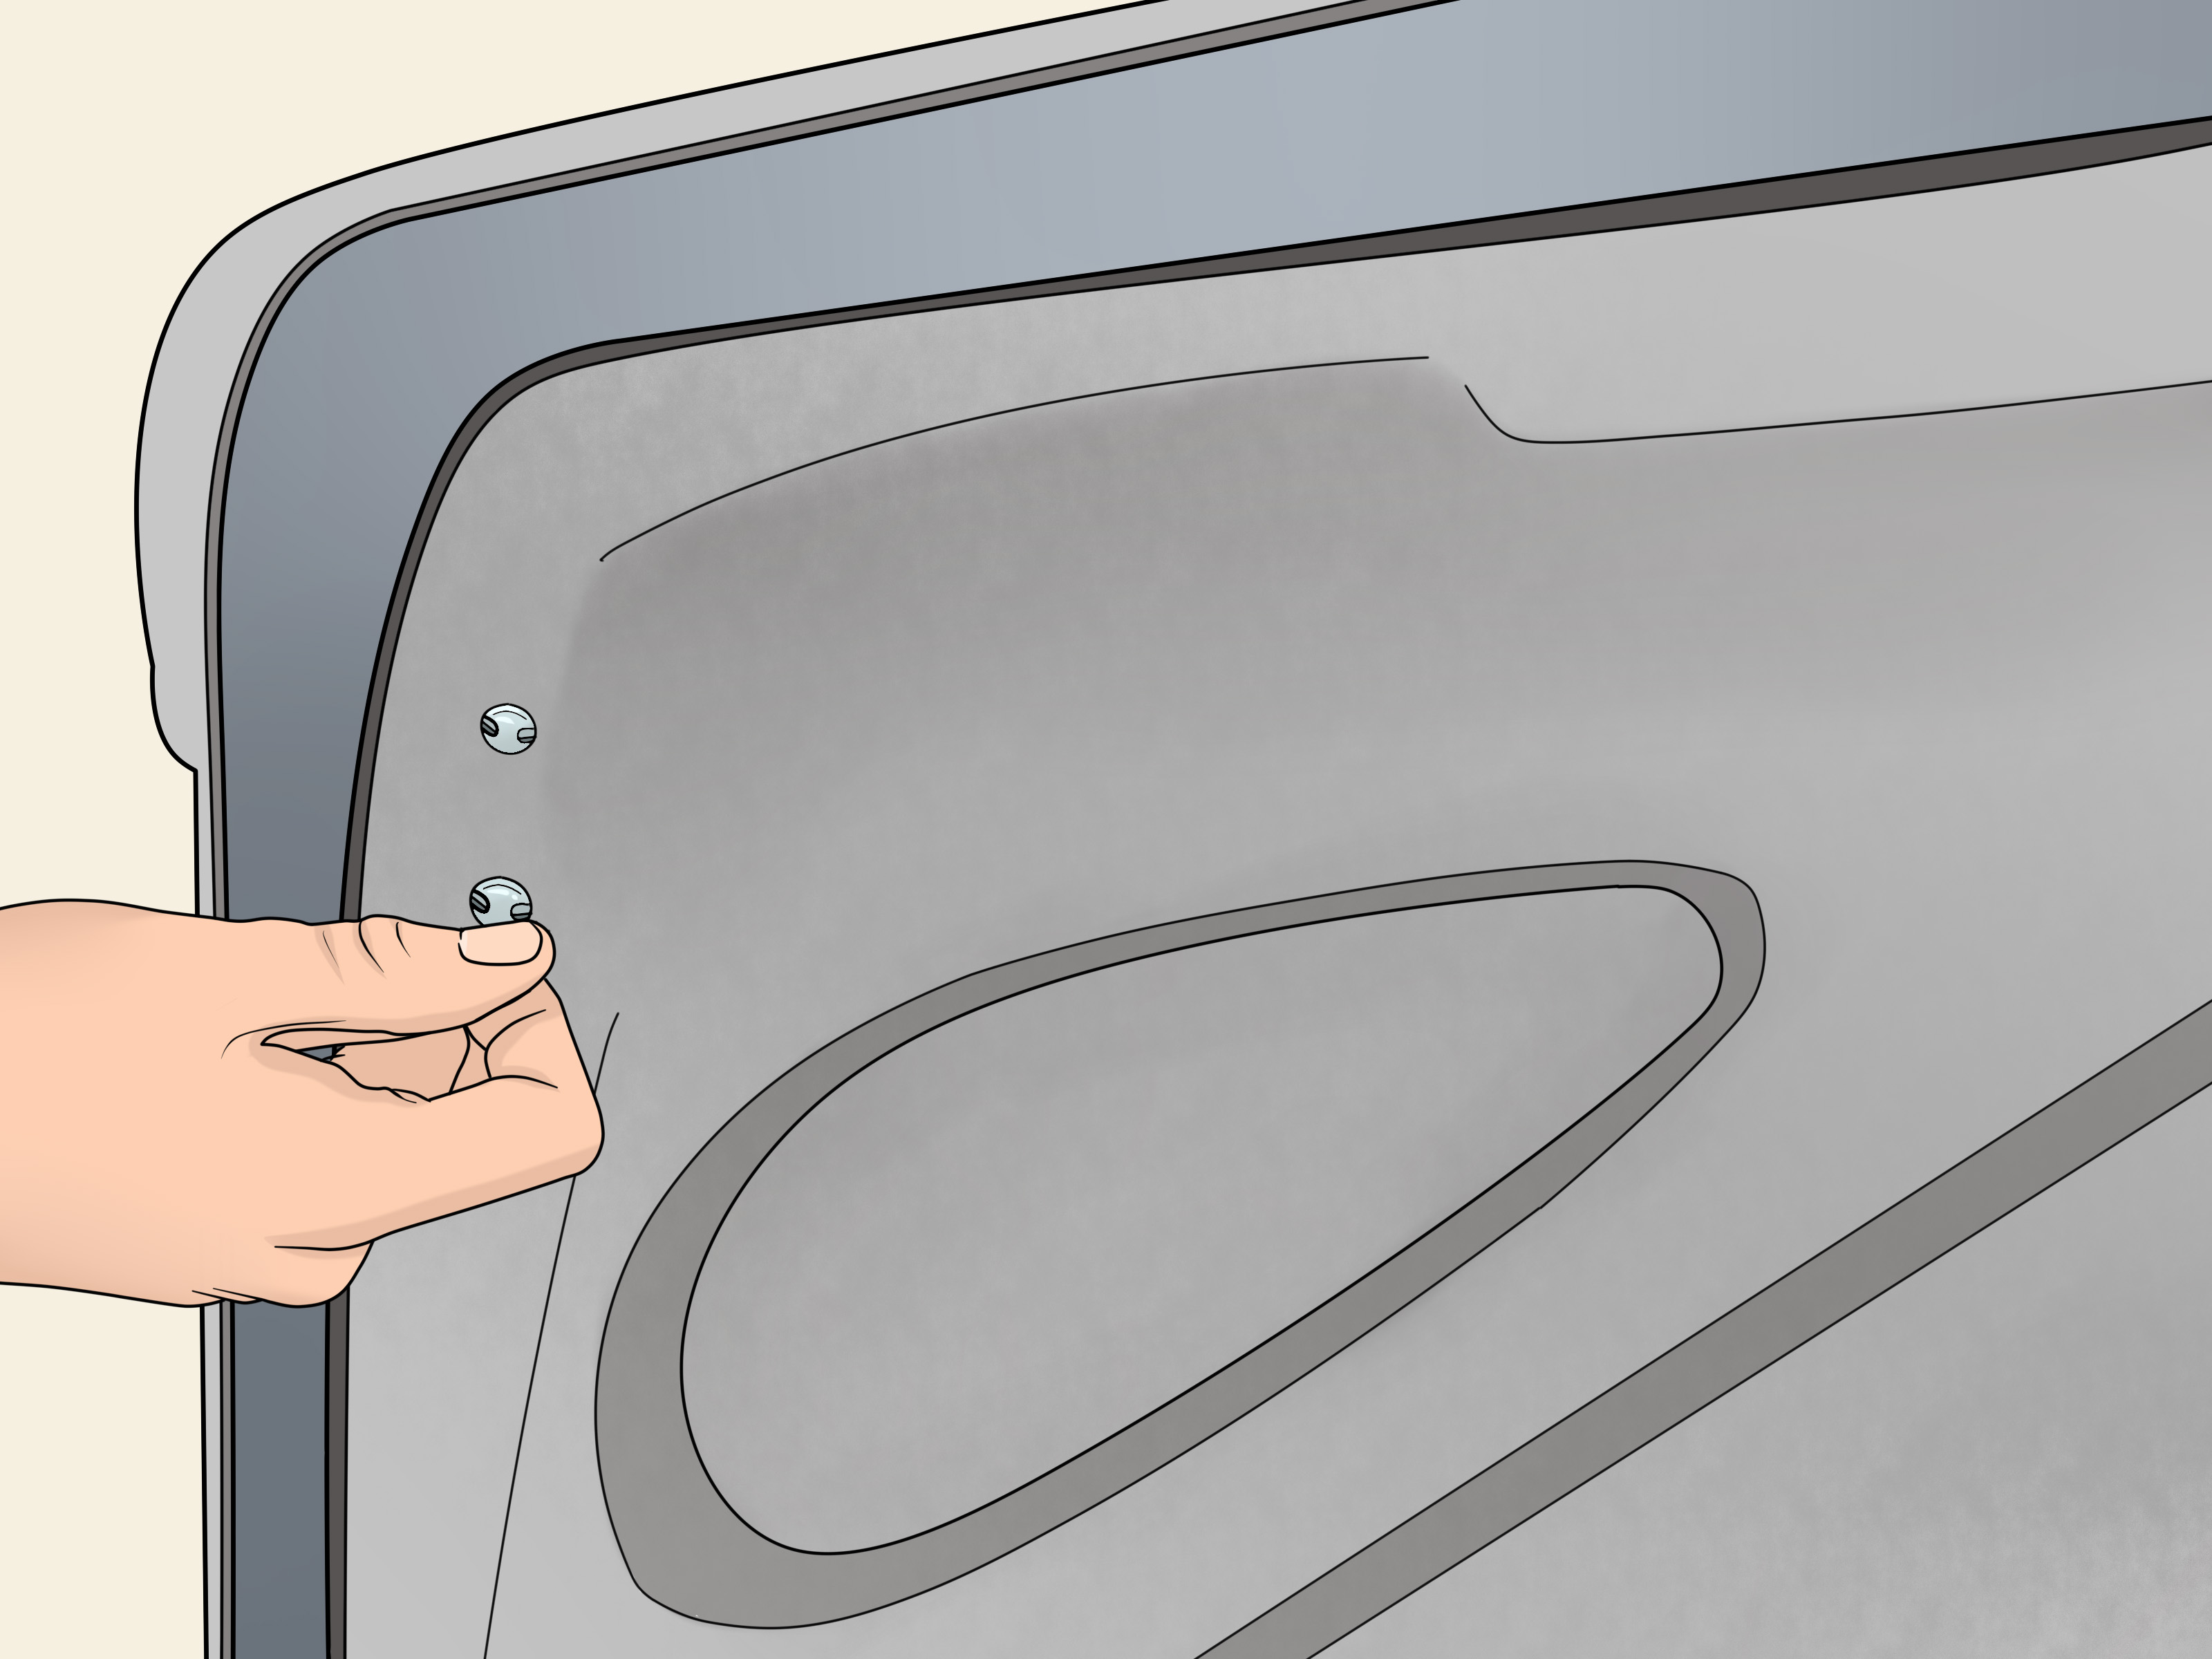
Look closely at the license plate light lens. Some covers are held by visible screws. Others clip into place and must be gently pried out. A few vehicles require access from inside the trunk lid, liftgate trim, or rear hatch panel.
Step 6: Remove the Screws or Release the Clips
If the lens has screws, remove them carefully and place them in a small cup or magnetic tray. If the lens uses clips, gently insert a plastic trim tool at the release point and pry slowly. Do not force it. Old plastic can be brittle, especially on vehicles that have spent years baking in the sun.
Step 7: Remove the Lens or Lamp Housing
Pull the lens or lamp housing away from the vehicle just enough to access the bulb socket. Some housings come out completely; others hang by a short wire. Avoid tugging on the wiring harness. The goal is replacement, not an accidental electrical archaeology project.
Step 8: Remove the Old Bulb
Most wedge-style bulbs pull straight out of the socket. Twist-lock bulbs may require a slight counterclockwise turn before removal. If the bulb is stuck, wiggle it gently with a cloth. Do not crush the glass. Broken bulb glass inside a socket turns a five-minute repair into a tiny, sparkly headache.
Step 9: Compare the Old and New Bulbs
Before installing the new bulb, compare it with the old one. Check the size, base shape, contact style, and printed bulb number if visible. The new bulb should match the original unless you are using a compatible LED replacement specifically approved for that application.
Step 10: Clean the Socket and Lens
Look for corrosion, dirt, moisture, or melted plastic around the socket. A little grime can be wiped away with a dry cloth. If there is green or white corrosion, the socket may need deeper cleaning or replacement. Also clean the inside of the lens so the new bulb shines clearly.
Step 11: Install the New Bulb
Push the new bulb firmly into the socket, or twist it into place if your vehicle uses a locking style. If you are installing a halogen or incandescent miniature bulb, avoid touching the glass with bare fingers. Skin oils can shorten bulb life, especially on hotter bulbs.
Step 12: Test the Tag Light Before Reassembly
Turn on the parking lights and check that the new bulb works. If it does not illuminate, turn the lights off and rotate the bulb 180 degrees if it is an LED wedge bulb. Some LED bulbs are polarity-sensitive, meaning they only work when current flows the correct way.
Step 13: Reinstall the Lens or Housing
Once the bulb works, reinstall the lens or lamp housing. Align the tabs first, then press the housing into position. If screws are used, tighten them snugly but gently. Over-tightening small plastic lenses can crack them faster than you can say, “Well, that was unnecessary.”
Step 14: Check Both Tag Lights
Even if only one bulb failed, check both sides. If your vehicle uses two tag lights and one has burned out, the other may be close behind. Many drivers replace both at the same time because bulbs are inexpensive and the second one is already sitting there looking suspicious.
Step 15: Do a Final Nighttime Visibility Check
After reassembly, turn on the headlights or parking lights and stand behind the vehicle. The license plate should be evenly illuminated with a white light. Make sure the lens is secure, the light is not flickering, and the plate is easy to read from a reasonable distance.
Should You Use LED Tag Light Bulbs?
LED tag light bulbs are popular because they are bright, efficient, and long-lasting. They can give the rear of the vehicle a crisp, modern look. However, LED upgrades are not always plug-and-play perfection. Some vehicles may display a bulb-out warning, flicker, or reject a low-resistance LED bulb unless it is designed for CAN bus compatibility.
For best results, choose a quality LED bulb that matches the original bulb size and fits inside the housing without pressing against the lens. Avoid ultra-bright blue or colored bulbs. License plate lights should be white, and excessively bright lights can create glare or draw unwanted attention. The goal is legal visibility, not turning your license plate into a miniature stadium.
Common Problems After Replacing Tag Lights
The New Bulb Does Not Work
If the new bulb does not turn on, first check the obvious: Are the parking lights on? Is the bulb fully seated? If it is an LED bulb, remove it and flip it around. If it still does not work, try another bulb or test the socket for power.
Both Tag Lights Are Out
When both lights fail at the same time, check the fuse, wiring, ground connection, and switch circuit. It is possible for two old bulbs to burn out close together, but a shared electrical problem becomes more likely when both lamps are dark.
The Lens Is Cloudy or Cracked
A cloudy or cracked lens reduces light output and allows moisture into the housing. If the lens is badly damaged, replace it. A new bulb behind a foggy lens is like wearing clean glasses inside a dirty windshieldnot very helpful.
The Socket Is Corroded
License plate light sockets live in a rough neighborhood: road spray, dirt, salt, humidity, and vibration. If the socket is green, rusty, loose, or melted, replacing only the bulb may not solve the issue for long. A new socket or pigtail connector may be needed.
Safety Tips for Replacing License Plate Lights
Always work with the lights off when removing or installing bulbs. Be gentle with plastic clips and lenses, especially on older vehicles. Use the correct bulb number, and do not install a bulb with higher wattage than recommended. A higher-wattage bulb can create extra heat and damage the housing.
If the vehicle requires removal of interior trim panels, take your time. Trim clips can break when pulled at the wrong angle. If you meet resistance, pause and inspect before applying more force. Vehicle plastic has a dramatic personality: calm one second, shattered the next.
When to Replace the Entire Tag Light Assembly
Replacing the whole license plate light assembly may be better than replacing the bulb when the lens is broken, the housing is full of water, the socket is corroded, or the vehicle uses sealed LED lighting. Many modern cars and SUVs have LED tag lamps that are not designed for single-bulb replacement. In that case, the correct fix is usually a new assembly.
Assemblies can be vehicle-specific, so match the part by year, make, model, trim, and sometimes body style. For example, a sedan and hatchback version of the same model may use different rear lamp housings. Always confirm fitment before ordering.
How Much Does It Cost to Change Tag Lights?
A basic replacement bulb often costs only a few dollars. Premium LED bulbs may cost more, especially in pairs. A complete license plate light assembly can range from inexpensive aftermarket units to higher-priced original equipment parts. Labor at a shop may cost more than the part itself because even small repairs require technician time, paperwork, and shop overhead.
For many drivers, this is a perfect DIY job. You save money, learn something useful, and get the quiet satisfaction of fixing your car without needing a service advisor to translate “tiny bulb near plate” into a surprisingly official invoice line.
of Real-World Experience: What Actually Happens When You Change Tag Lights
The first thing you learn when replacing tag lights is that the job is usually easy, but every vehicle finds a way to add its own little joke. On one compact sedan, the lens cover may come off with two tiny screws and the bulb pulls straight out. On a pickup truck, the lamp housing may twist out from behind the bumper. On a hatchback, you might need to lift the rear gate, remove a trim panel, and work at an angle that makes your wrist question your life choices.
One practical lesson is to inspect the lens before buying parts. Many people assume the bulb is the only problem, then discover the lens is cracked or the socket is rusty. If water has entered the housing, the new bulb may work for a week and then fail again. Moisture is the sneaky villain of rear lighting. If you see condensation, corrosion, or dirt packed around the socket, fix the housing issue too.
Another lesson: replace bulbs in pairs when the vehicle has two tag lights. It is not mandatory, but it saves time. If one bulb has reached the end of its life, the other may be close behind. Also, using two matching bulbs keeps the plate illumination even. One old yellow bulb next to one bright white LED can make the rear of the car look like it is having an identity crisis.
LED upgrades can be great, but they should be chosen carefully. Some cheap LEDs flicker, fit loosely, or produce a blue-white color that looks harsher than expected. The best tag light upgrade is not the brightest bulb on the internet; it is the bulb that fits correctly, shines white, does not trigger a warning light, and does not blind anyone standing behind the vehicle.
A small dab of dielectric grease on the socket area can help protect against moisture, especially in wet or snowy regions. Do not pack the socket like you are frosting a cupcake. A light application is enough. Also, keep a tiny screwdriver and a spare miniature bulb in the glove box if your vehicle uses common bulbs. It is a cheap backup plan.
The most common mistake is using too much force. Tag light lenses and clips are small, and many are made from aging plastic. If the lens does not come out easily, look for hidden tabs, screws, or access points. A few minutes of inspection can prevent broken clips and replacement parts. In short, patience beats muscle.
The best part of changing tag lights is how quickly it improves the vehicle. You go from “something is wrong back there” to “fixed” in minutes. It is a small repair, but small repairs matter. Working lights help keep your vehicle legal, safer, and better maintained. Plus, once you have done this job, you will never again feel intimidated by a bulb the size of a jelly bean.
Final Checklist
- Use the correct replacement bulb or assembly.
- Turn off the ignition and exterior lights before removal.
- Remove lenses and clips gently.
- Check for corrosion, moisture, and cracked plastic.
- Test the new bulb before reinstalling everything.
- Use white light only for license plate illumination.
- Replace both tag light bulbs if they are old or mismatched.
Conclusion
Learning how to change the tag lights in a vehicle is a simple skill that can save money, prevent tickets, and keep your car looking properly maintained. The repair usually involves removing a small lens or lamp housing, pulling out the old bulb, installing the correct replacement, testing it, and reinstalling the cover. The key is to work gently, match the bulb correctly, and check for moisture or corrosion while you are there.
Whether you drive a sedan, SUV, pickup, minivan, or crossover, working tag lights are a small but important part of safe and legal driving. They may not be exciting, but they do their job every night without applause. Give them a fresh bulb, and they will quietly return the favor.
Note: This article is intended as general DIY guidance. Vehicle designs vary, so always check your owner’s manual or a trusted parts-fitment source before replacing bulbs or lamp assemblies.

