
Beauty Tools & Accessories
How to See the Northern Lights with Your Phone: Tips & Tricks
Aug
The northern lights have a habit of making perfectly reasonable adults stand in a frozen field at midnight, staring north and whispering, “Is that a cloud, or is the sky doing something?” Fortunately, your smartphone can help answer the question. Modern phone cameras are surprisingly sensitive to faint light and may detect green, red, or purple auroral color before your eyes can clearly recognize it. In other words, your phone is not merely there for selfies and emergency weather checks; it can act as a pocket-size aurora detector.
Getting a good northern lights photo still requires more than pointing the camera upward and hoping the universe handles the technical details. You need an active aurora, a clear and dark sky, a stable phone, and camera settings that match the brightness and movement of the display. This guide explains how to find the aurora with your phone, photograph it on an iPhone, Google Pixel, Samsung Galaxy, or another Android device, and edit your images without turning the sky into radioactive lime pudding.
Can a Phone Really See the Northern Lights?
Yes. In some situations, your phone can see the northern lights better than you can. Human night vision is excellent at detecting shapes and movement, but it is less sensitive to color in very low light. A faint aurora may therefore look like a pale gray arch, thin cloud, or weak glow to your eyes while appearing distinctly green in a Night mode photograph.
Digital camera sensors gather light over an extended exposure and then use computational processing to brighten details, combine multiple frames, reduce noise, and improve color. That does not mean your phone invents the aurora. It means the camera collects faint color information that your eyes have difficulty resolving in darkness. Long-exposure photographs are especially effective at revealing weak auroral color.
A phone photograph can also help distinguish aurora from clouds. Take a test shot toward the northern horizon. If a vague gray patch becomes green or reddish and changes shape over several consecutive photographs, you may be looking at the northern lights. Clouds usually reflect nearby artificial lighting and may appear yellow, orange, or dull gray instead.
Understand What Creates the Aurora
The northern lights, also called the aurora borealis, occur when energetic particles associated with the solar wind interact with Earth’s magnetic environment and upper atmosphere. Those interactions excite oxygen and nitrogen, which release visible light. Oxygen commonly produces green and red auroras, while nitrogen can contribute blue and purple tones.
The activity is concentrated around an auroral oval surrounding the magnetic pole. During stronger geomagnetic disturbances, that oval expands toward lower latitudes, allowing people farther south to see the display. This is why residents of Alaska may see auroras during relatively modest activity while observers in the contiguous United States often need a stronger geomagnetic storm.
Check the Aurora Forecast Before Leaving Home
Use a Short-Term Aurora Map
Start with NOAA’s aurora forecast products rather than relying on a social media post announcing that “everyone in North America will see the lights tonight.” NOAA’s 30-minute forecast uses current solar-wind information to estimate the aurora’s location and intensity roughly 30 to 90 minutes ahead. The forecast map is more useful for immediate viewing decisions than a dramatic headline based on a solar eruption that happened days earlier.
Look for your location in relation to the predicted auroral oval or view line. If you are south of the strongest activity, you may still see a low glow by looking north. If you are beneath the oval, the aurora could appear overhead or across a much larger part of the sky.
Use the Kp Index as a General Guide
The planetary K index, usually called Kp, measures global geomagnetic disturbance on a scale from 0 to 9. Higher numbers generally mean brighter aurora and better chances at lower latitudes. NOAA notes that Kp 0 to 2 usually keeps faint activity far north, while Kp 6 or 7 may bring visible aurora to parts of the northern United States. Kp 8 or 9 can produce much more widespread displays. These relationships are approximate, however, so Kp should not be treated like a magic ZIP-code calculator.
Local timing matters too. The Kp index summarizes activity over a broad area and time period, while an auroral substorm can strengthen or weaken quickly. Check the live map repeatedly, not just once at lunchtime when your evening plans still involve optimism and clean socks.
Check Ordinary Weather
Space weather may be perfect while Earth weather is behaving terribly. A solid cloud deck can block even an intense aurora. Examine hourly cloud-cover forecasts, not merely the chance of rain. A dry forecast can still include enough high or middle-level clouds to ruin the view.
When clouds are scattered, compare nearby locations. Driving 20 or 30 miles toward a clearer area may make a greater difference than driving 100 miles north under the same overcast sky. National Park Service guidance emphasizes that aurora viewing requires three separate ingredients: active aurora, a clear sky, and sufficient darkness.
Find a Dark Location with a Clear Northern Horizon
Move away from streetlights, illuminated buildings, gas stations, parking-lot floodlights, and passing headlights. Light pollution reduces contrast, particularly when the aurora is faint and close to the horizon. A dark lake shore, open field, hilltop, beach, rural road, or designated dark-sky site can work well.
In the Northern Hemisphere, begin with an unobstructed view toward magnetic north. Trees, mountains, and buildings can conceal a low auroral arc. During strong activity, the lights may spread overhead or even appear south of you, but north remains the best starting direction for most observers in the lower 48 states.
Allow your eyes time to adjust. Full dark adaptation may require roughly 20 to 30 minutes, and bright white screens or flashlights can interrupt the process. Reduce your phone’s display brightness and use a red flashlight when moving around. This improves your night vision and prevents you from becoming the unpopular person who lights up the entire viewing area every four minutes.
Prepare Your Phone Before the Aurora Appears
A few simple preparations can prevent most northern lights photography failures:
- Charge the phone fully and bring a portable power bank.
- Clean every rear camera lens with a microfiber cloth.
- Free enough storage space for photos, RAW files, and video.
- Turn off the camera flash.
- Disable automatic screen brightness if it keeps making the display too bright.
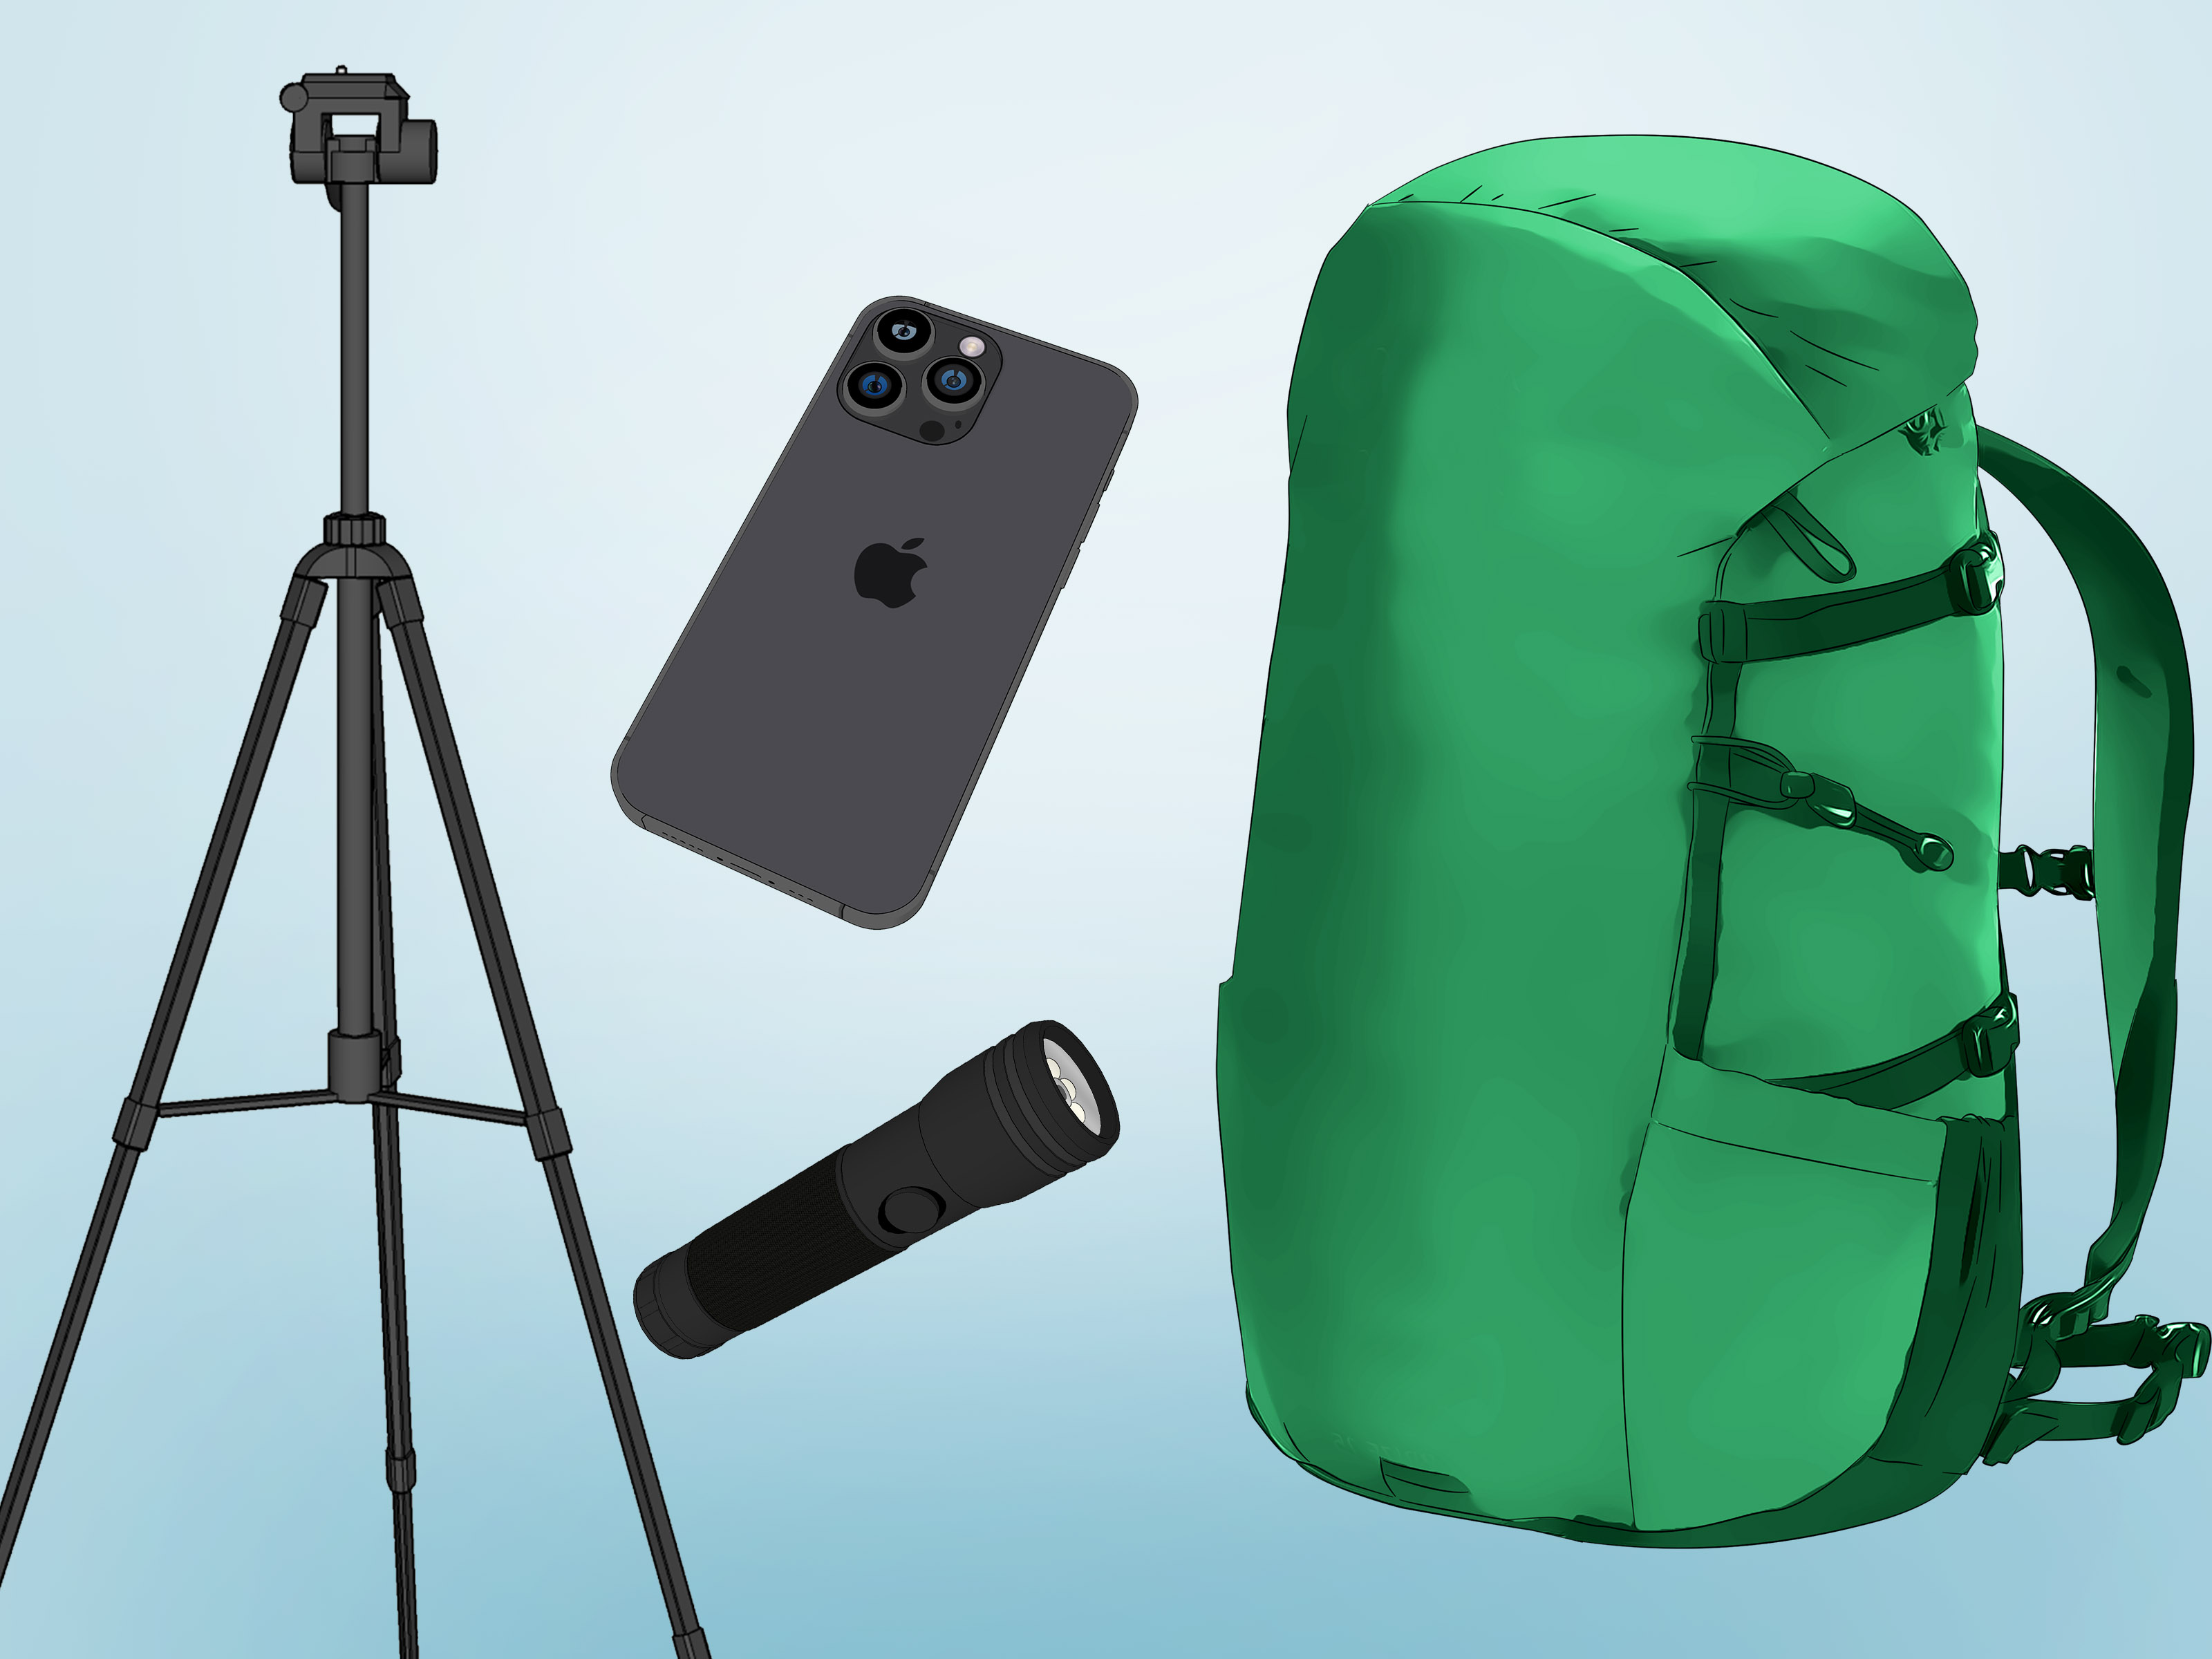
- Use a small tripod, clamp, beanbag, or another stable support.
- Bring gloves that let you operate a touchscreen.
- Download forecast maps or offline navigation before entering an area with weak service.
Cold weather can temporarily reduce battery life and may cause a phone to shut down sooner than expected. Keep the device in an inside pocket when you are not actively photographing, and connect the power bank before the battery reaches crisis mode. Apple warns that using an iPhone below its normal operating-temperature range can temporarily shorten battery life or affect performance. Similar lithium-ion battery behavior applies to other phones.
The Fastest Way to Photograph the Northern Lights with a Phone
Use this quick setup when the aurora suddenly appears and you do not want to spend its best five minutes exploring a settings menu:
- Mount or brace the phone so it cannot move.
- Select the main rear camera, usually marked 1x.
- Turn off the flash.
- Open Night mode or the phone’s low-light camera mode.
- Set a three-second timer or use a remote shutter.
- Frame the northern horizon with some land or trees at the bottom.
- Take one test photograph.
- Shorten the exposure if the aurora looks blurry or overexposed.
- Increase the exposure if the aurora is barely visible and moving slowly.
- Keep shooting because auroral brightness can change within seconds.
The main 1x lens generally has a larger sensor or wider aperture than secondary zoom lenses, making it the safest choice in darkness. An ultra-wide camera can capture more sky, but it may produce additional noise or weaker detail. Take both versions when time permits. Avoid digital zoom, which merely enlarges a small portion of the image and magnifies noise along with it.
Best Phone Camera Settings for Northern Lights
Automatic Night mode is the easiest starting point, but the ideal exposure depends on how bright and fast the aurora is. A long exposure gathers more light, yet it also smears moving curtains into a soft green blur. A shorter exposure preserves rays, folds, and fine structure but may require a higher ISO.
| Aurora condition | Starting shutter speed | Starting ISO | What to expect |
|---|---|---|---|
| Faint, slow glow | 5–15 seconds | 800–1600 | More color, possible loss of movement detail |
| Moderately bright curtains | 2–5 seconds | 800–2000 | Good balance of brightness and structure |
| Bright, fast-moving aurora | 0.5–2 seconds | 1000–3200 | Sharper rays and folds with more visible noise |
These figures are starting points, not commandments delivered from a mountain. Phone sensors, lenses, computational processing, and manual camera apps behave differently. Take a test frame, inspect the brightest green areas, and adjust.
Focus
If your camera app offers manual focus, set it near infinity. Do not automatically drag the slider to its absolute endpoint, because some phones focus slightly beyond true infinity. Enlarge a bright star or distant light and adjust until it appears smallest and sharpest. In an automatic app, tap a distant horizon feature or bright auroral edge, then use focus lock if available.
White Balance
Automatic white balance often works reasonably well. In manual mode, try approximately 3500K to 4500K. Lower values create a cooler blue sky, while higher values make the image warmer. Adobe’s general aurora guidance suggests about 3500K as a useful manual starting point.
RAW Format
Enable RAW or RAW-plus-JPEG capture when your phone supports it and you plan to edit later. RAW files retain more highlight, shadow, and color information, although they require more storage and may initially look flatter than the processed JPEG or HEIF version. For quick social sharing, the phone’s normal processed image may already look better.
How to Photograph the Northern Lights on an iPhone
On supported iPhones, Night mode activates automatically when the camera detects low light. Apple currently supports Night mode on iPhone 11 and later models, although the available lenses and maximum exposure times vary. A yellow Night mode icon indicates that the feature is active.
Place the iPhone on a tripod or solid surface. Tap the Night mode control and move the exposure slider toward Max. A stable phone may offer a longer capture than a handheld one. Use the three-second timer to avoid shaking the phone as you tap the shutter.
Do not assume the maximum exposure is always best. If the aurora is moving rapidly, a long computational exposure can smooth away its structure. Reduce the capture time until separate rays and folds become visible. If the display is faint and stationary, a longer Night mode capture may reveal color that your eyes cannot yet see.
On compatible Pro models, Apple ProRAW gives you greater editing flexibility. Use it selectively because the files are much larger. For a time-lapse, secure the phone firmly and use the iPhone’s Time-lapse mode. Apple specifically recommends a tripod for brighter, more detailed low-light time-lapse results.
How to Photograph the Northern Lights on a Google Pixel
Open the Pixel Camera app and select Night Sight. In a dark location, place the phone on a tripod or stable support and point it toward the sky. On supported Pixel devices, the camera can detect that the phone is still and switch into Astrophotography mode. Keep the device untouched throughout the countdown.
Astrophotography mode is excellent for faint stars and weak auroral glow, but it may use an exposure sequence that is too long for a bright, rapidly dancing display. When the lights are moving quickly, compare an Astrophotography image with a regular Night Sight photograph. The shorter Night Sight capture may preserve more texture.
Use the 1x rear camera first. Google notes that supported Pixel astrophotography features require the phone to remain still, and current controls can vary by model and software version. Some devices also let you move the Night Sight control toward an Astro setting before placing the phone on a stable surface.
How to Photograph the Aurora on a Samsung Galaxy or Other Android Phone
Start with Night mode. Samsung’s current Galaxy camera interface may also include Pro mode, Expert RAW, Hyperlapse, and manual controls for ISO, exposure, white balance, and focus, although availability depends on the specific device.
If Night mode produces a bright but mushy image, switch to Pro or Expert RAW. Begin with a shutter speed of two to five seconds, ISO 800 to 1600, manual focus near infinity, and white balance around 3800K. Increase ISO or exposure time for a faint glow. Shorten the shutter speed when the lights become brighter or move faster.
Other Android brands use names such as Nightscape, Night Photo, Starry Sky, Long Exposure, or Astro mode. The same principles apply: use the widest-aperture main lens, stabilize the phone, disable flash, avoid digital zoom, and compare several exposure lengths rather than trusting one automatic result.
Compose a Northern Lights Photo That Looks Intentional
A camera pointed straight upward may document the aurora, but it often produces an image with no sense of place. Include a foreground element such as a cabin, road, mountain, shoreline, tree, person, or reflection. The foreground gives the eye scale and makes the photograph feel like a scene rather than a green stain on a black rectangle.
Keep the horizon level and place it low in the frame when the sky is the main attraction. Use your phone’s grid to position important elements near the third lines. Try both horizontal and vertical compositions. A vertical frame works especially well when tall auroral rays stretch overhead, while a horizontal composition suits a long arc across the horizon.
For a silhouette, expose for the sky and allow the foreground to remain dark. To reveal foreground detail, take a separate brighter photograph after the aurora frame and blend them carefully later. Avoid shining a flashlight across the scene while other photographers are exposing unless your secret ambition is to be remembered for all the wrong reasons.
How to Record Northern Lights Video and Time-Lapse
Ordinary smartphone video needs considerably more light than a long-exposure photograph. A faint aurora may appear colorful in Night mode photos but disappear almost completely in video. Wait for a bright, active display before switching to standard video, and use the main lens at 1x.
Time-lapse is more forgiving because the phone can gather light over longer intervals. Mount the device securely, include a stable foreground, and let it record for at least 10 to 20 minutes. Disable notifications, vibration, and automatic screen rotation so the phone does not interrupt the sequence.
Avoid moving the tripod once recording begins. A small adjustment that seems harmless in the dark becomes an earthquake in the finished time-lapse. Also watch for condensation, frost, and snow collecting on the lens.
Edit Northern Lights Phone Photos Without Overdoing It
Begin with white balance and exposure. Cool the image slightly if streetlights have made the sky orange. Lower highlights if bright auroral bands have lost detail, then lift shadows carefully to reveal the landscape. Add a modest amount of contrast, clarity, or dehaze to separate the lights from the background.
Increase saturation sparingly. Your goal is to restore the color you experienced or the camera recorded, not to create a shade of green normally reserved for cartoons and toxic waste labels. Excessive saturation also exaggerates color noise in dark areas.
Apply noise reduction after exposure adjustments. Too much noise reduction can erase stars and fine auroral texture, so enlarge the image and find a balance. Add mild sharpening last, concentrating on landscape edges and defined auroral rays rather than the smooth night sky.
Common Northern Lights Phone Photography Problems
The Aurora Looks Like a Blurry Green Cloud
Your exposure is probably too long for the speed of the display. Shorten the shutter time or reduce the Night mode duration. Raise ISO slightly if the shorter exposure becomes too dark.
The Stars Are Streaked
The phone moved, the exposure was extremely long, or the tripod shifted in wind. Use a sturdier support, hang weight from the tripod’s center, and activate a timer or remote shutter.
The Photo Is Almost Black
Confirm that Night mode is active, the flash is off, and the main rear lens is selected. Increase exposure time or ISO. Also clean the lens; fingerprints scatter light and can make a dark photograph both dim and hazy, which is an impressively unhelpful combination.
The Sky Is Orange or Brown
You are probably seeing light pollution, thin clouds reflecting artificial light, or an overly warm white balance. Move farther from town, face away from large light domes, and lower the white-balance temperature during capture or editing.
The Phone Shows Color but You Cannot See It
The aurora may be faint. Continue watching for changes in brightness or shape and take another test photograph every few minutes. Faint aurora can appear nearly white to human vision while long exposures reveal green.
Safety and Etiquette for Aurora Viewing
Choose a legal parking area before turning off your headlights. Do not stop on an active roadway, block a gate, trespass on private land, or stand on a frozen lake without reliable local knowledge. Use a red light to inspect uneven ground, ice, roots, and other hazards.
Dress for a longer stay than you expect. Aurora hunting frequently involves an hour of waiting, three minutes of excitement, and another hour of confidently insisting that the next burst is definitely about to happen. Bring warm layers, water, a chair, and emergency supplies appropriate for the location.
Keep headlights, flashlights, and phone screens pointed downward when other people are watching or photographing. Preserve the darkness, speak quietly, and leave the site as you found it.
Experience-Based Field Notes: What an Aurora Night Is Really Like
The forecast looks promising at 8:00 p.m., so you charge the phone, pack a tripod, and drive away from town. The sky is technically clear, although one suspicious cloud is sitting exactly where the aurora should be. You set up near an open shoreline, dim the screen, and face north. At first, the horizon looks empty. Ten minutes later, a pale band appears above the trees. It is so weak that you wonder whether your eyes are manufacturing excitement.
You take a Night mode photograph. The result shows a thin green arc. That first image changes the entire experience. Now you know where to look, and subtle details become easier to recognize. The arc is not behaving like a cloud. It brightens near the center, fades at one end, and slowly stretches across the horizon. You adjust the composition to include a dark tree and its reflection in the water.
The phone initially chooses a long exposure. The image is colorful but soft. When narrow vertical rays begin forming, you shorten the exposure. The next frame is darker, yet the structure is dramatically better. You raise the ISO one step and take several more photographs. One is blurred because the tripod moved when you touched the screen. Another is ruined by headlights from an arriving car. The third captures a crisp curtain above the tree line. Aurora photography is often less like taking one perfect picture and more like negotiating with darkness until both parties reach an agreement.
Twenty minutes later, the display strengthens. What looked gray now appears visibly green, and the arc begins to ripple. You stop staring at the phone and watch with your own eyes. This matters. It is easy to spend an entire aurora show checking histograms, adjusting sliders, and accidentally experiencing the event later through a gallery app. Take a sequence, confirm that the exposure works, and then step back from the equipment.
The brightest burst lasts only a few minutes. During that period, the maximum Night mode exposure becomes a disadvantage because the moving rays blend together. Shorter exposures preserve the shapes. Standard video finally begins to show color, although it remains darker than the photographs. You start a time-lapse, making sure the tripod will not move, and let the phone record while the aurora drifts overhead.
Eventually, the activity fades. The phone can still detect a green glow after your eyes see only a pale haze. You keep one final wide composition, pack the equipment, and place the cold phone inside your jacket before driving away. The successful images are not necessarily the brightest ones. The best frame is often the photograph that balances recognizable auroral texture, a clean horizon, and a foreground that explains what it felt like to stand there.
The biggest lesson from nights like this is that preparation creates opportunity, but patience creates the photograph. Forecasts narrow the window. Camera settings improve the odds. A tripod prevents blur. None of those tools can make the aurora appear on command. Sometimes the lights arrive late, remain faint, or hide behind clouds. The experience is still valuable: you spend an evening under a dark sky, learn how your phone behaves in extreme low light, and become faster for the next display.
Final Thoughts
You do not need a professional camera to find or photograph the northern lights. A recent smartphone, a stable support, a dark location, and a little understanding of exposure can produce impressive results. Check both the aurora forecast and cloud cover, look toward an open northern horizon, use the main rear camera, disable flash, and begin with Night mode.
Most importantly, match the exposure to the aurora. Use longer captures for a faint, slow glow and shorter captures for bright, fast-moving curtains. Take several test images, adjust one setting at a time, and remember to look up from the screen. The photograph is wonderful, but the sky is the main event.

