
Skincare
How to Make Half Ponytail Hairstyles: 14 Steps
Jul
A half ponytail is the hairstyle equivalent of ordering fries with a salad: polished enough to look intentional, relaxed enough to feel easy, and usually a very good decision. By pulling back only the upper section, you open the face and add lift while keeping most of your length, curls, waves, or layers visible.
The style can be sleek, romantic, bouncy, braided, or cheerfully messy. It works for everyday errands, office days, dinners, weddings, and mornings when your roots have developed independent political views. The difference between a floppy half pony and a flattering one usually comes down to four things: section size, placement, tension, and finishing. Beauty editors and professional hair-care guides consistently highlight the style’s versatility across lengths, textures, accessories, and occasions.
What You Need
- A brush, detangling brush, or wide-tooth comb suited to your texture
- A rat-tail comb for precise sections
- A snag-free elastic, small scrunchie, barrette, or claw clip
- Two to four bobby pins
- Optional texturizing spray, mousse, curl cream, smoothing serum, edge control, or flexible-hold hairspray
- Optional hot tools and a heat protectant
A basic half-up ponytail requires only an elastic and your hands. The extra tools help you choose whether the result says “clean and glossy,” “soft and effortless,” or “I woke up like this after a surprisingly organized thirty minutes.”
How to Make a Half Ponytail Hairstyle in 14 Steps
Step 1: Choose Your Finish
Decide whether you want sleek, voluminous, curly, wavy, braided, or tousled hair. A high half pony creates bounce and visible lift. Mid-crown placement feels classic. A low pony looks soft and understated. Choosing the destination before gathering your hair prevents the familiar routine of tying, disliking, removing, and repeating until your arms request paid leave.
Step 2: Prepare the Hair
Freshly washed hair produces a light finish, while second-day hair often has better grip. Add texturizing spray if clean hair slips. Use a small amount of dry shampoo at oily roots, allowing it to absorb before massaging it in. For curly or coily hair, refresh with water, leave-in conditioner, curl cream, or styling foam instead of brushing the texture apart.
Step 3: Detangle Gently
Remove knots before sectioning. Brush straight or wavy hair from the ends upward. Detangle curls and coils with fingers or a wide-tooth comb while the hair is damp and conditioned, working in sections. Dermatologists advise gentle detangling and caution against rough tugging; for textured hair, dry brushing can also increase frizz and breakage.
Step 4: Create Your Base Texture
If you want polished waves or straight lengths, style them before tying the ponytail. Curling afterward can leave awkward bends near the elastic and make the back difficult to reach. Apply heat protectant, use the lowest effective temperature, and avoid repeated passes. Heat-free options include overnight braids, foam rollers, twists, or a loose bun.
Step 5: Pick a Part
A center part looks modern and symmetrical. A side part adds softness and apparent volume. Brushing everything backward can feel sporty or glamorous, depending on the finish. Use a comb for a crisp line or your fingers for an undone one. Leave bangs and face-framing strands out now so you do not have to excavate them after the elastic is tight.
Step 6: Section the Top
Place your thumbs near the tops of your ears and slide them backward until they meet. Lift the hair above that line. For a petite, perky pony, take the top quarter or third. For more control, gather closer to half. Using less hair usually preserves fullness through the loose lengths; using more helps manage dense hair around the face.
Step 7: Balance Both Sides
Check the section from the front and back. The lines need not be ruler-straight unless you want a graphic, sleek style, but they should look balanced. Use a second mirror or phone camera to inspect the back. Smooth obvious knots while preserving natural texture underneath.
Step 8: Add Crown Volume
For a lifted or retro look, raise a small crown section and lightly backcomb the underside near the roots. One or two gentle strokes are enough. Lay untouched surface hair over it. You can also create volume later by pinching the crown upward. Aim for a flattering bump, not a geological formation visible from neighboring counties.
Step 9: Choose the Height
Gather the section near the crown for a youthful, bouncy result, at the back center for a balanced classic, or lower for a romantic finish. For a higher style, follow the upward direction of your cheekbones as a visual guide. Keep your shoulders relaxed so one side does not become tighter simply because your dominant hand took control.
Step 10: Smooth or Loosen the Surface
For sleek hair, apply a tiny amount of cream or gel to the surface and brush toward the base. For an airy style, use your fingers and retain some texture. Gather curls with your hands instead of raking through the lengths. Fine hair usually benefits from avoiding heavy oils near the roots, where “glossy” can become “flat” with impressive speed.
Step 11: Secure the Ponytail
Wrap a snag-free elastic until the section feels stable but comfortable. Clear elastics are discreet, covered elastics are gentler, and scrunchies look playful. If the ponytail droops, use a second thin elastic or place two bobby pins in an X beneath the base. These support tricks are commonly recommended for creating more lift in fine or soft hair.
Step 12: Adjust the Shape
Hold the base and divide the ponytail into two sections, gently pulling outward to move the elastic closer to the scalp. Pinch tiny crown sections upward for softness. Release a few face-framing pieces if desired. Make small adjustments; one heroic tug can transform “effortlessly undone” into “brief disagreement with a ceiling fan.”
Step 13: Conceal the Elastic or Accessorize
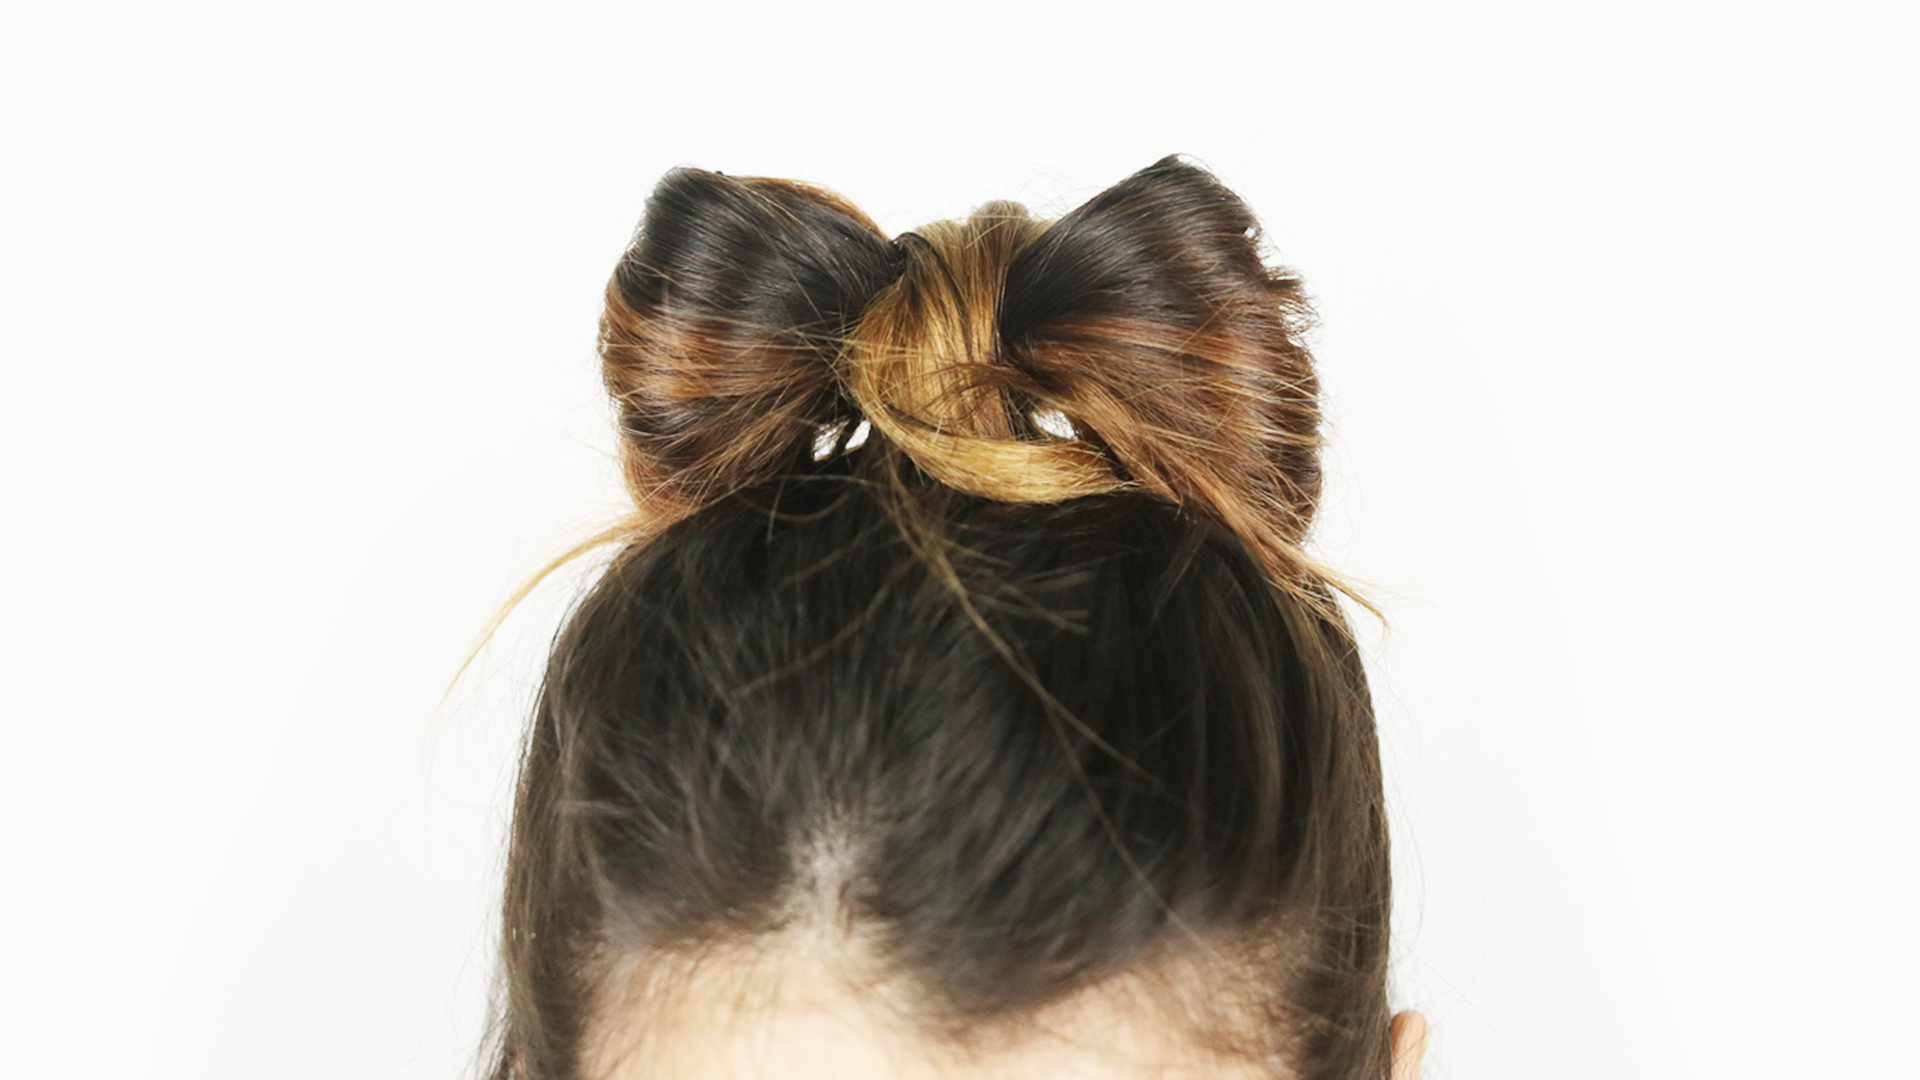
Take a narrow strand from underneath the ponytail, wrap it around the elastic, and pin the end beneath the base. Alternatively, use a ribbon, bow, barrette, cuff, scrunchie, or claw clip. Velvet feels romantic, metal looks polished, and a colorful accessory makes the style casual. Wrapped bases and decorative clips are easy ways to elevate a simple half pony.
Step 14: Finish and Test
Blend the ponytail into the loose hair. Separate curls with your fingers, brush waves lightly, or add a bend to uneven ends. Smooth flyaways with a clean spoolie and a trace of hairspray or gel. Mist flexible-hold spray from a distance if needed. Move your head gently; if the style pinches, aches, or pulls at the hairline, loosen it immediately.
Adjustments for Different Hair Types
Fine or Thin Hair
Use a smaller top section so the loose portion keeps its density. Add dry texture at the roots, tease only the underside of the crown, and support the base with pins. Loose waves create visual fullness. Avoid oversized accessories and heavy serum near the scalp.
Thick Hair
Use a strong elastic made for dense hair. If the section feels heavy, secure the center first, then add the side pieces with a second elastic. This distributes weight and makes smoothing easier without pulling the hairline into a state of emergency.
Curly or Coily Hair
Preserve definition by gathering with fingers or a wide-tooth comb. Refresh with water and leave-in conditioner, then add curl cream or foam where needed. A fabric scrunchie, puff cuff, barrette, or claw clip can reduce snagging. The roots may be sleek, fluffy, softly controlled, or completely natural.
Short or Layered Hair
Take a smaller section and place it where the upper layers naturally reach. Secure loose side pieces with crossed bobby pins. Mini claw clips and barrettes often grip short sections better than elastics, while texture spray helps freshly cut layers stay put.
Long Hair
Keep the gathered portion moderate so the base is not overloaded. Reinforce it with pins if necessary. Long hair suits wrapped bases, ribbons, braids, and dramatic waves; curling in alternating directions creates movement instead of one large, uniform tube.
Five Easy Half Ponytail Variations
Sleek High Half Pony
Brush the top upward, secure it near the crown, hide the elastic with hair, and straighten or curl the lengths. Apply gel only to the surface and edges.
Soft Romantic Half Pony
Create loose waves, leave out two front pieces, lightly lift the crown, and secure the ponytail at mid-height. Add a ribbon or delicate barrette.
Braided Half Pony
Braid a section from each temple and join them at the back, or braid only the tail of a standard half pony. Gently pull the braid’s edges to make it look fuller.
Twisted Half Pony
Twist one section from each side away from the face, combine them, and secure. Flip the ponytail through the space above the tie for an easy, intricate-looking detail.
Claw-Clip Half Pony
Gather the upper section, twist it once, and secure it with a clip sized for your hair density. Claw clips create quick lift and may place less concentrated tension on the hair than a tightly wrapped elastic.
Common Problems and Fast Fixes
Slipping: Add texture spray, use a smaller elastic, or cross two pins beneath the base. Slippery hair often needs grip, not more force.
Flat crown: Pinch tiny sections upward, lightly tease underneath, or move the ponytail slightly higher. Pulling every strand backward too tightly removes volume.
Bumpy sides: Hold the gathered hair firmly and smooth one side at a time. Use a small amount of styling cream, or make the texture consistently relaxed instead of battling every bump.
Sore hairline: Redo the style loosely. Repeated tight ponytails and updos can damage hair and contribute to traction alopecia. Dermatologists recommend loose styling, covered hair ties, varied hairstyles, and prompt attention to tenderness, broken hairs, or thinning.
Experience Notes: What Makes a Half Ponytail Look Better and Last Longer
The first practical lesson is that “half” is not a mathematical command. Gathering exactly half the hair can create a bulky upper ponytail and leave the lower section looking thin. For many heads of hair, the most flattering amount is closer to the top third. That keeps the style lighter, preserves fullness around the shoulders, and makes the ponytail easier to lift.
Placement matters just as much. A ponytail tied directly at the back may disappear from the front, especially in photographs. Moving it an inch or two higher makes it visible above the crown and adds energy. An extremely high placement, however, may expose short layers and produce flyaways. Gather the hair and preview the position before tying it; ten seconds of checking can prevent ten minutes of repair.
Another reliable discovery is that grip works better than force. When silky hair slips, the instinct is to tighten the elastic until the eyebrows submit a formal complaint. A light texture spray, a better elastic, or hidden pins usually provides more comfortable hold. For curls, styling foam near the roots can add control without creating a stiff shell.
The easiest way to make the style look finished is to refine one detail. Wrap the elastic with hair. Add a bow. Curl only the ponytail and front strands. Smooth the part. One deliberate upgrade looks chic; attempting teasing, braiding, pearl pins, edge styling, and a dramatic ribbon before breakfast can look like the accessory drawer won.
Bright light also reveals what the bathroom mirror politely ignores. Check the style near a window or take a quick photograph of the back. You may spot uneven sections, loose pins, product flakes, or an accessory that has started migrating south. The camera can be emotionally ruthless, but it is excellent quality control.
Humidity requires compromise. Forcing every flyaway flat may create a rigid style that becomes fuzzy later. A softer surface, natural texture, and flexible product usually age better. When hair expands in damp weather, let the loose lengths be full and focus on controlling only the upper section. Cooperating with the atmosphere is generally easier than beginning a personal feud with it.
For a special event, practice once. Test the accessory, count the elastic wraps, and wear the style for an hour. Heavy barrettes slide, decorative clips pinch, and ribbons occasionally untie themselves with suspicious timing. A trial run identifies these betrayals before photographs, vows, speeches, or a dance floor become involved.
Finally, comfort is part of the design. A half ponytail that feels good is less likely to be touched, loosened, or removed halfway through the day. Secure it firmly enough to hold, then soften the crown and edges. The best style is not the tightest or most perfect one. It frames your face, respects your texture, stays in place, and lets you forget about it while doing something more interesting than monitoring an elastic.
Conclusion
Learning how to make a half ponytail comes down to controlling section size, placement, tension, and texture. Start with detangled hair, gather an amount that preserves fullness, choose a height that supports the desired silhouette, and secure it without discomfort. Once the foundation works, braids, twists, curls, bows, clips, and wrapped bases become easy additions rather than rescue missions.
The half ponytail remains useful because it keeps hair away from the face, displays length and natural texture, adapts to casual and formal settings, and takes only minutes. It works hard while looking as though it barely triedan energy worth carrying into the rest of the day.
Note: This original guide synthesizes practical techniques and hair-care guidance reviewed across established U.S. beauty publications, professional hair platforms, and the American Academy of Dermatology, including Allure, Byrdie, Cosmopolitan, Glamour, Good Housekeeping, Real Simple, L’Oréal Paris USA, Hair.com, and AAD resources.

