Hair Care
How to Screenshot on Asus Laptop: 5 Best + Easiest Ways
Jun
Taking a screenshot on an Asus laptop should be easy. And it isonce you stop playing “Where’s Waldo?”
with the PrtSc key (Print Screen), which loves to hide on laptop keyboards like it’s in witness protection.
The good news: Windows gives you multiple screenshot methods, and Asus laptops can use all of them.
This guide walks you through the five best and easiest ways to screenshot on an Asus laptop (Windows 10 or Windows 11),
plus quick fixes for common issueslike when your screenshot doesn’t save, your PrtSc key seems “broken,”
or you paste and get… nothing. (We’ve all been there. Or at least your clipboard has.)
Before You Start: 30-Second Asus Screenshot Checklist
- Find your Print Screen key: It may say PrtSc, PrtScn, or be a secondary function on a key (often on laptops).
- Try the Fn key: On many Asus models, you may need Fn + PrtSc for Print Screen behavior.
- Know your goal: Do you want the whole screen, just one window, or a custom area?
- Know where it goes: Some methods copy to the clipboard, others auto-save to a folder.
Method 1: Press PrtSc (Print Screen) to Copy the Whole Screen
This is the classic, “I don’t want drama, I just want my screen” method. Pressing PrtSc typically copies
a full-screen screenshot to your clipboard. Nothing will look like it happened. That’s normal.
Your screenshot is now hiding inside your clipboard like a secret agent.
How to do it
- Set up your screen exactly how you want it captured.
- Press PrtSc (or Fn + PrtSc on some Asus laptops).
- Open an app like Paint, Word, Google Docs, Photoshop, or even an email draft.
- Press Ctrl + V to paste.
- Save/export from that app if you need a file.
Best for
- Quick sharing (paste into chat, email, docs)
- When you don’t care about auto-saving files
Common “Wait, where did it go?” moment
If you press PrtSc and then immediately click 37 other things, you might overwrite the clipboard.
Paste first. Celebrate later.
Method 2: Press Windows + PrtSc to Auto-Save a Full Screenshot
If Method 1 is “clipboard vibes,” this is “I want an actual file, immediately.” When you press
Windows + PrtSc, Windows typically saves a full screenshot automatically as a PNG file.
Your screen may dim brieflylike Windows is blinking to take a photo.
How to do it
- Arrange what you want to capture.
- Press Windows + PrtSc (or Fn + Windows + PrtSc on some laptops).
- Open File Explorer → Pictures → Screenshots.
Best for
- Saving lots of screenshots quickly (tutorials, receipts, errors, how-to steps)
- When you need files, not clipboard copies
If you can’t find the file
The usual location is Pictures > Screenshots. If you use OneDrive backup for Pictures,
screenshots may show up under your OneDrive Pictures/Screenshots path instead. (More on that in troubleshooting.)
Method 3: Press Alt + PrtSc to Capture Only the Active Window
This method is for when you don’t want your whole screenjust the window you’re using. It’s perfect for capturing
a browser tab, a settings panel, a game launcher, or that one pop-up that appears for 0.7 seconds and ruins your day.
How to do it
- Click the window you want to capture (make sure it’s active).
- Press Alt + PrtSc (or Alt + Fn + PrtSc if needed).
- Paste with Ctrl + V into Paint, Word, Slack/Discord, etc.
- Save if you need a file.
Best for
- Clean screenshots without your taskbar, wallpaper, or 19 other windows photobombing
- Capturing dialogs and app windows for tech support
Method 4: Press Windows + Shift + S for the Fast Snipping Overlay (Custom Area)
This is the modern favorite: quick, precise, and built into Windows. Press Windows + Shift + S,
and a snipping toolbar appears so you can choose exactly what to capture: a rectangle, a freeform shape,
a single window, or the entire screen.
How to do it
- Press Windows + Shift + S.
- Select a snip mode:
- Rectangle Snip: drag a box
- Freeform Snip: draw a shape (for artsy chaos)
- Window Snip: click a window
- Full-screen Snip: grab everything
- After you snip, it copies to clipboard. Often, a notification appearsclick it to open the Snipping Tool editor.
- Save from the editor if you want a file.
Best for
- Capturing a specific section (error message, chart, meme, recipe step)
- Quick annotations (arrows, highlights, “LOOK HERE” circles)
Pro tip
If your Asus keyboard doesn’t have a dedicated PrtSc key, Windows + Shift + S can be your
“never fails” screenshot shortcut.
Method 5: Use the Snipping Tool App (Delay, Editing, and Screen Recording)
The Snipping Tool app is the grown-up version of snipping: it lets you capture, edit, annotate, and save
and on Windows 11, it can also handle screen recording features on many systems.
It’s also the best option when you need a delayed screenshot (like capturing a menu that disappears
the moment you touch the keyboard).
How to do it
- Open Start and search for Snipping Tool.
- Choose your capture type (snip mode) and any delay (if available).
- Click New to start the capture.
- Edit if needed (crop, pen, highlight, shapes).
- Click Save to choose a folder and file name.
Best for
- Screenshots that need markup (tutorials, work instructions, school notes)
- Capturing dropdown menus, right-click menus, and hover states (use delay)
- Keeping your screenshots organized with names and folders
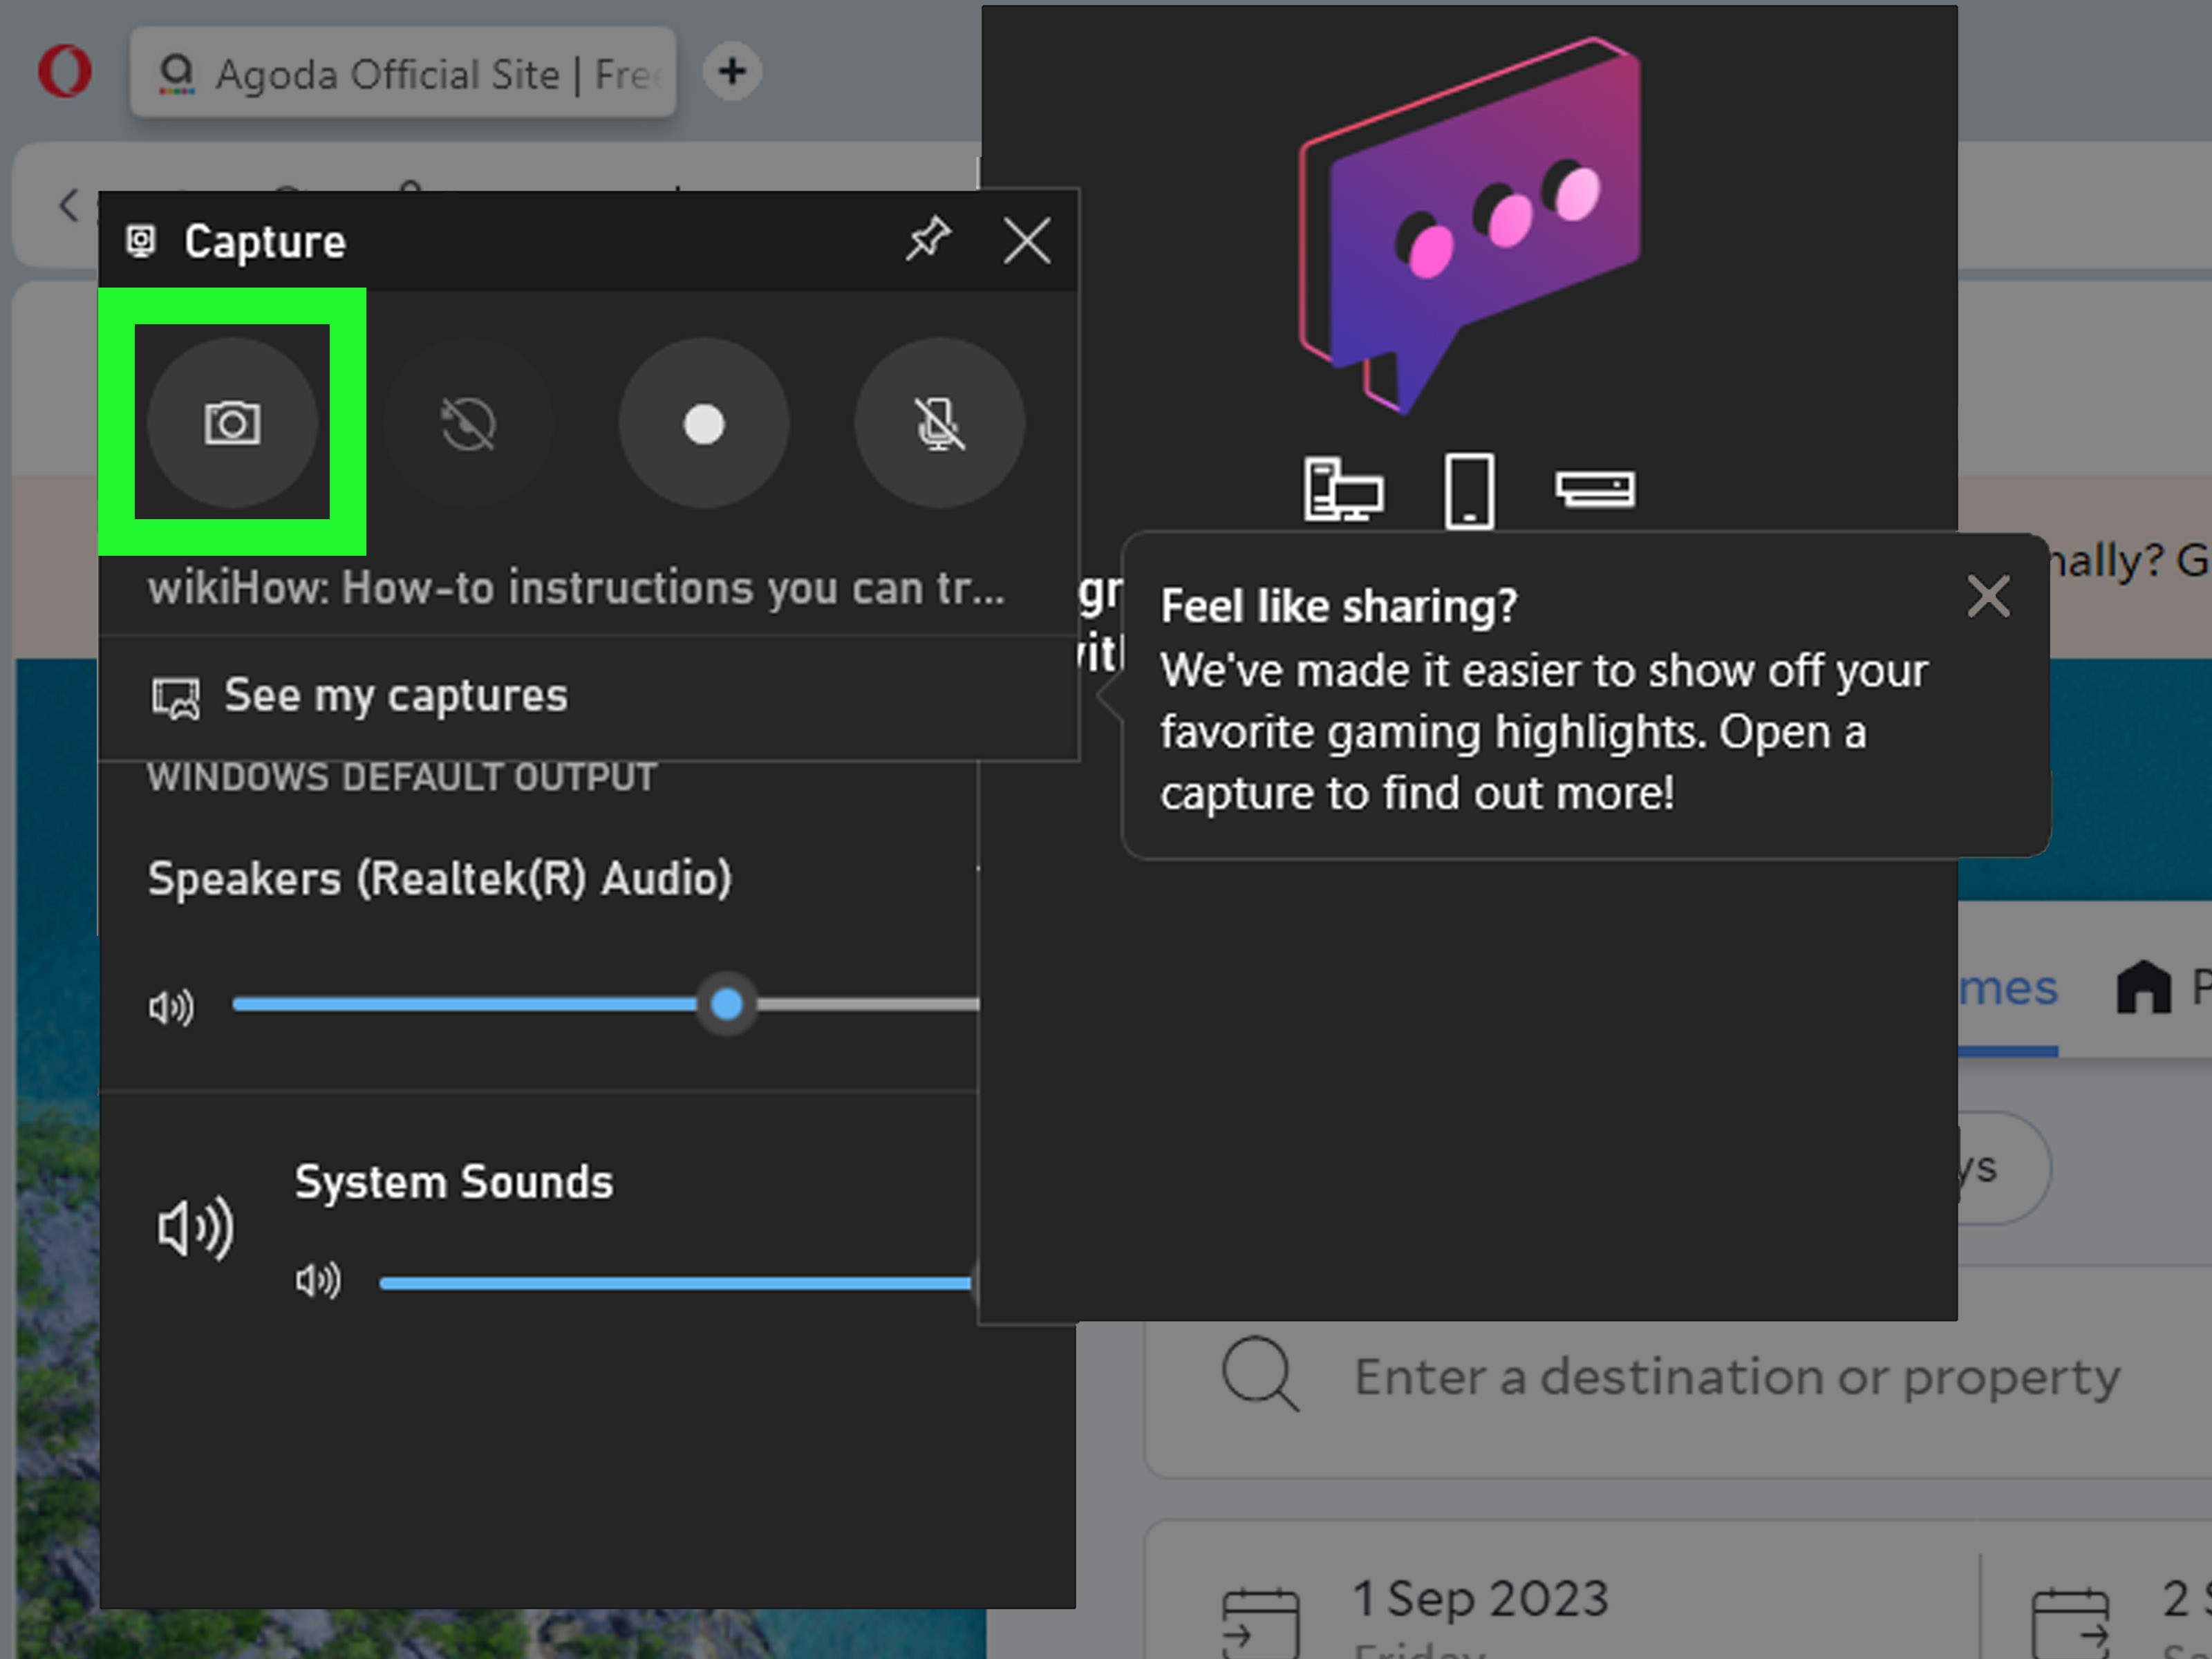
Bonus Option: Xbox Game Bar (Great for Apps and Games)
If you’re trying to screenshot a game or a full-screen app, Windows’ Xbox Game Bar can be handy.
It’s designed for capturing gameplay, but it can also grab screenshots of many apps.
- Press Windows + G to open Game Bar.
- Use the Capture widget’s camera icon to take a screenshot.
- Saved files often land in Videos > Captures.
Troubleshooting: When Screenshots Don’t Work (Or “Disappear”)
1) “My PrtSc key does nothing.”
- Try Fn: On many laptops, Print Screen is a secondary function. Try Fn + PrtSc.
- Try Windows + Shift + S: Bypasses PrtSc entirely and uses the Snipping overlay.
- Check Windows settings: Windows can assign the Print Screen key to open screen capture/Snipping behavior.
2) “Win + PrtSc dims the screen, but no file shows up.”
- Check Pictures > Screenshots.
- If you back up Pictures with OneDrive, check OneDrive > Pictures > Screenshots.
- Search File Explorer for Screenshot and sort by date.
3) “Win + Shift + S works, but it only copies to clipboard.”
That’s normal: the snip overlay is designed to copy first, then let you save if you open the Snipping Tool editor.
After snipping, click the notification to open editing and save options.
4) “Snipping Tool shortcut stopped working.”
- Restart your laptop (yes, really).
- Check for Windows updates.
- Reset/repair the Snipping Tool app in Windows app settings if needed.
- Make sure focus modes or third-party hotkey tools aren’t hijacking shortcuts.
5) “My screenshot pasted as a black box (or not at all).”
- Some protected content (streaming video, DRM apps) may block screenshots.
- Try a different method (Snipping Tool app vs. PrtSc), or capture non-protected sections (menus, settings, error dialogs).
Make Screenshots Look Better (Without Extra Apps)
- Use Window Snip to keep captures clean and professional.
- Crop aggressively: remove distractions and focus attention.
- Annotate like a human: one arrow, one highlight, one short label. Don’t turn it into modern art.
- Name files smartly: “asus-screenshot-wifi-error-2026-01-30.png” beats “Screenshot (184).png”.
Real-World Screenshot Experiences (And What They Teach You)
Let’s get practical. The keyboard shortcuts are easyuntil real life shows up with popcorn. Here are common
“screenshot situations” people run into on Asus laptops, and the tiny lessons that save time (and sanity).
Experience #1: The Vanishing Error Message
You’re troubleshooting Wi-Fi or a weird Windows pop-up. The error appears… and disappears the moment you try to
read it. The lesson: keep Windows + Shift + S ready. When the message pops up, hit the shortcut,
grab a quick rectangle snip, and now you can read the error at your own pace (and send it to tech support without
re-enacting the problem three more times).
Experience #2: “I Pressed PrtSc… and Nothing Happened.”
This is the #1 screenshot heartbreak. On laptops, “nothing happened” usually means “it copied to clipboard quietly.”
The lesson: after pressing PrtSc, paste immediately (Ctrl + V) into somethingPaint, a chat box,
an email draftanything. If you don’t paste first and you copy something else, your screenshot is gone like it never existed.
Clipboard is powerful, but it’s also unforgiving.
Experience #3: The “Why Is My Desktop in the Screenshot?” Problem
You only wanted a screenshot of your browser or a single app window, but you captured the whole screentabs, taskbar,
and that one sticky note widget you forgot was there. The lesson: use Alt + PrtSc for the active window,
or use Window Snip in the snipping overlay. It keeps your screenshot clean and lets the important info
shine without background clutter.
Experience #4: Capturing Menus That Disappear
Right-click menus and dropdowns are screenshot ninjas: the moment you touch the keyboard, they vanish. The lesson:
open the Snipping Tool app and use a delay (if available). That gives you a short
countdown so you can open the menu and let the tool capture it while it’s still visible. It’s a small feature that feels
like cheating (the good kind).
Experience #5: “Where Did Windows Save My Screenshot?”
You used Windows + PrtSc and saw the screen dimso you know it worked. But the file isn’t in Pictures.
The lesson: check whether OneDrive is backing up your Pictures folder. Many people find their screenshots in a OneDrive path,
or in a different “Screenshots” folder than expected. When in doubt, search File Explorer for “Screenshot” and sort by date.
Once you find the folder, pin it to Quick Access so you never go hunting again.
Experience #6: The Screenshot That’s Too Big to Share
Full-screen screenshots can be huge, especially on high-resolution Asus displays. Sharing them can be annoying, and the
important detail might be tiny. The lesson: capture only what you need. Use Rectangle Snip, crop aggressively,
and your screenshot becomes easier to read, faster to upload, and way more helpful to whoever receives it.
Final Takeaway (Neat Conclusion)
If you remember only three things, make it these: (1) PrtSc copies to clipboard, so paste right away.
(2) Windows + PrtSc saves a file automatically (usually in Pictures > Screenshots).
(3) Windows + Shift + S is the fastest way to capture exactly what you want, even on laptops where PrtSc is awkward.
Once you get those down, taking screenshots on an Asus laptop stops being a mystery and starts feeling like a superpower.
