Skincare
How to Draw the Canadian Flag: 11 Steps
Jun
Drawing the Canadian flag looks simple at first: red, white, red, maple leaf, done. Then you actually try to draw the maple leaf and discover it has the personality of a tiny red dragon wearing a crown. Do not worry. This guide will walk you through how to draw the Canadian flag in 11 clear steps, using easy proportions, smart sketching tricks, and a calm approach that does not involve throwing your pencil across the room.
The National Flag of Canada has a clean 2:1 ratio, meaning it is twice as long as it is tall. It features two red vertical bands on the sides, a white square in the center, and a stylized red 11-point maple leaf. For school projects, classroom posters, Canada Day crafts, travel journals, digital art, or just a fun drawing challenge, the secret is to build the flag from simple shapes before adding details.
In this tutorial, you will learn how to draw the Canadian flag neatly, how to keep the proportions balanced, and how to sketch the maple leaf without needing a degree in advanced leaf engineering.
What You Need Before You Start
You do not need fancy art supplies to draw the Canadian flag. A regular pencil, eraser, ruler, black pen, and red marker or colored pencil will work beautifully. If you are drawing digitally, use any app that allows straight lines, layers, and a symmetry guide. The ruler is the real hero here. The Canadian flag is built on very organized geometry, so measuring early saves you from fixing a lopsided flag later.
Recommended Supplies
Use a pencil for the first sketch, because the maple leaf may need a few adjustments. Keep your lines light at the beginning. Add color only after the outline feels balanced. If you color too soon, every mistake becomes a dramatic red announcement.
Understanding the Canadian Flag Design
Before drawing, it helps to understand the structure. The Canadian flag is a horizontal rectangle with a 2:1 width-to-height ratio. In simple terms, if the height is 4 inches, the width should be 8 inches. The middle white section is a square, and the two red side bands are equal in width. The maple leaf sits centered in the white square.
The maple leaf is stylized, not a realistic leaf from your backyard. That is good news. You are not drawing every vein and wrinkle. You are drawing a clean symbol with 11 points. Think of it as a bold icon, not a botanical homework assignment.
How to Draw the Canadian Flag: 11 Steps
Step 1: Draw a Wide Rectangle
Start by drawing a horizontal rectangle. Make it twice as wide as it is tall. A simple size is 8 inches wide by 4 inches tall. If you want a smaller drawing, use 6 inches wide by 3 inches tall. The exact size does not matter as much as keeping the 2:1 proportion.
Use a ruler and draw lightly. This outer rectangle is the full shape of the Canadian flag. Clean corners make the whole drawing look more professional, even before you add the maple leaf.
Step 2: Divide the Flag Into Four Equal Width Sections
Next, divide the width of your rectangle into four equal parts. If your flag is 8 inches wide, each part is 2 inches. Draw two vertical lines: one at the first quarter mark and one at the third quarter mark.
This gives you three visible sections: a red band on the left, a white square in the center, and a red band on the right. The center white area should be twice as wide as each red band, which makes it a square when the flag follows the correct ratio.
Step 3: Mark the Center of the White Square
Draw a very light vertical center line and horizontal center line inside the white square. These guide lines will help you place the maple leaf exactly in the middle. The Canadian flag is symmetrical horizontally, so the leaf should not lean left, right, up, or down like it missed its morning coffee.
Keep these guide lines faint. You will erase them later after the leaf is finished.
Step 4: Sketch a Simple Stem
At the bottom center of the white square, draw a short vertical stem. The stem should be narrow and slightly tapered. It should not reach all the way to the bottom edge of the flag. Leave some white space below it.
The stem acts like an anchor for the maple leaf. Once you place it correctly, the rest of the leaf becomes easier to build.
Step 5: Draw the Top Point of the Maple Leaf
Now draw the highest point of the maple leaf above the center line. This top point should sit near the upper part of the white square but not touch the top edge. Make it sharp and centered.
A good trick is to imagine a tall triangle rising from the center of the leaf. This top point is the tallest part, so it controls the overall height of the maple leaf.
Step 6: Add the Two Upper Side Points
On both sides of the top point, draw two smaller points angled outward. These upper side points should be slightly lower than the main top point. Keep them balanced. If the left side looks wider than the right side, adjust before moving on.
Symmetry is the difference between a maple leaf and a red explosion. Take your time here.
Step 7: Add the Middle Points
Continue building the leaf by drawing the middle points on the left and right sides. These points are wider and help create the iconic maple leaf shape. They should extend farther outward than the upper points but still stay inside the white square.
Use light angled lines, like zigzags. The Canadian maple leaf is made from sharp turns, not soft waves. Avoid making the edges too round unless you are intentionally creating a cute cartoon version.
Step 8: Add the Lower Points
Draw the lower points of the leaf on both sides, closer to the stem. These should angle downward and inward. They help connect the broad top of the leaf to the narrow base.
At this stage, you should see the full 11-point structure forming: one top point, several side points, and lower points leading into the stem. Do not panic if it looks rough. Almost every maple leaf sketch goes through an awkward phase. It is basically leaf puberty.
Step 9: Refine the Maple Leaf Outline
Now clean up the shape. Compare both sides. The leaf does not need to be mathematically perfect for a hand-drawn project, but it should look balanced. Sharpen the points, smooth the inner angles, and make sure the stem lines connect neatly to the lower leaf edges.
If one point is too long, shorten it. If one side droops, lift it. If the whole leaf looks like it is trying to escape the flag, bring the outer points inward.
Step 10: Ink the Final Lines
Once you like the pencil sketch, trace the outer flag rectangle, the two vertical section lines, and the maple leaf outline with a black pen or fine marker. Let the ink dry for a moment before erasing pencil marks. This is especially important if you are using gel pens, because smudges love dramatic entrances.
After erasing the guide lines, your drawing should look clean and ready for color.
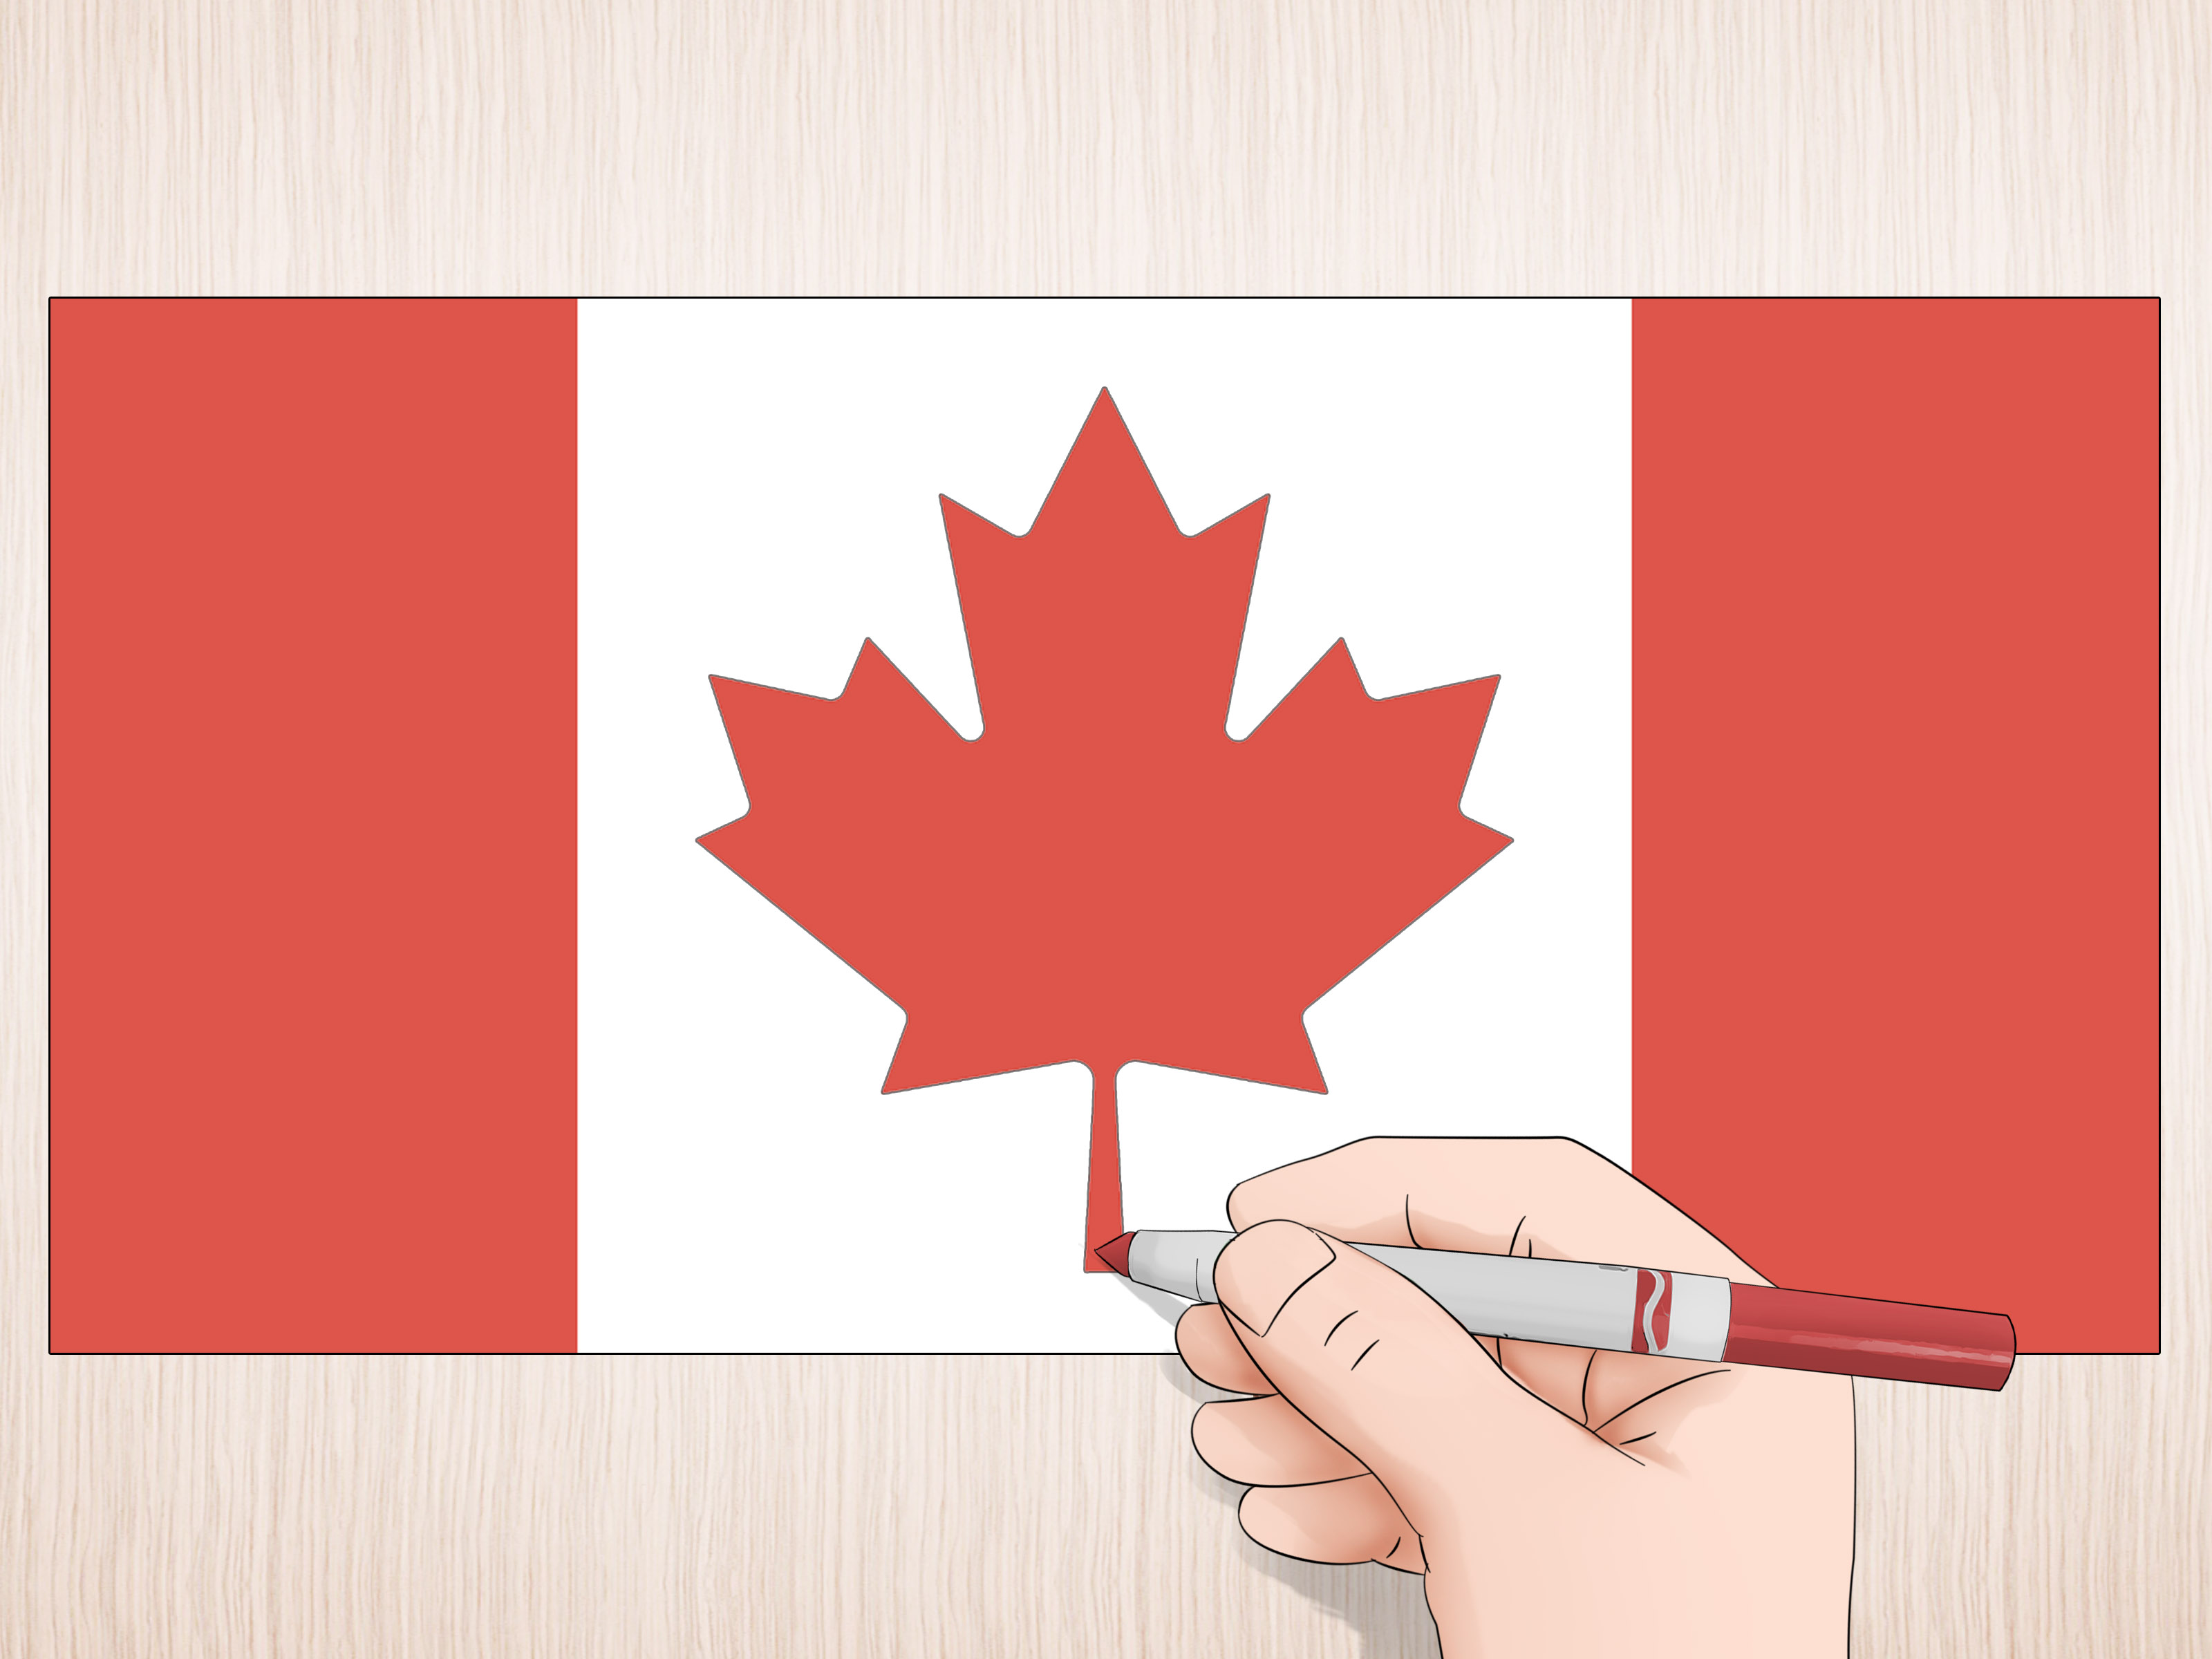
Step 11: Color the Red Sections and Maple Leaf
Color the left and right bands red. Then color the maple leaf red. Leave the center square white. Use even strokes so the red areas look bold and solid. If you are using markers, place a scrap sheet under your paper to prevent bleed-through.
For a polished finish, outline the flag lightly once more after coloring. This sharpens the edges and makes the final Canadian flag drawing stand out.
Common Mistakes to Avoid
The most common mistake is making the center white section too narrow. Remember, the white center should be a square, not a skinny hallway for a stressed-out maple leaf. Another mistake is drawing the leaf too large. It should be prominent, but it should not touch the top, sides, or bottom of the white square.
Many beginners also make the side red bands different widths. Measure them carefully. The flag’s beauty comes from its balance. When the red bands match and the maple leaf is centered, the design instantly looks more official and recognizable.
Easy Maple Leaf Drawing Tips
If the 11-point maple leaf feels intimidating, start with a simple vertical center line. Draw the left half first, then mirror the right half. You can also lightly sketch a diamond or oval shape around the area where the leaf will sit. This boundary keeps the points from wandering too far.
Another helpful method is to draw the leaf as a series of connected triangles. The top point is the tallest triangle. The side points are smaller triangles. The lower points angle toward the stem. Once the basic triangle structure is in place, refine the outline until it feels more natural.
How to Draw the Canadian Flag for Kids
For younger artists, simplify the maple leaf. Instead of worrying about perfect 11-point accuracy, draw a centered leaf with a top point, two wide side points, two lower points, and a stem. The result will still be clearly recognizable as the Canadian flag.
Teachers can turn this into a fun classroom activity by giving students a pre-drawn rectangle divided into sections. Students can then practice the maple leaf in the center. This keeps the lesson focused on shape, symmetry, national symbols, and careful coloring.
How to Draw the Canadian Flag Digitally
Digital drawing makes the Canadian flag easier because you can use layers. Create one layer for the rectangle, one for the vertical bands, one for the maple leaf sketch, and one for final color. Use a symmetry tool for the maple leaf if your app has one.
For a clean digital version, draw one side of the maple leaf, duplicate it, flip it horizontally, and align both halves. This creates instant balance. Then merge the shapes, clean the center, and fill the leaf with red.
Creative Variations
Once you know the basic design, you can create different versions. Try a waving Canadian flag by drawing the rectangle with gentle curves instead of straight lines. Add shadows to make it look like fabric. You can also create a sticker-style flag with a thick black outline, or a watercolor version with soft red edges.
For a notebook doodle, keep the design simple. For a poster, use stronger outlines and more accurate proportions. For a digital icon, simplify the maple leaf slightly so it remains readable at small sizes.
Why the Canadian Flag Is Fun to Draw
The Canadian flag is one of the best national flags for practicing design basics. It teaches proportion, symmetry, negative space, and symbolic drawing. The red-and-white layout is bold, while the maple leaf adds just enough challenge to keep things interesting.
It is also a great reminder that simple design is not always easy design. The flag looks effortless because every part has a purpose. The red bands frame the white square. The white space gives the maple leaf room to breathe. The leaf creates a strong focal point. That is good design doing its job quietly, like a polite Canadian ninja.
Practice Experience: What I Learned From Drawing the Canadian Flag
The first time many people try to draw the Canadian flag, they assume the rectangle will be the hard part. It is not. The rectangle is friendly. The red bands behave. The white square is calm and reasonable. Then the maple leaf arrives and says, “Let’s make this interesting.”
One of the best experiences when practicing this drawing is realizing that the maple leaf becomes much easier when you stop thinking of it as a leaf. Instead, think of it as a symmetrical emblem made from angles. When I practiced the design, the biggest improvement came from drawing a center line first. That one line kept the top point, stem, and side points organized. Without it, the leaf kept leaning to one side, as if it had strong opinions about gravity.
Another useful lesson is to sketch smaller before drawing larger. A tiny practice maple leaf in the corner of the page can save you from making the same mistake on the final version. I like to draw three quick test leaves before committing to the real one. The first usually looks too round. The second looks like a pinecone having a bad day. The third finally starts to look like a respectable maple leaf.
Coloring also matters more than expected. If the red is uneven, the flag can look unfinished even if the outline is accurate. Slow, even coloring gives the drawing a cleaner appearance. Colored pencils create a softer handmade look, while markers make the red areas bold and graphic. Both work well, but markers require patience because overlapping strokes can create darker patches.
One practical trick is to color the maple leaf before coloring the red side bands. The leaf has smaller spaces and sharper corners, so it needs more attention. Once it is finished, the side bands feel easy and satisfying. It is like eating the vegetables first and saving the fries for last.
If you are making the drawing for a school project, poster, or presentation, leave a little extra margin around the flag. That white space makes the finished artwork look cleaner. You can also write a short caption below it, such as “The National Flag of Canada,” or add the date 1965 to show when the maple leaf flag was officially raised.
The most encouraging part of drawing the Canadian flag is that every attempt improves quickly. The first version teaches you where the leaf goes wrong. The second teaches you how wide the red bands should be. The third usually looks good enough to show someone. By the fourth, you may start giving the maple leaf a confident little nod, as if the two of you have reached a peace agreement.
In the end, the Canadian flag is a perfect drawing project because it combines simple geometry with one memorable artistic challenge. Master the rectangle, respect the proportions, guide the maple leaf with light lines, and color patiently. The result is a bright, recognizable flag that looks clean, proud, and wonderfully Canadian.
Conclusion
Learning how to draw the Canadian flag is all about breaking a famous design into simple steps. Start with a 2:1 rectangle, divide it into balanced red and white sections, sketch the maple leaf with light guide lines, refine the 11-point shape, and color the final design boldly. Whether you are drawing for class, a craft project, Canada Day, or personal practice, accuracy comes from patience rather than perfection.
The maple leaf may look tricky, but it becomes manageable when you build it point by point. Keep your lines light, check symmetry often, and remember that even a slightly imperfect hand-drawn flag can still look charming. After all, art is allowed to have personality. That includes maple leaves.
